This article was co-authored by wikiHow Staff. Our trained team of editors and researchers validate articles for accuracy and comprehensiveness. wikiHow's Content Management Team carefully monitors the work from our editorial staff to ensure that each article is backed by trusted research and meets our high quality standards.
The wikiHow Tech Team also followed the article's instructions and verified that they work.
This article has been viewed 329,389 times.
Learn more...
This wikiHow teaches you how to change the color of any part of a picture in GIMP, using a computer. GIMP is a free, open-source graphics editor available for desktop systems. You can create different image layers, and use the Bucket Fill or Paintbrush tools in GIMP to change the color and hue of any item, element or area in an image.
Steps
Opening an Image
-
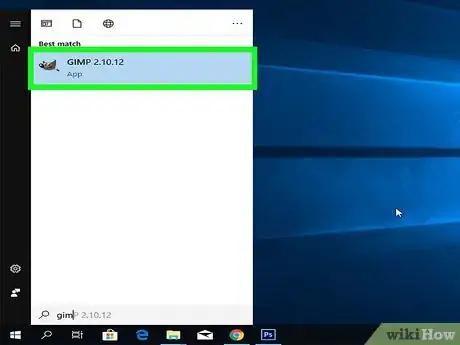
1Open GIMP on your computer. The GIMP icon looks like a cartoon animal with a paintbrush in its mouth. You can find it on your Start menu on Windows or in the Applications folder on Mac.
-
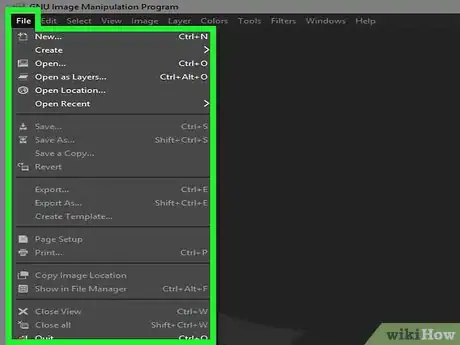
2Select the File tab on the top-left. This button is either on the tab bar at the top of the app window (PC) or on the menu bar at the top of your screen (Mac). It will open your file options.Advertisement
-
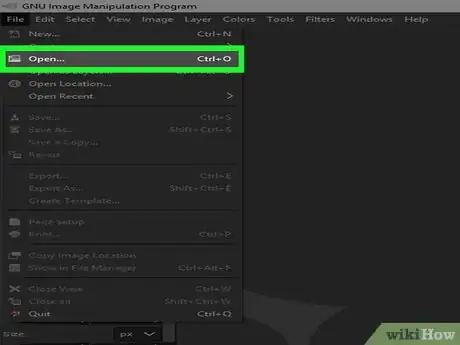
3Click Open on the File menu. This will open a new pop-up window, and allow you to select the image you want to open.
-
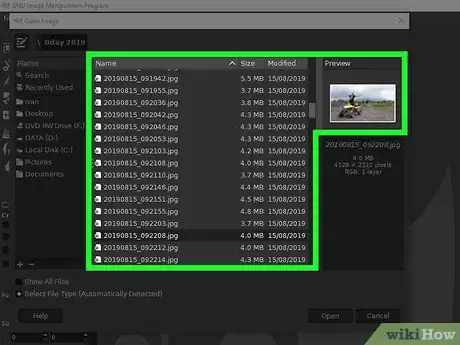
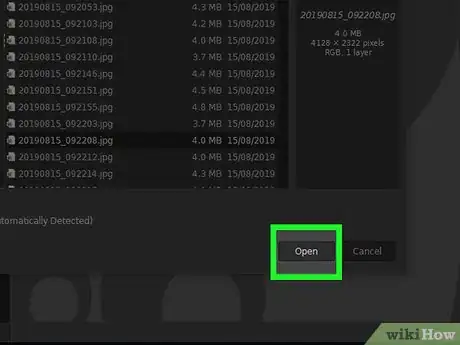
4Select the image you want to recolor. Find and click on the file name in the pop-up window.
- You will see a preview of the image on the right-hand side of the pop-up when it's selected.
-
5Click the Open button. This will open the selected image in GIMP.
- If you're prompted to convert the image profile to a compatible color scale for GIMP, click Convert for the best results.
Creating a New Layer
-
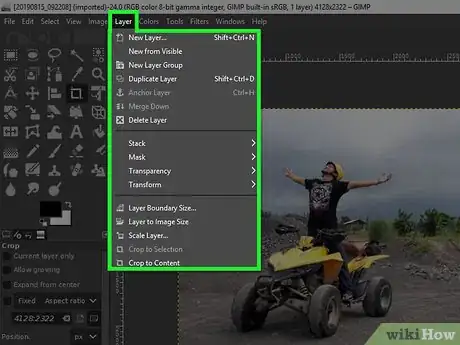
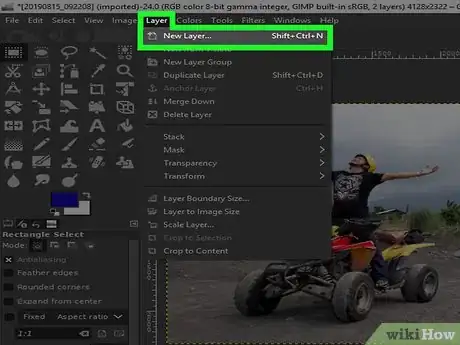
1Click the Layer tab at the top. You can find this button on the tab bar at the top of the app window (PC) or on the menu bar at the top of your screen (Mac).
-
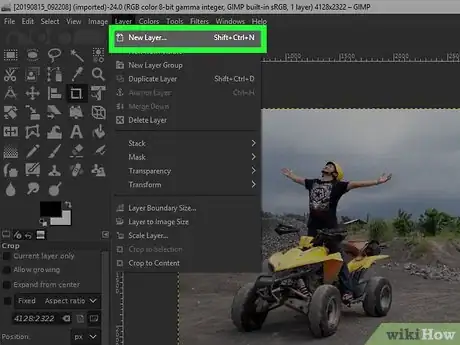
2Click New Layer on the Layer menu. This will allow you to create a new layer on your image. You can use this layer to make color manipulations on your image.
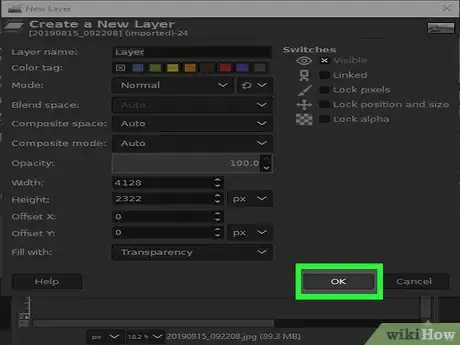
- This option will open a new pop-up titled "Create a New Layer."
-
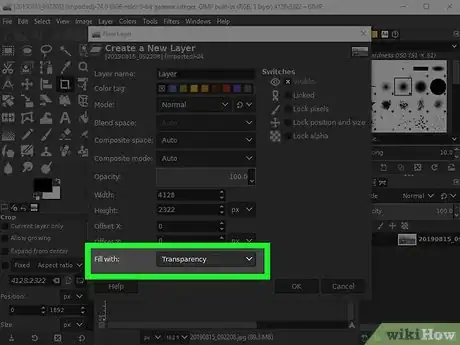
3Select Transparency next to "Fill with." In the "Create a New Layer" pop-up, make sure the "Transparency" option is selected as the layer fill at the bottom.
- In some versions of GIMP, you may see "Layer Fill Type" instead of "Fill with."
- If you have a "Layer Type" option, you can set it to "Normal."
-
4Click OK in the "Create a New Layer" pop-up. This will create a new, transparent layer on your image.
Recoloring an Area
-
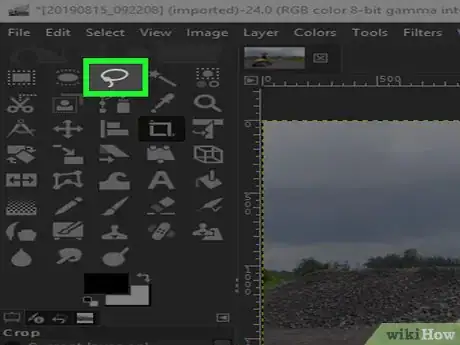
1Click the Free Select (Lasso) tool in the toolkit. This button looks like a lasso icon in the toolkit section on the top-left. It will allow you to select an area in the picture.
-
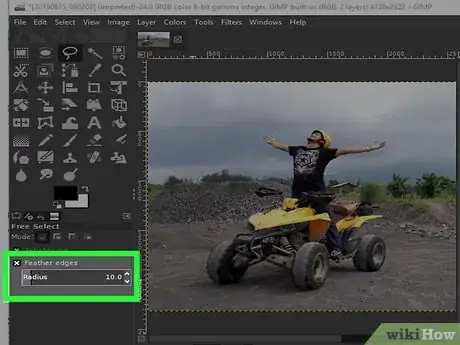
2
-
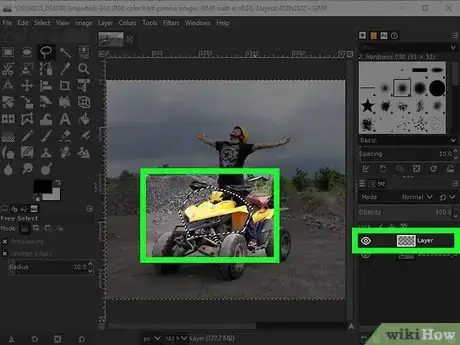
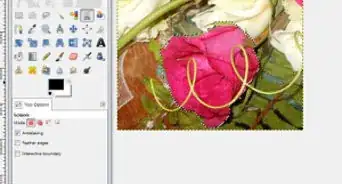
3Select the outline of the area you want to recolor. Use the Free Select (Lasso) tool with your mouse, and draw an outline around the area to recolor.
- Make sure the new, transparent layer is selected on the right-hand side, and not the original picture.
- When you finish the outline, you'll see dashed lines around your selection.
-
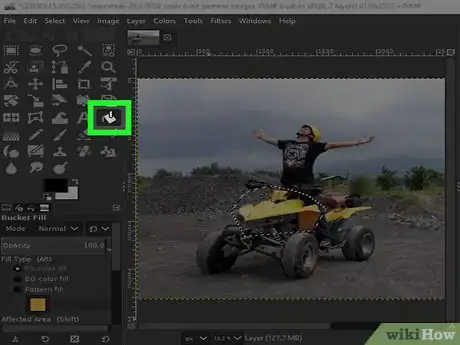
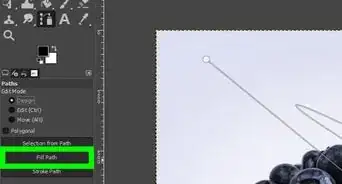
4Click the "Bucket Fill" tool in the toolkit. This button looks like a paint bucket in the toolkit section in the upper-left corner.
-
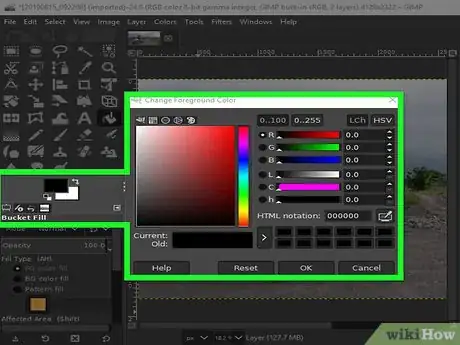
5Click the front color below the toolkit. This will open the color selector in a new pop-up.
-
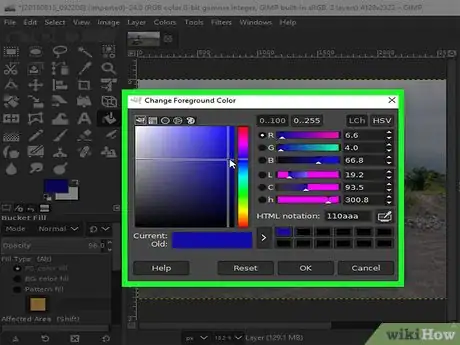
6Select the color you want to use. You can select any color in the color selector pop-up.
-
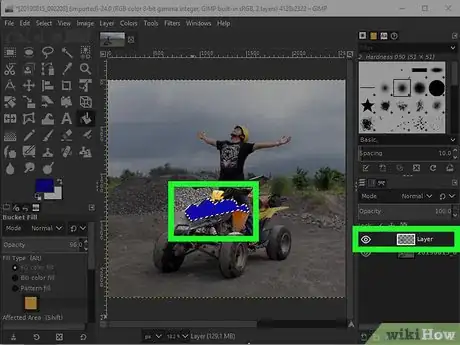
7Click the outlined area on the picture. This will fill the selected area with a solid color.
- Again, make sure the new, transparent layer is selected on the right-hand side; not the original image.
-
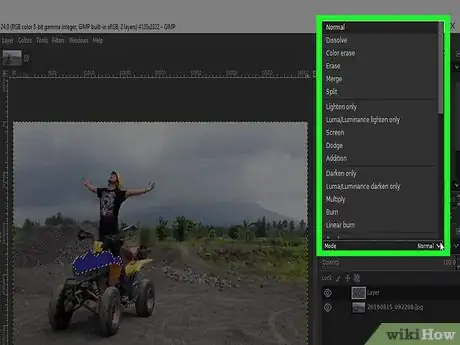
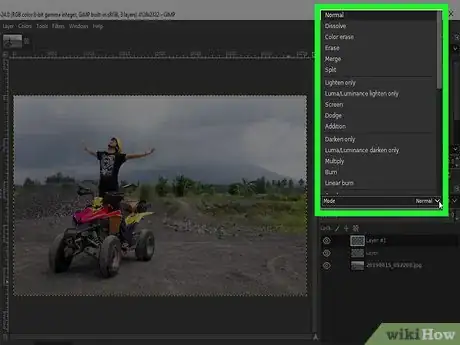
8Click the Mode drop-down at the top of the Layers list. You can find a list of all your image layers on the right-hand side of the app window.
- By default, the layer mode should be set to "Normal."
-
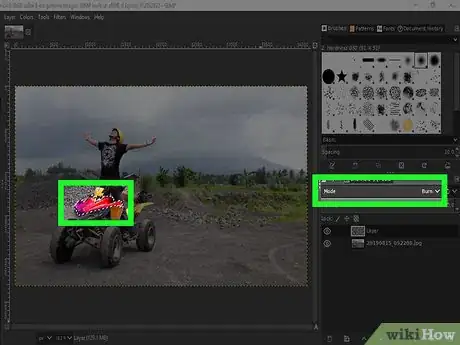
9Select Color in the Mode drop-down. This will change your transparent layer's mode to a "Color" layer, and change the color of the selected area in your original picture.
-
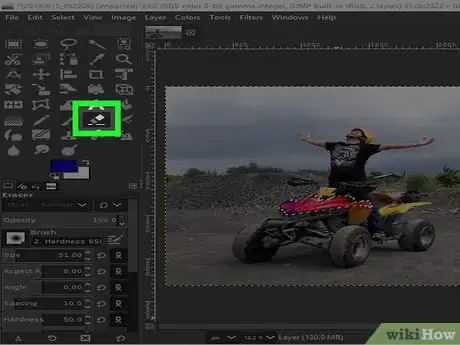
10Select the Eraser tool in the toolkit. This button looks like a rectangle eraser icon in the toolkit section on the top-left.
-
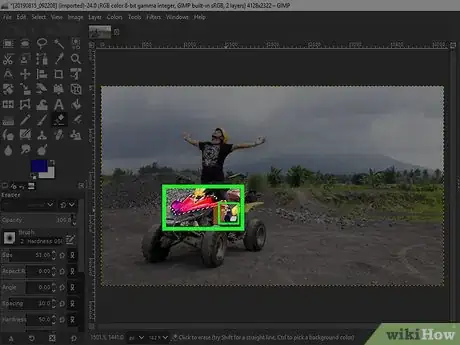
11Erase the extra color around the recolored area. You can use the Eraser tool to manually trim the edges, and remove the extra recolor around your selection.
Recoloring with the Paintbrush
-
1Create a new, transparent layer. Follow the steps in the Part 2 above to create a new, transparent layer on top of your image with no fill.
- Make sure that this is a separate layer than the "Color Mode" layer you may use with the Bucket Fill tool above.
-
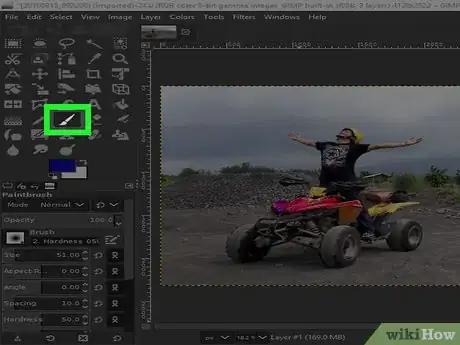
2Select the "Paintbrush" tool in the toolkit. This button looks like a paintbrush icon in the toolkit on the top-left of the app window.
- This tool will allow you to manually paint new colors on the pictures.
- Optionally, you can adjust your paintbrush stroke's size, angle, hardness and other attributes on the bottom-left section.
-
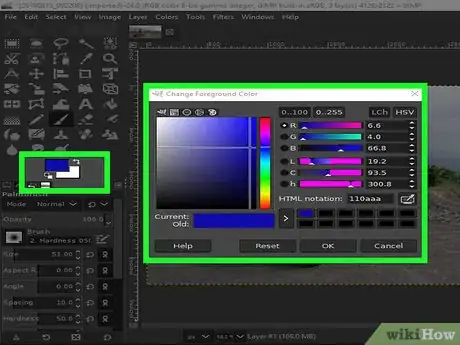
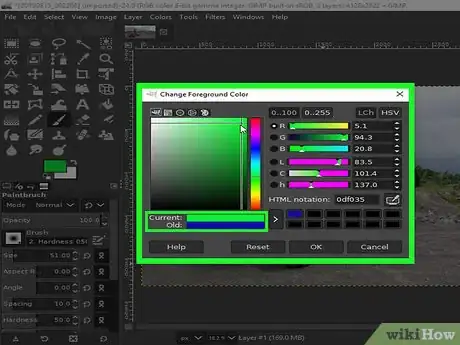
3Click the front color layer below the toolkit. On the left-hand side, click the front layer of the two color layers, and open the color selector.
-
4Select the color you want to use on your paintbrush. You can select any color in the color selector pop-up or enter RGB/HTML values to pick an exact color.
-
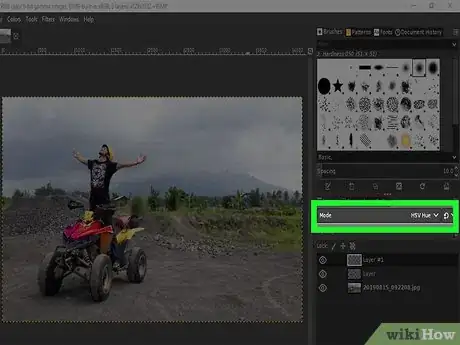
5Click the Mode drop-down at the top of the Layers. This drop-down menu is located at the top of all your image layers on the right-hand side, and should be set to "Normal" by default.
- Make sure the new, transparent layer you created for the paintbrush process is selected on the Layers list. Do not select the original picture here.
-
6Select Hue in the Mode drop-down. This will allow you to change the color hue of the areas you paint with your paintbrush.
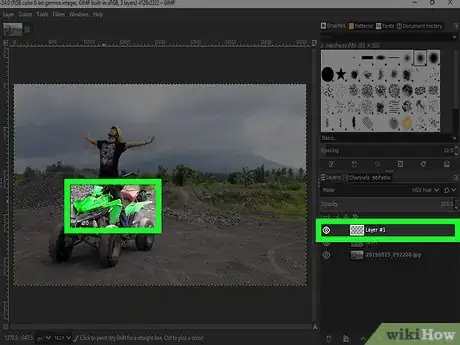
-
7Paint on the picture to recolor anything. You can use your mouse to paint on the picture, and change the color hue of any part of the image.
- You should be painting on the transparent "Hue" layer, and not the original picture.
Exporting the Image
-
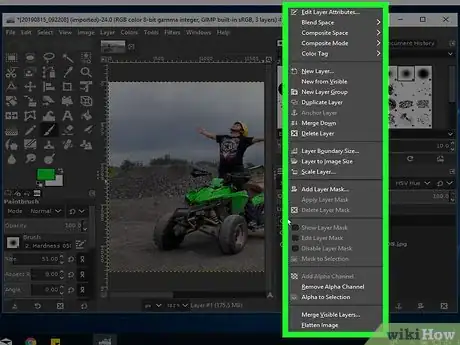
1Right-click the original picture on the Layers list. The Layers section is located on the right-hand side of the app window.
- This will open your right-click options.
-
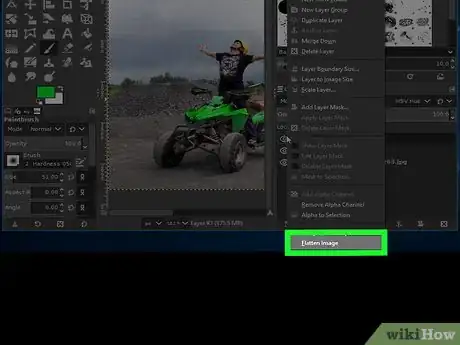
2Select Flatten Image on the right-click menu. You can find this option at the bottom or top of the right-click menu.
- This will merge all your layers, and create one, single image layer with all your recoloring work saved.
-
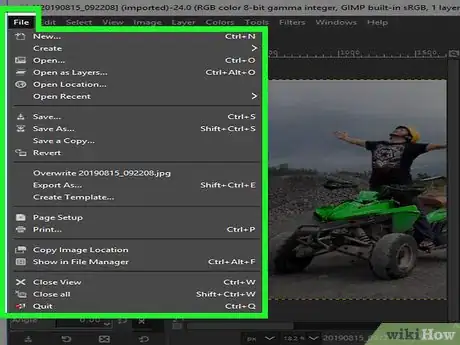
3Click the File menu on the top-left. You can find this option at the top of the app window (PC) or on the menu bar near the upper-left corner of your screen (Mac).
-
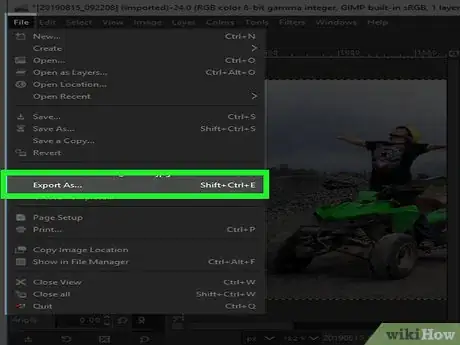
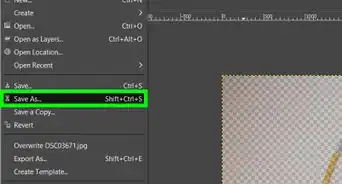
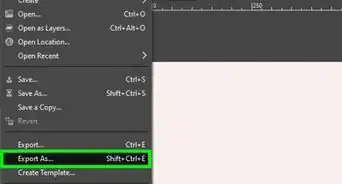
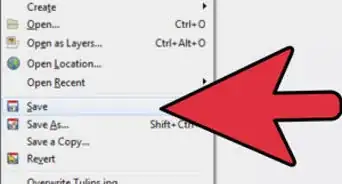
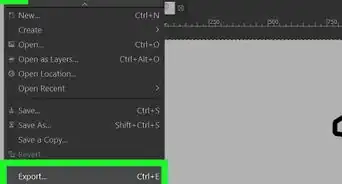
4Select Export As on the File menu. This will open a new dialogue box, and allow you to save your new image to your computer as a separate file.
-
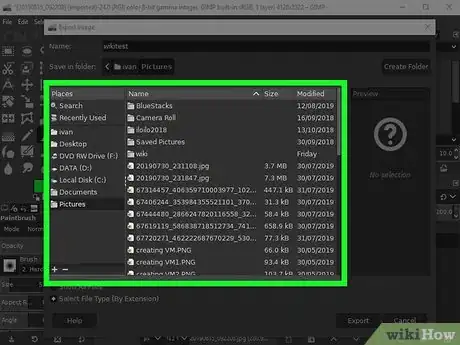
5Select a saving location for your new picture. Find and click the folder you want to save your new picture in the dialogue box.
-
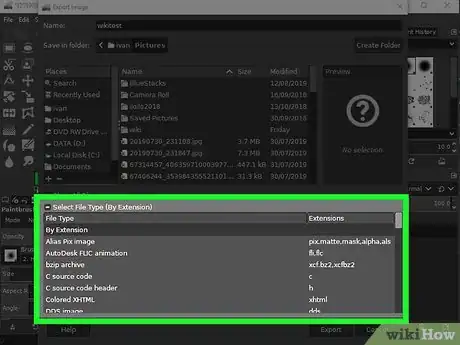
6Click Select File Type at the bottom. You can find this option at the bottom of the dialogue box. It will extend a list of all the image file types you can export your new picture as.
-
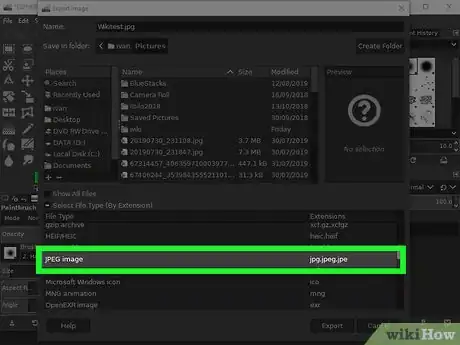
7Select an image format for your new image. You can select a common image format like JPEG, TIFF, or PNG here.
-
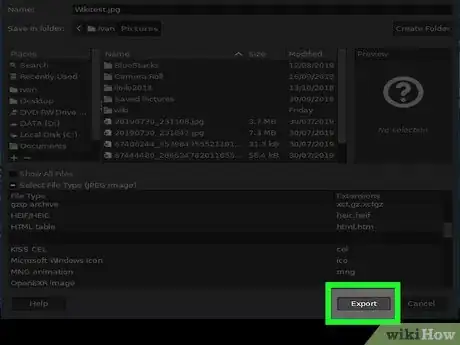
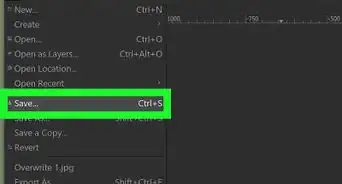
8Click the Export button. This button is on the bottom-right corner of the dialogue box. It will export and save your new image to the selected folder.
- Some image formats like JPEG may prompt you to select an image quality in an extra pop-up. If you're prompted, you can optionally adjust the properties here, and click Export to finalize.
Community Q&A
-
QuestionAn object has a yellow color, but I want to change it to white. What is the hue saturation to get white color for an object. My gimp version is 2.8.
 Community AnswerMove the slider for saturation on the selected area all the way down. In the selected area, use Image > Curves and play around with it until it turns white.
About This Article
1. Open a new image in GIMP.
2. Create a new, transparent layer.
3. Click the front color layer on the top-left, and select a color.
4. Use the Free Select (Lasso) tool to select an area.
5. Use the Bucket Fill tool to paint the selected area.
6. Change the transparent layer's Mode to Color.
7. Create a new, transparent layer.
8. Use the Paintbrush tool paint on the picture.
9. Change the paintbrush layer Mode to Hue.
