wikiHow is a “wiki,” similar to Wikipedia, which means that many of our articles are co-written by multiple authors. To create this article, 9 people, some anonymous, worked to edit and improve it over time.
This article has been viewed 172,265 times.
Learn more...
The GNU Image Manipulation Program (usually referred to simply as "GIMP") is a powerful image editing software application. The program's popularity is a result of both its full range of features and its free and open source license. Users can use GIMP to perform both basic and complex manipulations to any digital image. One of the many adjustments available in GIMP is altering the brightness of an image. There are 2 ways to adjust brightness in GIMP: uniformly through the "Brightness" setting, or non-uniformly through the "Curves" menu.
Steps
Adjust Brightness Using "Brightness" Setting
-
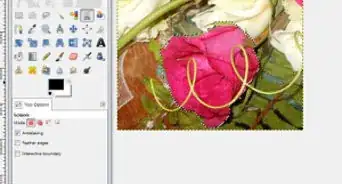
1Select the layer you want to adjust. After opening your image in GIMP, click on the layer that needs adjustment in the Layers dock. If you are adjusting the brightness of an image that hasn't been split into layers, the single layer "Background" will be selected by default.
-
2Open the "Brightness-Contrast" dialog box. There are 2 ways to open this menu. The first is to click on "Tools" in the main tool bar, and then select "Color Tools" and "Brightness-Contrast." The second way is to click on "Colors" in the tool bar and then select "Brightness-Contrast."Advertisement
-
3Adjust the brightness of the layer. Use the slider labeled "Brightness" to adjust the layer's brightness. Moving the slider to the left makes the layer darker, while moving it to the right makes the layer lighter. Note that this transformation will occur uniformly, which means that it will increase or decrease the brightness of each pixel by the same magnitude.
- For example, if you increase the brightness of a layer that is too dark overall, the finished image will likely have a washed-out appearance. This is because the brightness slider turns the layer's darkest tones (like black) into medium tones, and so the overall contrast has been reduced.
- To adjust brightness in a non-uniform manner, you should use the "Curves" menu instead. This will allow you to adjust brightness while preserving the layer's tonal variety.
-
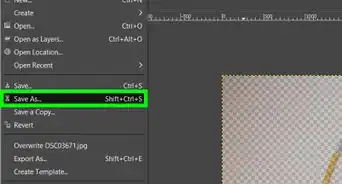
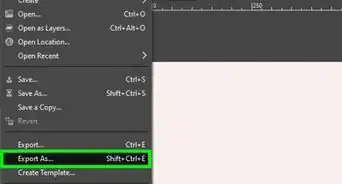
4Save your changes. Click "OK" to apply the changes you've made. Remember to save the image before closing GIMP.


Adjust Brightness Using "Curves" Menu
-
1Open the "Curves" menu. To do this, click on "Colors" in the main tool bar, and then click on "Curves." This menu can also be accessed through the "Tools" option.
-
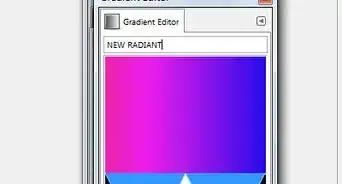
2Familiarize yourself with the curves interface. In the "Curves" menu, you will see a 2-axis graph with a line stretching between the lower-left and upper-right corners. The horizontal axis represents the current tonal spectrum of your layer, while the vertical axis represents the adjusted tonal spectrum. By clicking and dragging the line to adjust its shape, you are telling GIMP to adjust each tone on the x-axis to its new position on the y-axis.
-
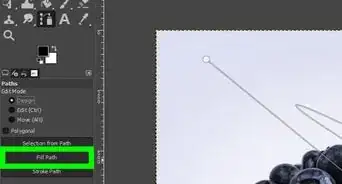
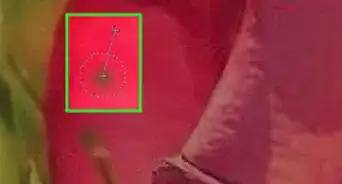
3Add a control point to the curves graph. To begin editing your graph, you need to add a control point. To do this, click once at any point along the linear graph. You will see a small circular node appear. This is a control point, which you can use to adjust the shape of the graph. Additional control points can be added later to achieve more intricate shapes.
-
4Adjust the shape of the graph. To make your layer brighter, for instance, click on the control point you created and drag it upwards. This will turn the linear graph into an upward curve. The mid-tones of the image are now brighter, but the darkest and lightest tones have remained unchanged, so the image will not have a washed-out appearance. To make the image darker, drag the control point downwards.
-
5Save your changes. Click the "OK" button to apply the changes you've made. Make sure to save your image before exiting GIMP.


Things You'll Need
- Computer
- GIMP software