This article was co-authored by wikiHow staff writer, Darlene Antonelli, MA. Darlene Antonelli is a Technology Writer and Editor for wikiHow. Darlene has experience teaching college courses, writing technology-related articles, and working hands-on in the technology field. She earned an MA in Writing from Rowan University in 2012 and wrote her thesis on online communities and the personalities curated in such communities.
This article has been viewed 41,428 times.
Learn more...
This wikiHow will teach you how to enable SSH in CentOS 7. Since SSH comes pre-installed along with CentOS, you'll just need to run a command to enable it. Once you've enabled SSH, make sure port 22 is open on your router to allow incoming connections.
Things You Should Know
- Enter this code into your command-line utility:
sudo yum -y install openssh-server openssh-clientssudo systemctl start sshd-
sudo systemctl status sshd. - You should now see an "active" status.
Steps
-
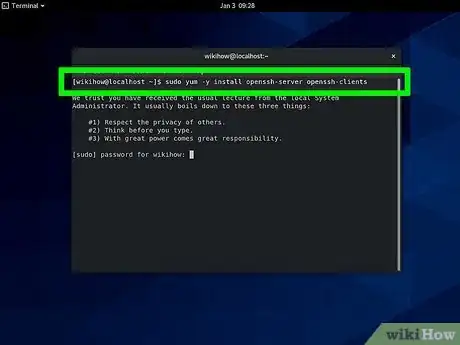
1Enter the following code into your command-line utility:
sudo yum -y install openssh-server openssh-clients.[1]- This code installs the appropriate SSH server and client type.
-
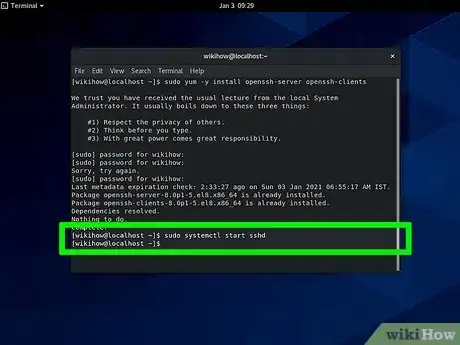
2Enter the following code:
sudo systemctl start sshd.- With this active, the SSH service will start and will listen continuously for actions from clients, like connection requests.
Advertisement -
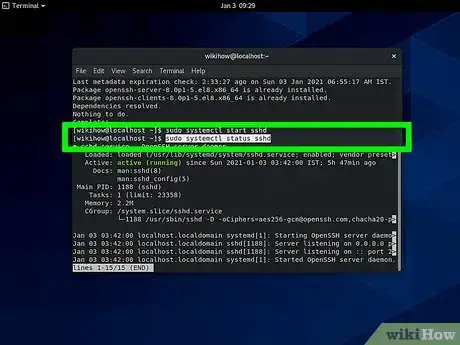
3Enter the following code:
sudo systemctl status sshd.- You should see an "active" status. If you don't, you may need to restart your system and try again.
- To stop SSH, enter
systemctl stop sshdand you'll see an "inactive" tag. - If you want SSH to automatically start whenever you reboot the system, enter:
sudo systemctl enable sshd. Change "enable" to "disable" if you want to cancel the automatic setting.
References
About This Article
1. Install the SSH server and client type.
2. Start the SSH service.
3. Check the sshd status.
