X
This article was co-authored by wikiHow staff writer, Nicole Levine, MFA. Nicole Levine is a Technology Writer and Editor for wikiHow. She has more than 20 years of experience creating technical documentation and leading support teams at major web hosting and software companies. Nicole also holds an MFA in Creative Writing from Portland State University and teaches composition, fiction-writing, and zine-making at various institutions.
This article has been viewed 19,912 times.
Learn more...
This wikiHow teaches you how to enable different types of keyboards for Windows and macOS.
Steps
Method 1
Method 1 of 5:
Enabling the On-Screen Keyboard (Windows)
-
1Click the Search icon. It’s usually a magnifying glass or white circle next to the Start menu.
- If you don’t see these icons, press ⊞ Win+S.
-
2Type keyboard. A list of search results will appear.Advertisement
-
3Click On-Screen Keyboard. It should be near the top of the search results.
-
4


Advertisement
Method 2
Method 2 of 5:
Enabling the Touch Keyboard (Windows)
-
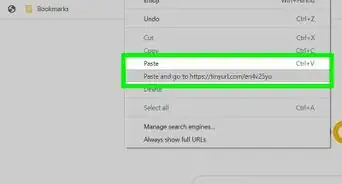
1Right-click the part of the taskbar with the clock. It’s usually at the bottom-right corner of the screen. A menu will appear.
-
2Click Show touch keyboard button. This adds a small keyboard icon to the area by the clock.
- If you have a lot of icons in this area, click the arrow to display the icons you can’t see.
-
3Click the keyboard icon. This opens the touch keyboard. You can now use your touchscreen to type.


Advertisement
Method 3
Method 3 of 5:
Adding Another Language Keyboard (Windows)
-
1Click the Search icon. It’s usually a magnifying glass or white circle next to the Start menu.
- If you don’t see these icons, press ⊞ Win+S.
-
2Type region. A list of results will appear.
-
3Click Region & Language. It should be the first match.
-
4Click + Add a language. A list of languages will appear.
-
5Click the language you want to enable. This downloads the language and adds it to the Languages list.
-
6Click the language you just downloaded. It’s under the “Languages” header. Some buttons will appear.
-
7Click Options.
-
8Click Download. The keyboard for this language will download to the computer. When it’s finished installing, you’ll be prompted to restart the computer.
-
9
-
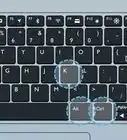
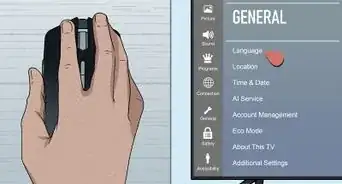
10Switch the keyboard to the new language. Now when you need to switch languages, press and hold ⊞ Win and the Spacebar to bring up the language list, then click the language you want to use.


Advertisement
Method 4
Method 4 of 5:
Detecting a New Keyboard (Windows)
-
1Plug the keyboard cord into the computer’s USB port. If you plugged the keyboard in and it was not automatically detected, unplug the cable, then plug it back in.
-
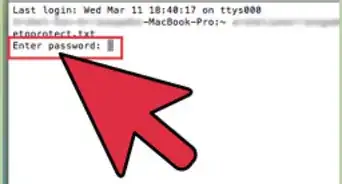
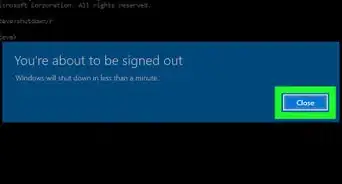
2Open the Device Manager. If the keyboard is still not detected, type device manager into the search bar, then click Device Manager in the search results.
-
3Right-click Keyboards. A context menu will appear.
-
4Click Scan for hardware changes. This scans the computer for new keyboards. Once your keyboard is detected, the appropriate drivers will be installed.


Advertisement
Method 5
Method 5 of 5:
Enabling the Accessibility Keyboard (macOS)


About This Article

Nicole Levine, MFA
wikiHow Technology Writer
This article was co-authored by wikiHow staff writer, Nicole Levine, MFA. Nicole Levine is a Technology Writer and Editor for wikiHow. She has more than 20 years of experience creating technical documentation and leading support teams at major web hosting and software companies. Nicole also holds an MFA in Creative Writing from Portland State University and teaches composition, fiction-writing, and zine-making at various institutions. This article has been viewed 19,912 times.
How helpful is this?
Co-authors: 1
Updated: May 18, 2021
Views: 19,912
Categories: Basic Computer Skills
Advertisement