wikiHow is a “wiki,” similar to Wikipedia, which means that many of our articles are co-written by multiple authors. To create this article, 11 people, some anonymous, worked to edit and improve it over time.
The wikiHow Tech Team also followed the article's instructions and verified that they work.
This article has been viewed 255,212 times.
Learn more...
Extracting is the process of cutting out an object from its background. This is an important skill to learn for those who wish to enter any career using an image editing program such as GIMP. While most people use Photoshop, GIMP is a great open source alternative for those who can't afford or dislike Photoshop. This article will teach you how to use GIMP to extract an image.
Steps
-
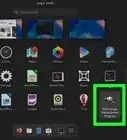
1Open your image. There is no required format, but .xcf (GIMP file) is recommended. However, you may use a .jpg, .gif, .png, or any editable image file. We used this image, for example.
-
2Advertisement
-
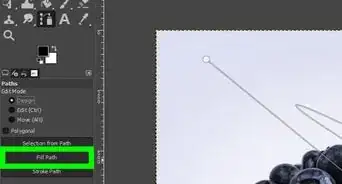
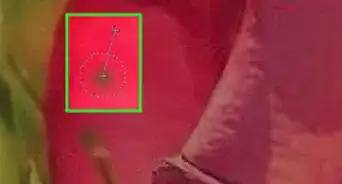
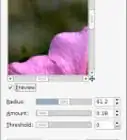
3Begin putting anchors around your image. Each anchor is represented as a circle, and two anchors are connected by a straight line. That line is the cutting line, so make sure that it is hovering just off the outline of the object, or touching it. Once you've reached the point where you started, move on to the next step.
-
4
-
5
-
6
-
7
-
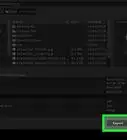
8Invert and cut out your object. It is important to do that in that order. Press CTRL+I to invert and then CTRL+X to cut. Your object should now be on a checkerboard background, indicating that it is transparent.
-
9Erase any remaining pieces of background. Unless the path was 100% perfect, there will be small pieces of background stuck to the outside of the object or small divots where pieces of the object were cut out. While not much can be done to fill in spots that were cut out, the leftover background can be erased. Take a 1 pixel eraser and remove anything leftover.
-
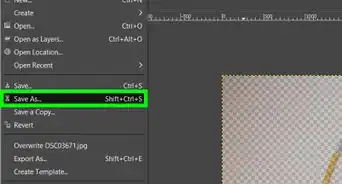
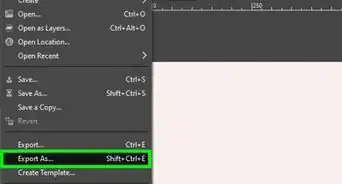
10Save the file.
- If you have a multi-layer image, regardless of whether you want to keep transparency, it must be saved as an .xcf image.
- If you want it to stay transparent, you must save as an .xcf, .gif or png file. Other formats can't handle transparency, and will put the image on a white background.
- If you want to upload it to the Internet, saving 2 copies is recommended. In the file menu, click "Save a Copy...", and save it as a .xcf file. This file you just saved shall stay transparent and allow you to make changes without extracting again, while keeping the current image intact, which you can continue to edit or save as your preferred format.


Warnings
- Be neat and take your time. If you don't like the job you've done, it will have to be extracted again, which wastes time.⧼thumbs_response⧽