This article was co-authored by wikiHow staff writer, Jack Lloyd. Jack Lloyd is a Technology Writer and Editor for wikiHow. He has over two years of experience writing and editing technology-related articles. He is technology enthusiast and an English teacher.
The wikiHow Tech Team also followed the article's instructions and verified that they work.
This article has been viewed 298,075 times.
Learn more...
This wikiHow teaches you how to force your Mac's user "Library" folder to show up in the Finder window. While the "Library" folder is hidden by default, you can prompt it to appear both temporarily and permanently.
Steps
Showing the Library Folder Temporarily
-
1
-
2Click Go. It's a menu item at the top of the screen. Clicking it prompts a drop-down menu.Advertisement
-
3Hold down the ⌥ Option key. This key is in the lower-left corner of the Mac keyboard. Holding it down will prompt the Library folder to appear in the Go drop-down menu.
-
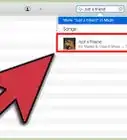
4Click Library. It's in the middle of the drop-down menu under the "Home" option. Doing so will open the Library folder in the Finder window.
- Once you close the Finder window in which the Library folder is open, you can let go of the ⌥ Option key.


Showing the Library Folder Permanently
-
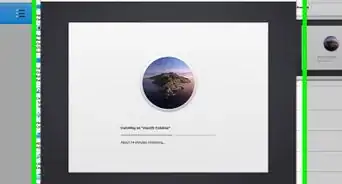
1Make sure that your Mac is up to date. Menu options change with different versions of your Mac's operating system, though the following instructions should work on macOS Sierra and High Sierra.
-
2
-
3Click Go. It's a menu item at the top of the screen. Clicking it prompts a drop-down menu.
-
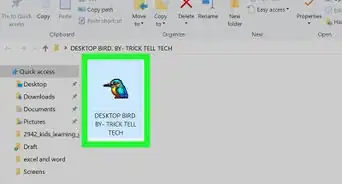
4Click Home. This option is near the middle of the Go drop-down menu. Doing so opens the Home folder in the Finder window.
-
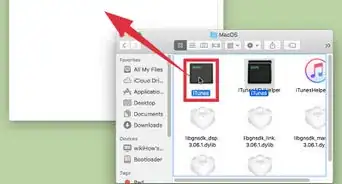
5Click a blank space in the Finder window. Doing so will ensure that your Finder window is centered on the Home folder.
-
6Right-click the window. On a Mac with a trackpad or an Apple mouse with one mouse button, click the Finder window with both fingers to perform a right-click. This will prompt a drop-down menu.
- Alternatively, you can hold the Control key and click the Finder window to perform a right-click.
-
7Click Show View Options. It's at the bottom of the drop-down menu. A pop-up window will open with some additional options.
-
8Check the "Show Library Folder" box. This option is near the middle of the pop-up window.
-
9Click Use as Defaults. It's at the bottom of the window. At this point, you can close and re-open Finder without worrying about the Library option disappearing from the Go menu or the Home folder.


Warnings
- Do not move, rename, or delete anything inside the Library folder unless you know what it does.⧼thumbs_response⧽
- The Library folder is not for storing documents. If you're looking for photos, music, or similar files, you'll want to go to the Home folder.⧼thumbs_response⧽


References
About This Article
1. Open Finder
2. Click Go in the menu bar at the top.
3. Hold down the option key.
4. Click Library in the "Go" menu.