A comprehensive walkthrough on removing water stains from furniture

Water and wood definitely don't mix, but we're here to help you restore wood furniture that got a little soggy. There are a lot of repair options based on the extent of the water damage and the way you want the finished piece to look, and we’ll break down all of your options. Read on to learn everything you need to know about repairing water-damaged wood.

Things You Should Know

  • Dry the wood out if it’s still wet, remove any unsalvageable wood, and fill in cracks or gaps with auto-body filler to create a flat, even surface.
  • Treat water-based stains by applying mayonnaise, petroleum jelly, lemon juice, toothpaste, mineral spirits, dish soap, or oxalic acid to the wood and wiping it off.
  • Strip the previous finish using solvent or sandpaper. Then, paint or stain the wood and seal the furniture in varnish to restore your piece.
1

Let the wood air dry.

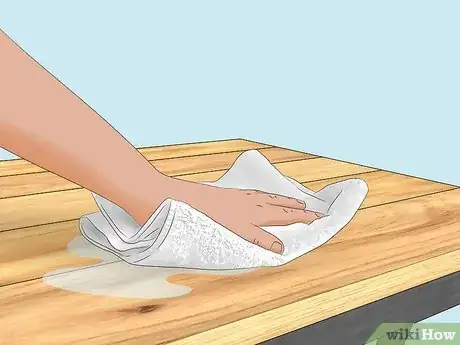
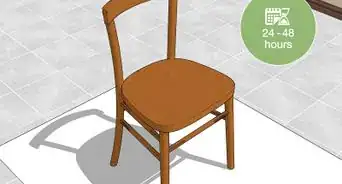
  1. Wipe up any standing water, then air the wood out. If you notice any moisture or water, wipe it up with a dry rag or cloth. Then, wait 24-48 hours to give any trapped moisture enough time to evaporate. Open the windows, turn any fans on or run a dehumidifier to keep moisture from building up.[1]
    • If you’re in a rush, use a hair dryer to dry the wood out.
    • So long as you dry the wood, remove the prior finish, sand, and refinish the wood, you'll cover up any water damage.
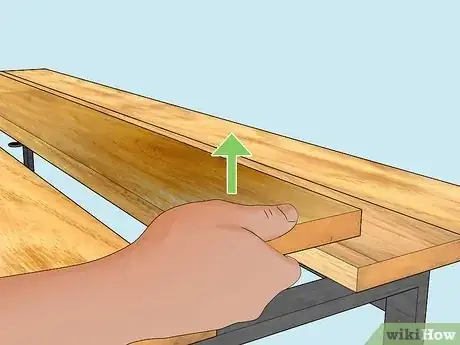
    • This process applies to wood flooring as well, but only for spot damage that hasn’t soaked into your subfloor. If the subfloor below the planks has water damage, hire a flooring contractor to replace the wood.[2]
  2. Advertisement
3

Treat water stains.

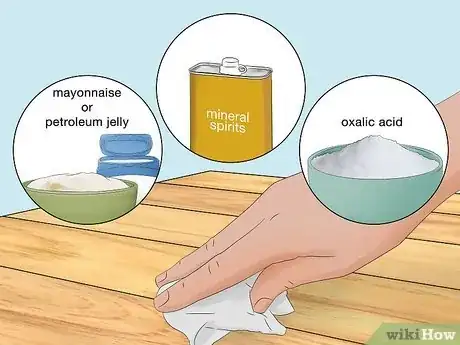
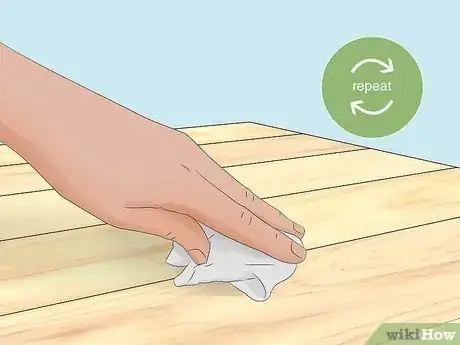
  1. Work the water stains away using the product of your choice. You may only need to treat lighter stains once, while darker stains may require multiple attempts. As a rule of thumb, use harsher ingredients for deeper, darker stains. Wipe the material by hand after rinsing it and wait 24 hours for the wood to dry out when you’re done.[5] Options include:
    • Mayonnaise or petroleum jelly: Take a dab of either mayo or petroleum jelly and rub it into the stain with a soft cloth. Wait 1-2 hours before wiping the mayo or jelly off. The oil from the mayo or jelly will remove moisture and restore the wood.
    • Mineral spirits: Put gloves on and pour a small amount of mineral spirits over the stain. Wipe with a cloth following the grain of the wood, then rinse the spirits off. The spirits will soak into the wood and remove penetrated stains.
    • Oxalic acid: For darker, tougher water stains, mix 1 part oxalic acid with 6 parts water. Put on gloves and scrub the stains with a cloth and your acid mixture. Then, rinse the acid off and dry the wood by hand.
  2. Advertisement
4

Strip the wood’s finish.

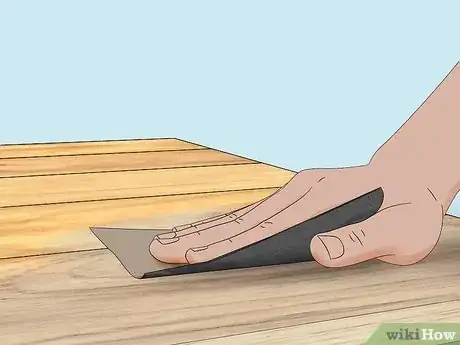
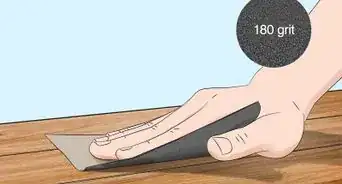
  1. Sand the wood down or use a chemical to remove the finish. If the wood is unfinished, skip this step. However, if your furniture has any paint, varnish, or stain, it’s time to get rid of it. Sanding down the surface of the wood is an option that works for any finish. For shellac or lacquered wood, use a denatured alcohol instead of sanding. For polyurethane or paint, use a chemical stripper.[6]
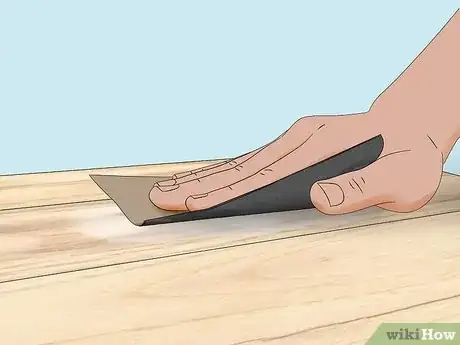
    • Sanding: Work your way from 150-grit to 220-grit sandpaper to remove the finish in layers. Use an orbital sander for tabletops of flat surfaces, or sheets of sandpaper for uneven surfaces.
    • Denatured alcohol: Put on gloves and wipe the wood down using denatured alcohol. Scrub by hand and then rinse the alcohol off. Dry the wood by hand with a cloth.
    • Chemical stripper: Purchase a chemical stripping agent and throw some gloves on. Follow the instructions to apply the stripper, wait, and then scrub the stripping agent off.
6

Fill in gaps or cracks.

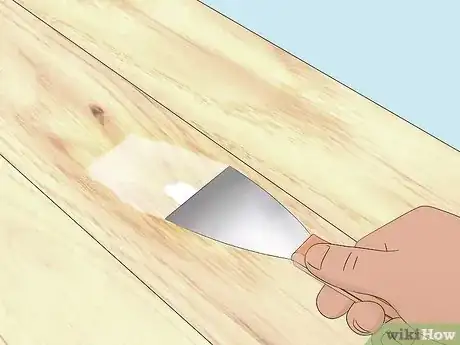
  1. Use auto body filler to fill in any missing material. Follow the instructions on the label to mix and prepare it. Then, apply the filler to any cracks or gaps in the wood. Use a gloved finger to work it into the opening, or use a putty knife to work it into gouges in flatter surfaces.[8]
    • Keep adding filler until the gap is full. If the putty is uneven, flatten it out with the edge of your putty knife. Continue scraping the surface until the putty is even with the wood.
    • Putty filler typically dries in roughly 30 minutes, but refer to the instructions on your filler.
    • This is totally optional. If you don’t mind the damage or you think the cracks or damage add a little character, you’re free to leave them.
    • There are wood fillers out there that work the same way, but a lot of people swear by the auto body stuff.
9

Stain or paint the wood.

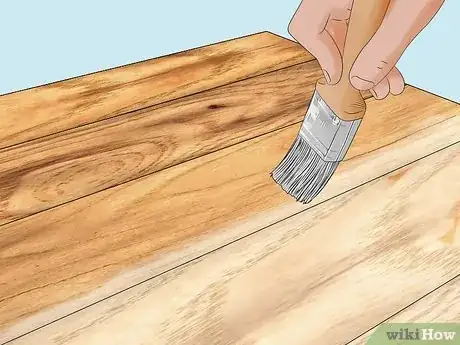
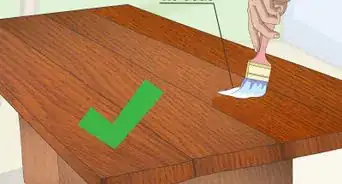
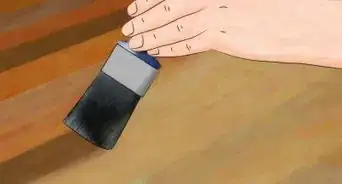
  1. Apply whichever finish you’d like based on your personal preference. Opt for a wood stain if you want a more natural look, or paint the furniture to give it an entirely new vibe. Put a dropcloth down, grab a brush or roller and a paint tray, and coat your furniture in the stain or paint. Wait for the furniture to dry and then apply 2-3 additional coats until you achieve the opacity you’re looking for.[11]
    • If the stain is still visible and you really want to cover it up, painting the wood is probably better than staining it.
    • Use a stain or paint that closely resembles the rest of the wood to touch up small spots, or stain and paint the entire item to ensure you have a uniform look.
  2. Advertisement
10

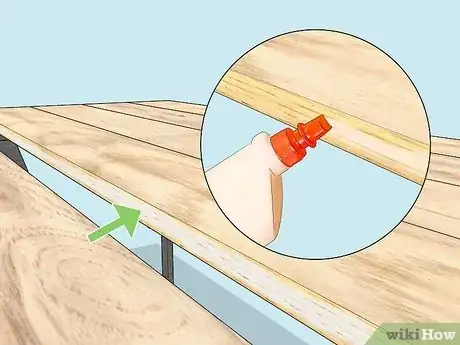
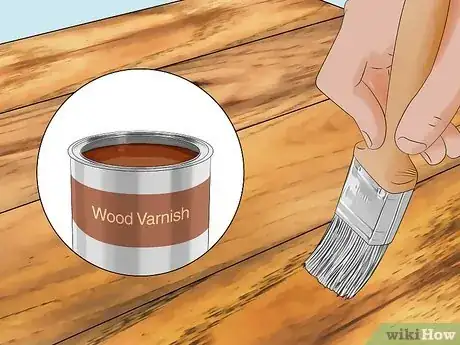
Varnish the wood to seal it.

Warnings

  • Put on gloves, long sleeves, and a dust mask if you’re working with mineral spirits or oxalic acid.[14]
    ⧼thumbs_response⧽
Advertisement

About This Article

Ryan Owsiany
Co-authored by:
Drywall & Painting Specialist
This article was co-authored by Ryan Owsiany and by wikiHow staff writer, Eric McClure. Ryan Owsiany is a Drywall and Painting Specialist and the Owner of Patch and Paint Pros in Conshohocken, Pennsylvania. With over two decades of experience, Ryan specializes in interior and exterior house painting as well as drywall, plaster, and water damage repair. Ryan holds a BS in Industrial Engineering from Penn State University. Patch and Paint Pros only employ experienced, friendly painters that understand proper preparation is required to ensure client satisfaction on every painting project.
How helpful is this?
Co-authors: 3
Updated: March 17, 2023
Views: 688
If you buy through links on our site, we may earn a commission.
Advertisement