This article was co-authored by wikiHow staff writer, Travis Boylls. Travis Boylls is a Technology Writer and Editor for wikiHow. Travis has experience writing technology-related articles, providing software customer service, and in graphic design. He specializes in Windows, macOS, Android, iOS, and Linux platforms. He studied graphic design at Pikes Peak Community College.
The wikiHow Tech Team also followed the article's instructions and verified that they work.
This article has been viewed 44,021 times.
Learn more...
This wikiHow teaches you how to format a micro SD card on Nintendo Switch. You are required to format a micro SD card before using it with a Nintendo Switch. All data on stored on the micro SD before formatting will be lost and cannot be recovered. Backup any data you want to keep on the micro SD card before formatting it. The micro SD card will not be usable with any other device.
Steps
-
1Insert a micro SD card. The micro SD card slot is below the kickstand on the back of the Nintendo Switch. Insert it with the label facing away from the console.
-
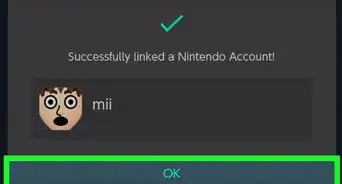
2Power the Nintendo Switch on. To power on the Nintendo Switch, press the power button on the top of the Nintendo Switch. It's the button that has an icon of a circle with a line through it. It's on the left side of the Nintendo Switch next to the "+" and "-" volume buttons.
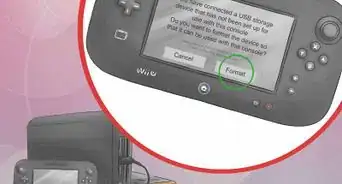
- If you insert a micro SD card with previous data on it, you will be asked to format the micro SD card. Select Format to and follow the instructions to format the SD card immediately. Select Later to do it later on through the System Settings menu.[1]
Advertisement -
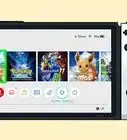
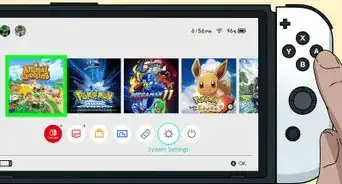
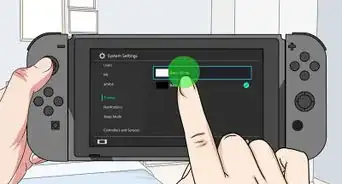
3Select the gear icon on the home screen. The icon that resembles a gear on the Home screen is the System Settings menu. Select this icon to open System Settings.
- You can select items on the Nintendo Switch by tapping the screen or navigating to it with the controller and pressing "A".
-
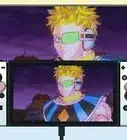
4Scroll down and select System. The "System" option is at the very bottom of the System Settings menu.
-
5Scroll down and select Formatting Options. It's the last option on the System menu in System Settings.
- If you have parental controls set up, you will be required to enter your parental control PIN to access Formatting Options.
-
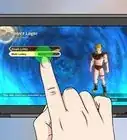
6Select Format microSD Card. It's the second option from the bottom of the Formatting Options menu.
-
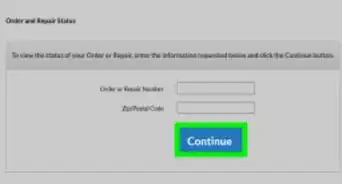
7Select Continue. A warning screen appears advising you to backup all important data from the micro SD card before formatting it. If you don't wish to backup anything from the micro SD card, select Continue. If you want to retrieve data from the micro SD card, select Cancel and remove the micro SD card. Backup the data you want to keep before formatting it. You will not be able to retrieve any data on the micro SD card after formatting it.
-
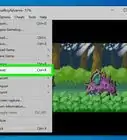
8Select Format. It's the red button in the center of the screen. This will erase all the contents of your micro SD card and format it. The micro SD card storage space will be available to use with the Nintendo Switch immediately. [2]


References
About This Article

1. Insert a micro SD card.
2. Select the System Settings menu.
3. Select System.
4. Select Formatting Options.
5. Select Format micro SD card and follow the instructions.