X
wikiHow is a “wiki,” similar to Wikipedia, which means that many of our articles are co-written by multiple authors. To create this article, volunteer authors worked to edit and improve it over time.
This article has been viewed 53,619 times.
Learn more...
Any organized crafter or handyman knows that a pegboard is the fastest, cheapest way to hang tools on a wall. You can purchase sheets of pegboard and hook sets for as little as $20. Add some paint and molding, and your pegboard becomes an attractive framed wall hanging.
Steps
Part 1
Part 1 of 4:
Gathering Supplies
-
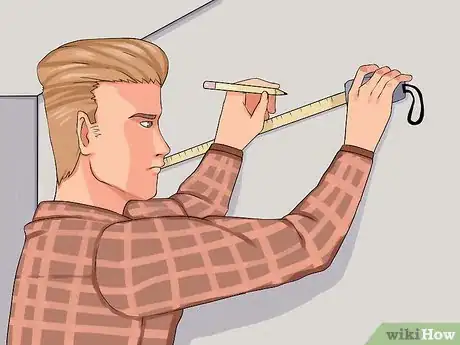
1Measure the wall in your home or garage where you want to hang the pegboard. Use a retractable measuring tape. Remember to measure height and width twice to ensure accuracy.
-
2Go to the hardware store. Purchase a piece of pegboard that is bigger or equal to the size of your wall space. Ask the hardware store to cut the pegboard to the exact size.
- Most hardware stores cut small sheets of wood and pegboard for free. Pre-cutting it will allow you to transport it more easily, and it will save you time.
- Keep the extra pieces if you want to make and frame smaller pegboard organizers.
- If you have a sheet of pegboard at home, use a circular saw to measure and cut the sheet to size.
Advertisement -
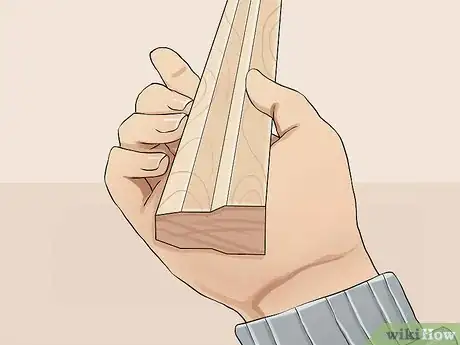
3Find sheets of crown molding or trim at the hardware store. Buy one sheet of for each side, to serve as your frame. Each side should be about eight inches longer than the side’s measurement so that you can miter the corners into an attractive frame.
-
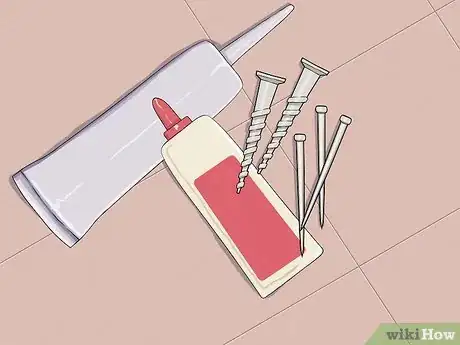
4Pick up white caulk, finishing nails, wood glue, two pieces of scrap wood and long wood screws. You will also need some paint and tools if you don’t have them at home.
Advertisement
Part 2
Part 2 of 4:
Cutting the Frame
-
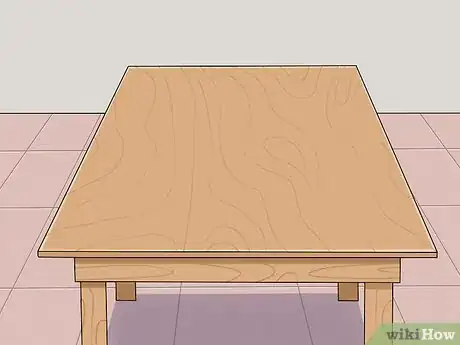
1Clear a clean work table for this project. If you don’t have a beat up table, you will want to cover the top in cardboard and wrap it with a drop cloth to avoid marring the top.
-
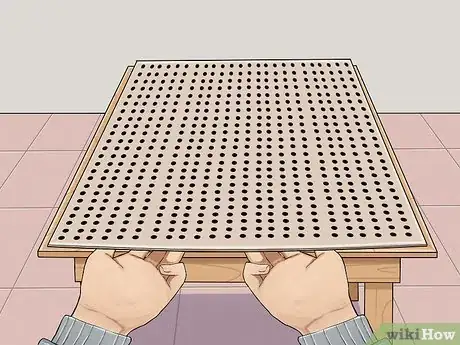
2Lay your pegboard on top of the table, facing up. Place your crown molding across each side. The molding will intersect at the four corners.
-
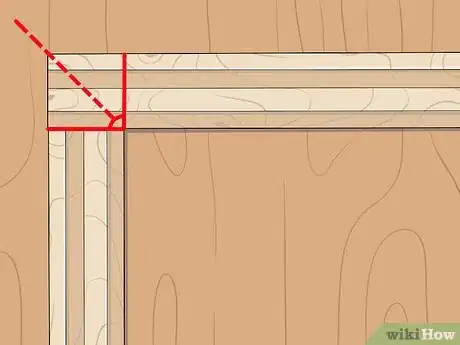
3Mark the 45-degree angle where two ends intersect with a pencil. Imagine this is the corner of the frame where the two ends come together. The angle should extend from the far corner, diagonally into the point where it meets the pegboard.[1]
- Repeat on all four corners.
- Although you should measure and mark the corners carefully, it does not have to be perfect, since you can sand and use caulk to account for discrepancies later.
-
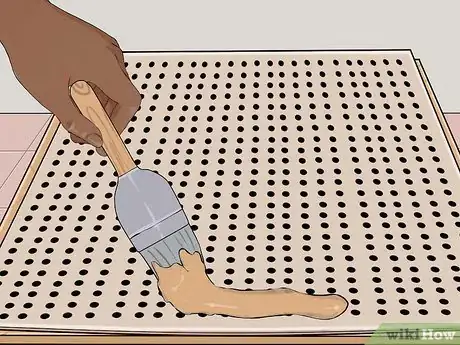
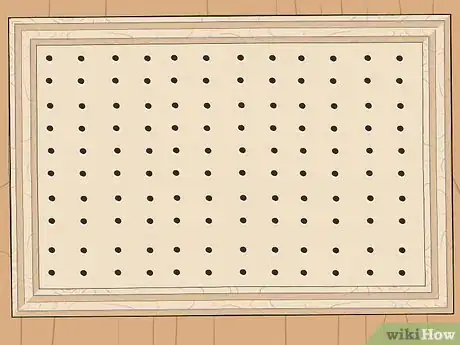
4Remove the molding. Paint the front of your pegboard in the color of your choice. If you prefer not to have colored pegboard, you can keep it the original tan or white color and paint the molding to compliment it.
Advertisement
Part 3
Part 3 of 4:
Constructing the Frame
-
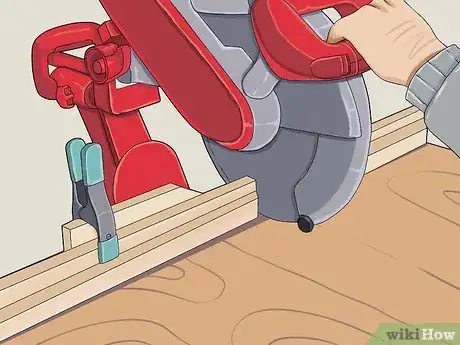
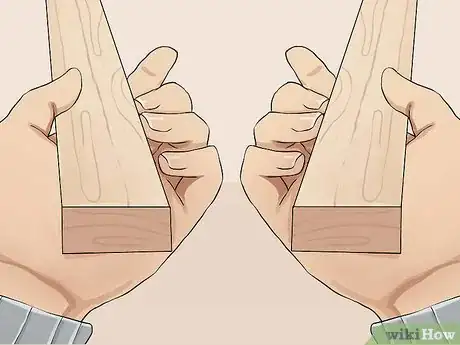
1Set up a miter saw. Cut at all the corners across your 45-degree pencil lines. Sand the edges slightly to remove unsightly bumps or chips.[2]
- Test the corners to ensure they line up.
-
2Place the molding on the worktable. Paint them the same color as your pegboard or a complementary color. You may need two coats and a primer if they are a darker color than the board.[3]
- Allow them to dry completely before continuing.
-
3Place the pegboard back on the table, facing up. Then, lay the mitered molding into position.
-
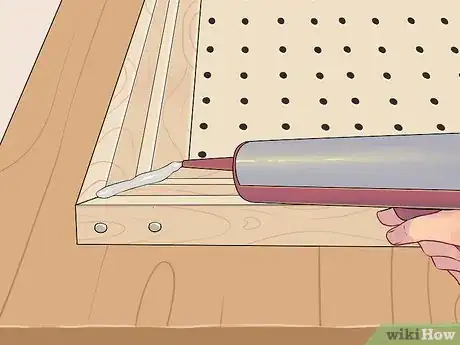
4Glue the mitered corners together with strong wood glue. Also, place a layer of wood glue across the sides of the pegboard to glue the frame on top of the board. It is easier to do both steps at once since it will need plenty of time to dry.
- Use clamps to hold the framed board in place overnight.
-
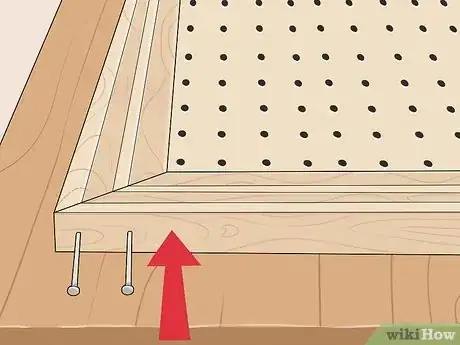
5Flip the board and frame over when they are dried. Hammer finish nails into the frame and board, where they won’t show through the front. Use as many as possible to secure the board and frame together.
-
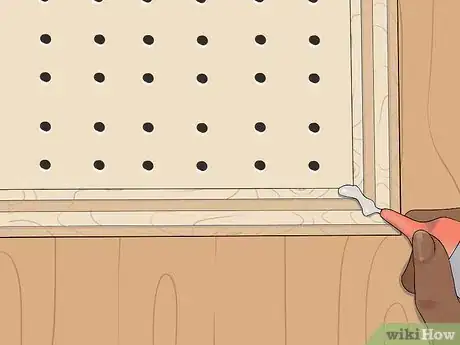
6Touch up the corners of the frame if needed. Apply a bead of caulk into the mitered corners and smooth it down to fill the holes. Allow it to dry, and then paint over it with the original paint color.
Advertisement
Part 4
Part 4 of 4:
Hanging the Framed Pegboard
-
1Find your two pieces of scrap wood. They should be at least two thirds as wide as your frame. You will use them to hang the pegboard securely, since hanging it directly into the wall can damage it.
-
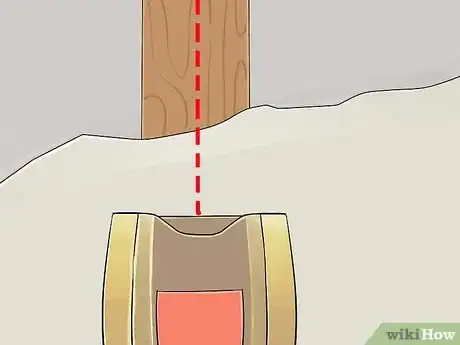
2Use a stud finder tool to find the stud position on your wall. Mark a vertical line along the center of the stud with a pencil.[4]
-
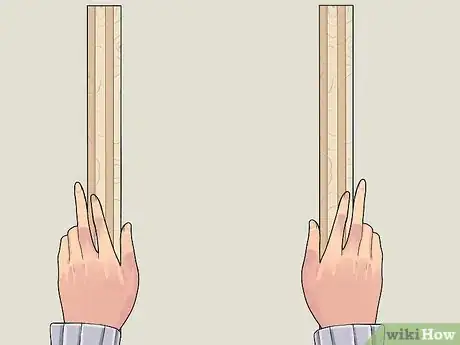
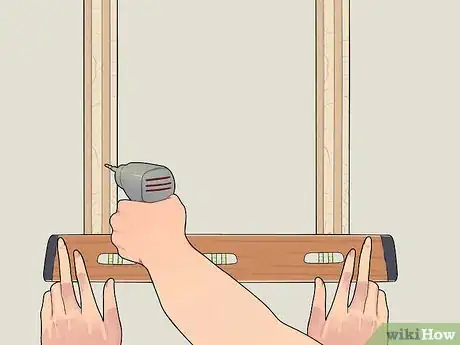
3Ask a friend to help you hold the scrap pieces of wood up on the wall about one-third the way from the bottom and one-third down from the top. They will create two parallel lines on which you can hang your pegboard. Hold the wood up and use a level to place it in the right position.
-
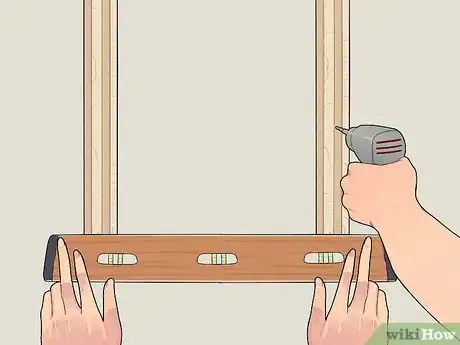
4Have your friend hold the scrap wood level. Grab your power drill. Screw the scrap wood into the wall with long wood screws where it intersects with your stud.
-
5Repeat in two places on each scrap of wood. You should have two level parallel supports securely installed into your wall.
-
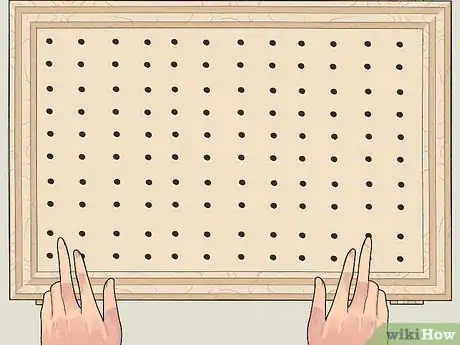
6Get a few friends to help you hold up the framed pegboard. You should be able to find where the pegboard crossed the wood supports. Level the pegboard using your spirit level.[5]
-
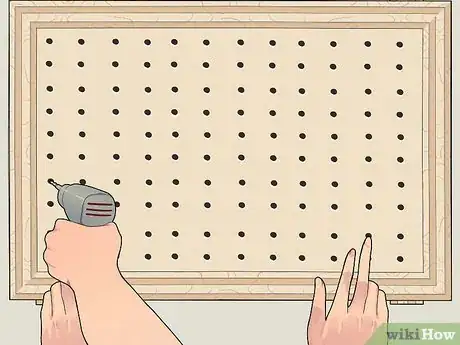
7Screw the pegboard into each wood support two to three times, through a hole in the pegboard. You may want to use a washer as well as a screw, to ensure a good distribution of weight.[6]
-
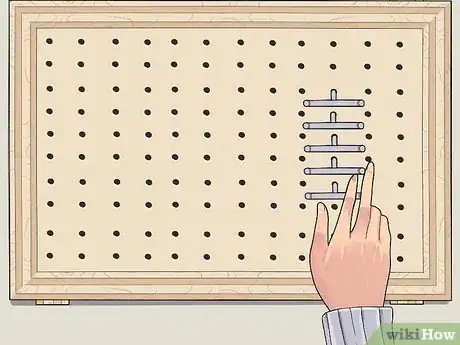
8Insert your wire pegboard hangers. Hang your tools.
Advertisement
Things You'll Need
- Retractable measuring tape
- Pencil
- Pegboard sheet
- Crown molding/trim
- Miter saw
- Sandpaper
- Paint
- Paintbrush
- Clamps
- Wood glue
- White caulk
- Finishing nails
- Hammer
- Scrap wood
- Long wood screws
- Work table
- Stud finder
- Power drill
- Washers
References
- ↑ http://www.positivelysplendid.com/2013/10/diy-pegboard-craft-organizer.html
- ↑ https://www.youtube.com/watch?v=z2uVRC6GIpw
- ↑ https://www.youtube.com/watch?v=KDQCUHYiC_8
- ↑ https://www.bhg.com/home-improvement/walls/how-to-use-a-stud-finder/
- ↑ https://www.thekitchn.com/how-to-hang-a-kitchen-pegboard-242245
- ↑ https://www.youtube.com/watch?v=tmXFhW5bCtk
About This Article
Advertisement
