This article was co-authored by Natasha Dikareva, MFA. Natasha Dikareva is a San Francisco, California based sculptor, and installation artist. With over 25 years of ceramics, sculpting, and installation experience, Natasha also teaches a ceramic sculpture workshop titled "Adventures in Clay" covering concept development, hand-building techniques, texture, and glazing techniques. Her work has been featured in solo and group exhibitions at the Beatrice Wood Center for the Arts, Abrams Claghorn Gallery, Bloomington Center for the Arts, Maria Kravetz Gallery, and the American Museum of Ceramic Art. She has taught at the University of Minnesota and the American Indian OIC School. She has been awarded the Excellence Award at the 1st World Teapot Competition, Best in Show at the 4th Clay & Glass Biennial Competition, and a Grand Prize at the American Museum of Ceramic Art. Natasha holds an MFA from the University of Minnesota and a BFA from Kiev Fine Arts College.
There are 7 references cited in this article, which can be found at the bottom of the page.
This article has been viewed 54,936 times.
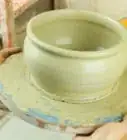
After you have made and fired your clay pot, it is ready to be glazed. Glazing gives you the opportunity to put the finishing touches on your pot by making it water resistant and even more beautiful.
Steps
Preparing for Glazing
-
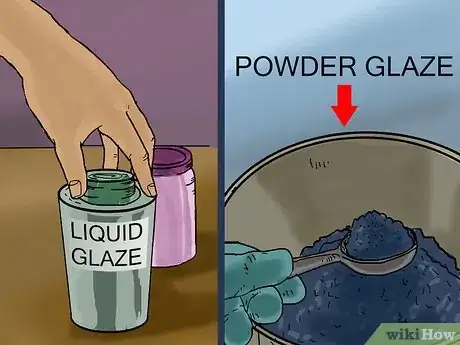
1Choose your glaze. Glazes come in a variety of colors and consistencies. They can come in liquid or powder form and can be specially formulated for specific application methods. In other words, a dipping glaze is different from a glaze designed to be brushed or sponged onto your pot.[1]
- You can buy pre-mixed glazes at your local pottery supplies store. If you are just starting out as a potter, you will probably want to begin by buying pre-mixed glazes.
- As you become more experienced with glazes, you might want to develop your own recipe based on how you want your pots to look and your favorite application method.[2]
-
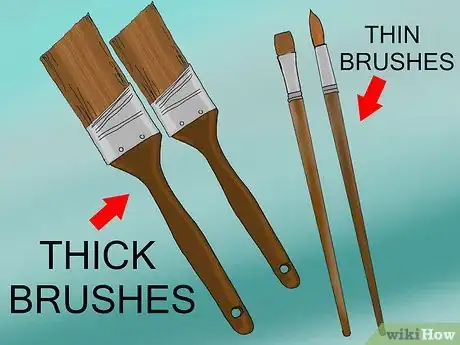
2Buy your brushes. Brushes come in various shapes and sizes and are meant to accomplish different tasks during the glazing process.
- Thick brushes are useful for covering large areas, and thinner ones for small touch-up jobs. If you buy a set you will have everything you need.[3]
Advertisement -
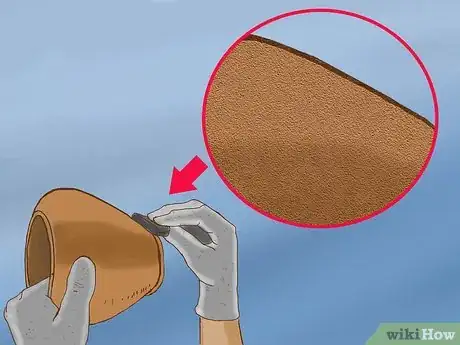
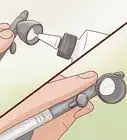
3Remove rough spots. If there is any excess clay or uneven patches left on your pot after the initial firing, you can smooth them out with sandpaper, a kitchen knife, or a dental tool.
- Wear gloves while working with your pot to prevent contaminating it with any lotions or soaps that might be on your hands.
- Be sure to work outside or in a well-ventilated area, and consider wearing a surgical mask as inhaling clay dust can be very bad for your lungs.[4]
-
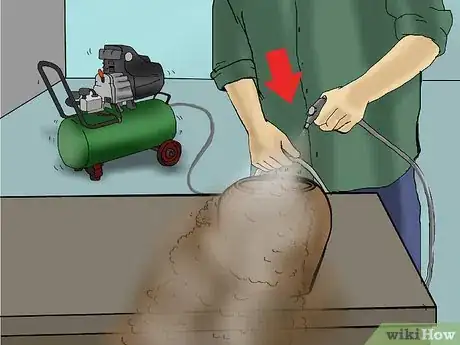
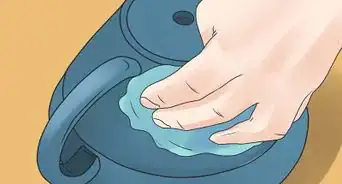
4Clean the pot. Be sure to remove all dust or other material left over after the initial firing.
- A pneumatic air compressor or canned air will do the most thorough job of removing dust, but you can also use a damp cloth or sponge. If you use a cloth or sponge, be sure to let it dry before moving on in the glazing process.[5]
-
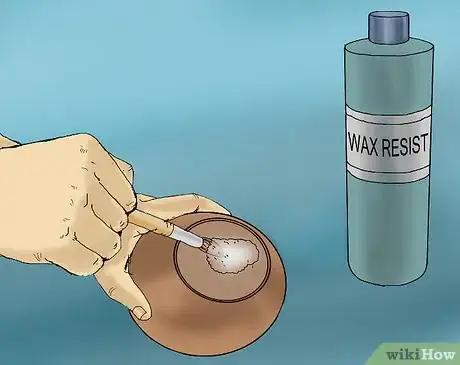
5Apply wax to the bottom of your pot. This step is designed to keep glaze off of the bottom of the pot. If there is glaze on the bottom of your pottery it can stick to the kiln shelf during firing.[6]
- You can buy wax resist products at your local pottery store that can be brushed onto the bottom of your pot, or you can dip the item into a pan of wax. Allow 15 to 20 minutes for the wax to dry.[7]
- If you don't want to use wax, you can wipe off any glaze that gets onto the bottom of your pot with a sponge or a metal scraper. Be sure to remove glaze from the foot of the pot, about one-quarter of an inch from the bottom, in case the glaze runs during firing.[8]
Preparing Your Glaze
-
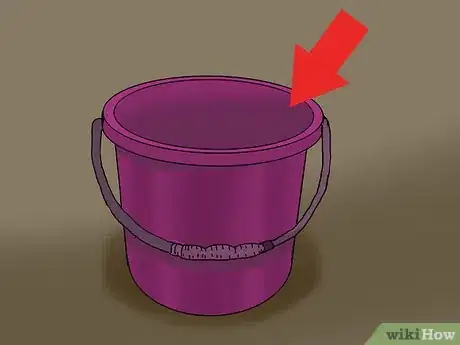
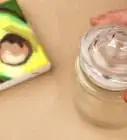
1Choose your glaze container. Plastic buckets or vats are ideal to hold your glaze, but the size of the item and the application method you intend to use can influence your choice of container.
- If your item is small enough to dip into the glaze, choose a container that is deep enough to submerge the item completely.
- Brushing or sponging requires less glaze, therefore you might use a smaller container.[9]
-
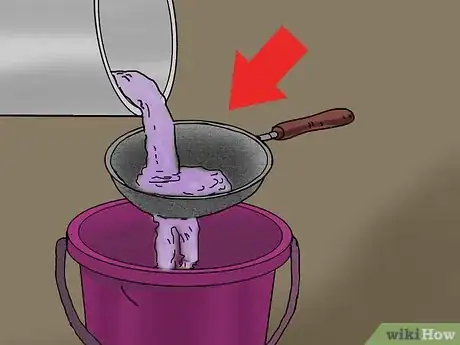
2Pour liquid glaze through a sieve. If you bought pre-mixed liquid glaze, pour it into your bucket or vat through a metal sieve to remove any lumps that have formed since it was packaged.[10]
-
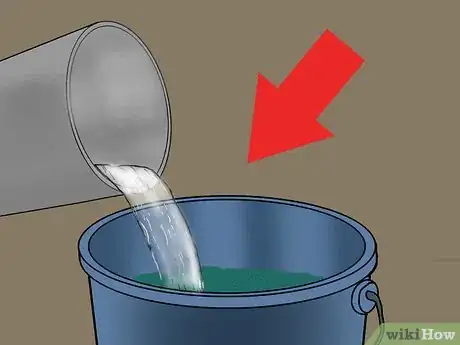
3Add water to powdered glaze. Glazes that come as powders have to be mixed with water before use. Pay close attention to the instructions to determine how much water to add.
- Adding more or less water than recommended can change the consistency of the glaze. As you become more experienced with glazing you might want to experiment with different consistencies, but the glaze you buy will probably work best by following the instructions listed on the package.[11]
-
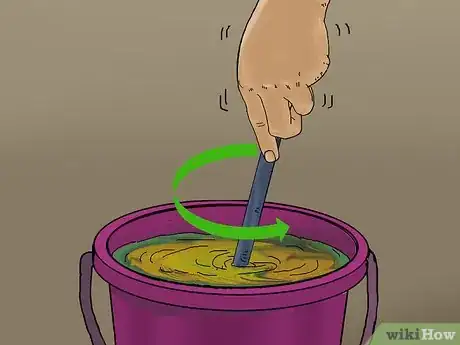
4Stir your glaze. Whether you are using liquid or powdered glaze, it will have to be vigorously stirred before use.
-
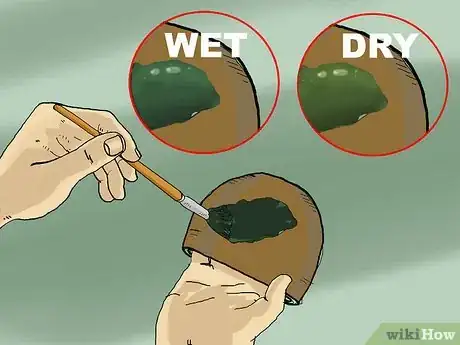
5Test your glaze. Apply the mixed glaze to a test piece of pottery. This test piece might be an item you have set aside specifically for this purpose, or it might be a leftover shard from a larger item.
- Choose a test piece that closely resembles the item you are finishing. This will provide the most reliable test.
- After applying glaze to the test piece, allow it to dry. The glaze will look slightly different dry than wet.[14]
Glazing the Inside of Your Pot
-
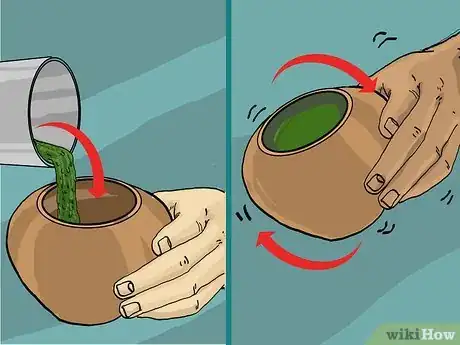
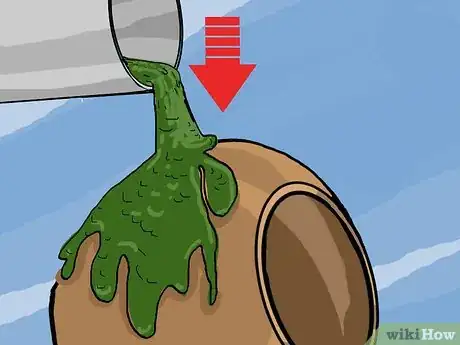
1Pour glaze into your pot. Slowly pour glaze into your pot, and swirl the item around to ensure complete coverage.[15]
-
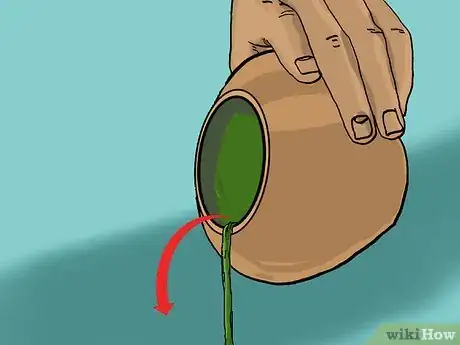
2Pour out excess glaze. You will probably have poured more into your pot than you need to coat the inside, so you can remove the rest.[16]
-
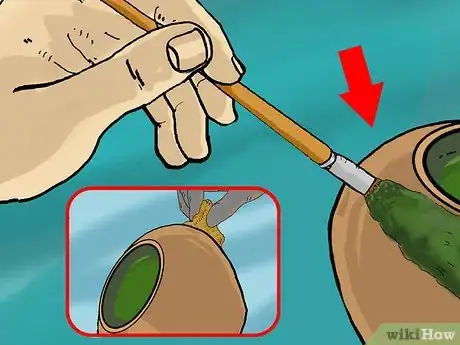
3Touch up the interior of the pot. If there are any spots that the glaze did not reach in the pouring process, fill them in using a brush. You can remove excess glaze using a damp sponge or a paint scraper.[17]
Glazing the Outside of Your Pot
-
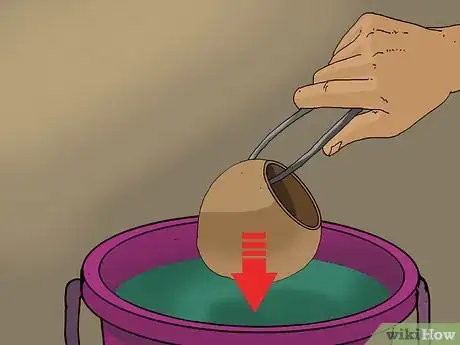
1Dip your pot into the glaze. If your item is small enough, pick it up with a pair of tongs and dip it straight into the bucket or vat of glaze until it is completely covered, remove it, and then clear excess glaze with a damp sponge, a brush, or a paint scraper.[18]
- You can buy specialized glazing tongs at a pottery supply store. If your tongs leave marks on the pot, touch them up by brushing them with glaze once you remove your item.[19]
-
2Pour on glaze. If your item is too large to dip into the glaze but small enough to hold over the bucket or vat, you can pour it over the outside of your pot. This will probably result in a thin layer outer layer of glaze.[20]
-
3Apply glaze with a brush or sponge. If your item is too large to move during the glazing process, apply the glaze with the tools at hand. Use large brushes to cover the main parts of your pottery, and small brushes or a sponge to fill in the smaller areas.
- Don't dip your tools straight into the buckets or vats of glaze. Put some of your glaze into a a cup or bowl, and dip your brush or sponge into the smaller vessel.[21]
-
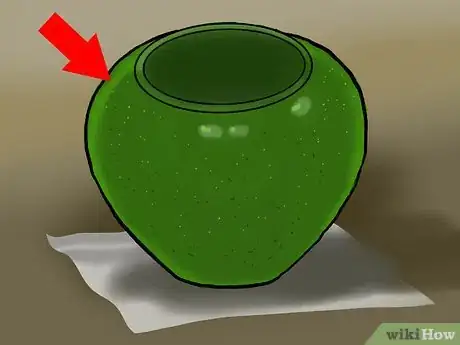
4Allow the glaze to dry. Once you have a layer of glaze on your pottery, set it aside to let it dry.
- You might want to apply a second layer of glaze to use multiple colors or create designs, but if you do so immediately after the first layer the colors might run together.[22]
-
5Add more layers of glaze. You can add as many layers of glaze as you want, and mix up your colors as well as your brushing and sponging techniques to create unique designs.[23]
Finishing Up
-
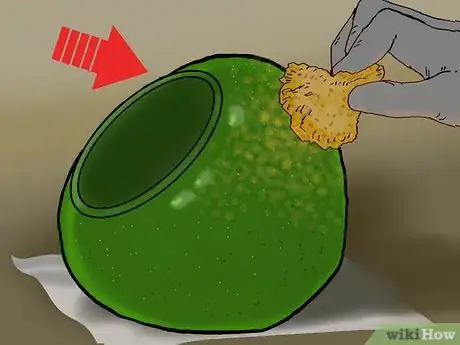
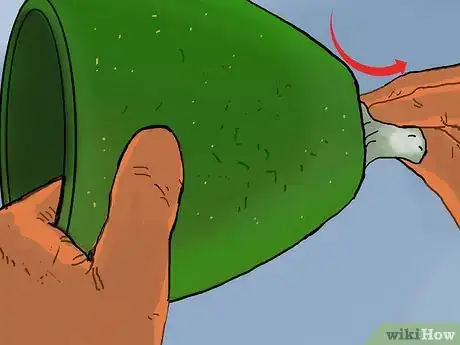
1Remove any unwanted glaze. If you did not wax your pot, be sure to wipe any glaze off of the bottom with a sponge. If you did wax your pot, remove any glaze that has gotten onto the dried wax.[24]
-
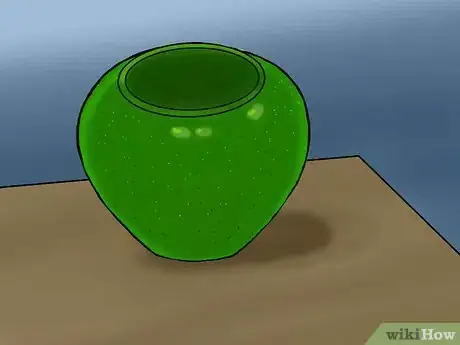
2Allow the pot to dry. No matter how many layers of glaze you've added, you have to wait for the final layer to dry thoroughly before firing your pottery.[25]
-
3Fire your pot. Though you already fired it in the creation stage before you began the glazing process, you should fire it again once you are done.[26]
Expert Q&A
-
QuestionHow many coats of glaze should I apply?
 Natasha Dikareva, MFANatasha Dikareva is a San Francisco, California based sculptor, and installation artist. With over 25 years of ceramics, sculpting, and installation experience, Natasha also teaches a ceramic sculpture workshop titled "Adventures in Clay" covering concept development, hand-building techniques, texture, and glazing techniques. Her work has been featured in solo and group exhibitions at the Beatrice Wood Center for the Arts, Abrams Claghorn Gallery, Bloomington Center for the Arts, Maria Kravetz Gallery, and the American Museum of Ceramic Art. She has taught at the University of Minnesota and the American Indian OIC School. She has been awarded the Excellence Award at the 1st World Teapot Competition, Best in Show at the 4th Clay & Glass Biennial Competition, and a Grand Prize at the American Museum of Ceramic Art. Natasha holds an MFA from the University of Minnesota and a BFA from Kiev Fine Arts College.
Ceramics & Sculpting Instructor Two coats should be enough to get the color you want. Just make sure to cover the whole piece with each layer so you don't have any mismatched spaces.
 -
QuestionWhat should I do after glazing?
 Community AnswerUsually after glazing is done, people tend to use a kiln. Kilns dry the glaze and make it shiny. I wouldn't try to use an oven because they cannot reach the temperature to bake the glaze, but kilns do.
References
- ↑ http://www.lakesidepottery.com/HTML%20Text/Tips/Mixing%20and%20Using%20Glazes.htm
- ↑ http://www.claytimes.com/reference-guide/glazing.html#anchorChemistry
- ↑ https://www.coyoteclay.com/Instructions.html
- ↑ http://ceramicartsdaily.org/pottery-making-techniques/ceramic-glazing-techniques/glazing-for-success-12-tips-to-help-you-master-pottery-glazing/
- ↑ http://ceramicartsdaily.org/pottery-making-techniques/ceramic-glazing-techniques/glazing-for-success-12-tips-to-help-you-master-pottery-glazing/
- ↑ Natasha Dikareva, MFA. Ceramics & Sculpting Instructor. Expert Interview. 5 May 2020.
- ↑ http://www.howtomakepottery.com/glazing_and_firing.html
- ↑ https://www.coyoteclay.com/Instructions.html
- ↑ http://www.lakesidepottery.com/HTML%20Text/Tips/Mixing%20and%20Using%20Glazes.htm
- ↑ http://www.lakesidepottery.com/HTML%20Text/Tips/Mixing%20and%20Using%20Glazes.htm
- ↑ http://www.lakesidepottery.com/HTML%20Text/Tips/Mixing%20and%20Using%20Glazes.htm
- ↑ http://www.lakesidepottery.com/HTML%20Text/Tips/Mixing%20and%20Using%20Glazes.htm
- ↑ http://ceramicartsdaily.org/pottery-making-techniques/ceramic-glazing-techniques/glazing-for-success-12-tips-to-help-you-master-pottery-glazing/
- ↑ http://www.lakesidepottery.com/HTML%20Text/Tips/Mixing%20and%20Using%20Glazes.htm
- ↑ http://ceramicartsdaily.org/pottery-making-techniques/ceramic-glazing-techniques/glazing-for-success-12-tips-to-help-you-master-pottery-glazing/
- ↑ https://www.coyoteclay.com/Instructions.html
- ↑ http://ceramicartsdaily.org/pottery-making-techniques/ceramic-glazing-techniques/glazing-for-success-12-tips-to-help-you-master-pottery-glazing/
- ↑ https://www.coyoteclay.com/Instructions.html
- ↑ http://www.lakesidepottery.com/HTML%20Text/Tips/Mixing%20and%20Using%20Glazes.htm
- ↑ http://ceramicartsdaily.org/pottery-making-techniques/ceramic-glazing-techniques/glazing-for-success-12-tips-to-help-you-master-pottery-glazing/
- ↑ http://ceramicartsdaily.org/pottery-making-techniques/ceramic-glazing-techniques/glazing-for-success-12-tips-to-help-you-master-pottery-glazing/
- ↑ https://www.coyoteclay.com/Instructions.html
- ↑ Natasha Dikareva, MFA. Ceramics & Sculpting Instructor. Expert Interview. 5 May 2020.
- ↑ https://www.coyoteclay.com/Instructions.html
- ↑ https://www.coyoteclay.com/Instructions.html
- ↑ Natasha Dikareva, MFA. Ceramics & Sculpting Instructor. Expert Interview. 5 May 2020.
About This Article
To glaze a pot, first glaze the inside by slowly pouring glaze into the pot and swirling it around. Then, pour out the excess glaze and touch up any uncovered spots using a brush. For the outside, dip your pot into a bucket of glaze, remove it, and clear the excess glaze with a damp sponge. If your pot is too large to dip, you can pour glaze over the pot or apply glaze with a brush or sponge. Finally, allow the glaze to dry completely before firing the pot. For more advice, like how to choose your glaze, read on!
