This article was co-authored by wikiHow staff writer, Rain Kengly. Rain Kengly is a wikiHow Technology Writer. As a storytelling enthusiast with a penchant for technology, they hope to create long-lasting connections with readers from all around the globe. Rain graduated from San Francisco State University with a BA in Cinema.
This article has been viewed 1,075 times.
Learn more...
Do you want to change your indent settings in Microsoft Excel? You can easily add space before text in a cell using the Increase/Decrease Indent button on the Home tab. You can also right-click the cells to launch the Format Cells window, where you'll find the option to manually adjust your indentation settings. This wikiHow will show you easy ways to indent text in cells in any Excel workbook.
Things You Should Know
- To indent, select one or more cells, click Home, then click the Increase Indent icon.
- You can also select the cells you want to edit, right-click the selection, and choose Format Cells… to manually input an Indent value.
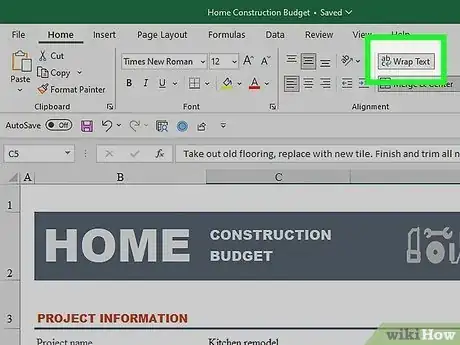
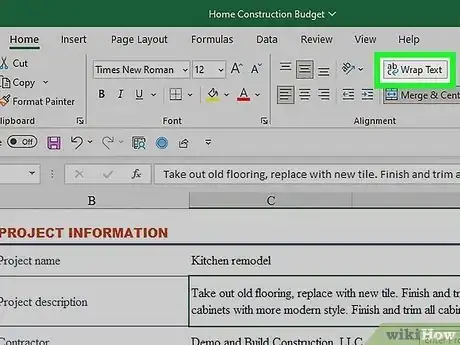
- If text extends past the cell, use Wrap Text in the Alignment section to shift into multiple lines within the cell.
Steps
Using Increase/Decrease Indent Button
-
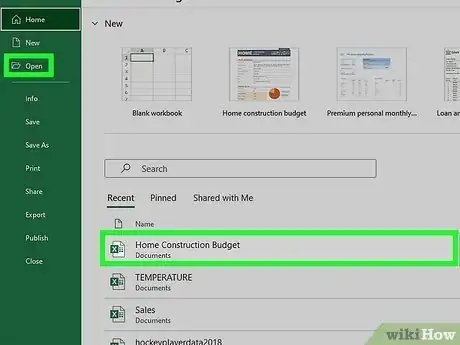
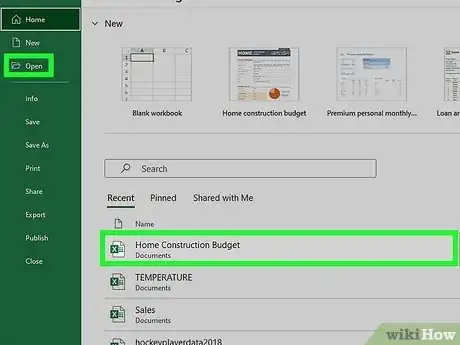
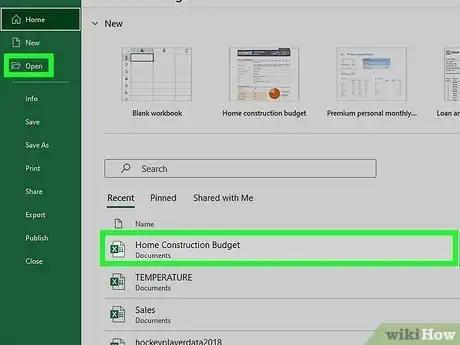
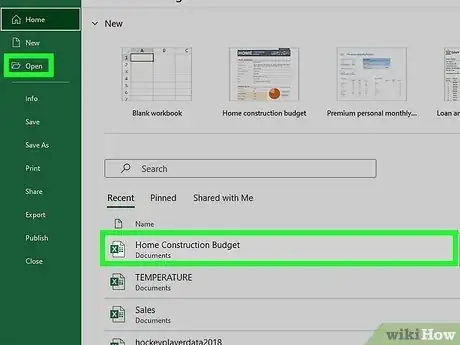
1Open a project in Microsoft Excel. If needed, you can begin a new Spreadsheet.
- Microsoft Excel is available on Windows and Mac. You can also use the online web version at the Microsoft 365 website.
-
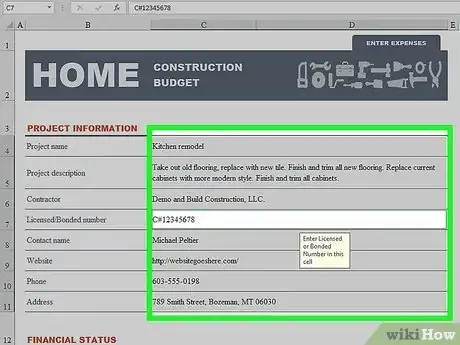
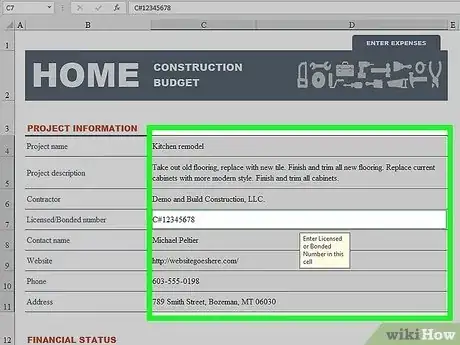
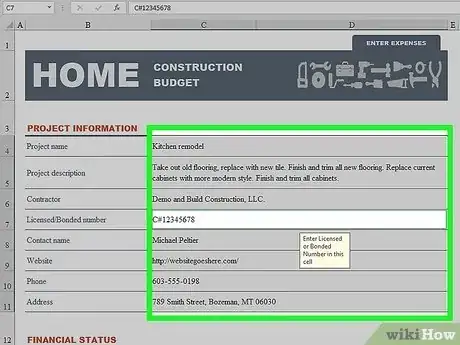
2Select the cell or cells. The cells must contain the content you wish to indent.[1]Advertisement
-
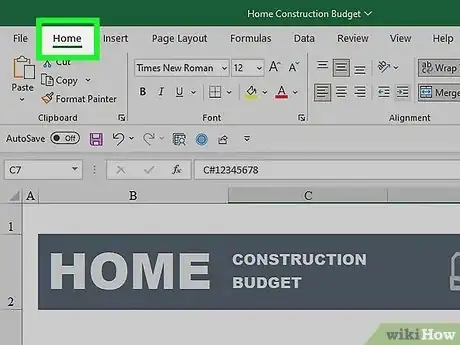
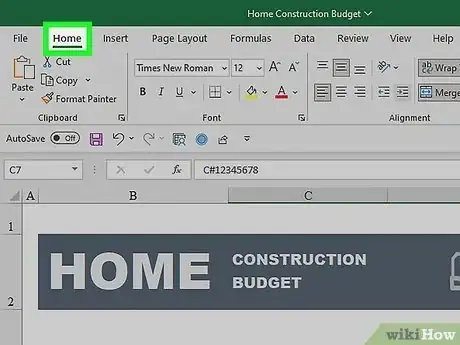
3Click Home in the top toolbar. This will open a new section of your toolbar.
-
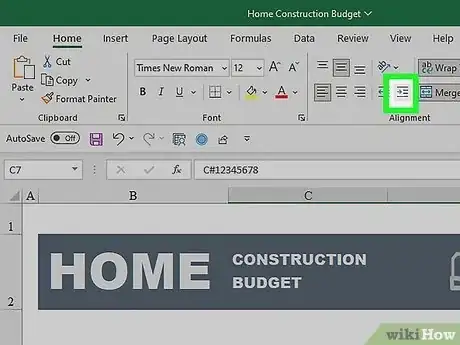
4Click the "Increase Indent" icon. This looks like lines of text with a blue right-facing arrow.
- The text in the selected cells will be indented to the right.
- You can continue clicking Increase Indent to indent the cells to your preference.
- To remove an indent space, click the Decrease Indent icon. This looks like lines of text with a blue left-facing arrow.
- You can continue clicking Decrease Indent to position the cells to your preference.
Using the Format Cells Dialog Box
-
1Open a project in Microsoft Excel. You can use Excel to make tables, type formulas, make graphs, and more.
-
2Select the cell or cells. The cells must contain the content you wish to indent.
-
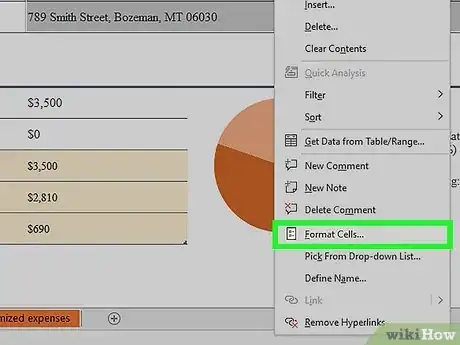
3Right-click the cells and click Format Cells…. This will be underneath Clear Contents.
- You can also use the keyboard shortcut CTRL + 1 (Windows) or CMD + 1 (Mac).
- A pop-up window will open.
-
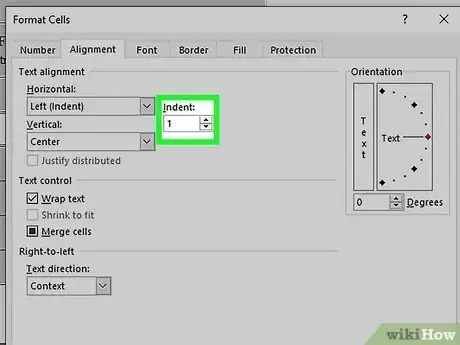
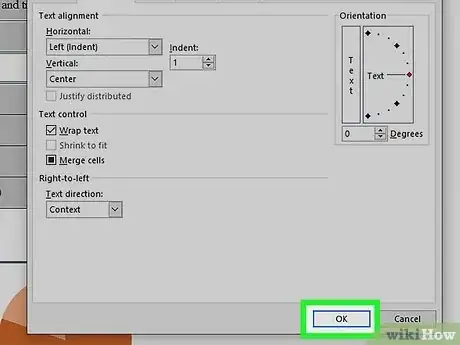
4Adjust the Indent settings. By default, the Indent will be 0. Click the up arrow next to the box to adjust your Indent to 1 or higher.
- You can also manually type the number into the Indent field.
-
5Click OK. This will be at the bottom-right corner of the window. Your cells will be indented.
Using Wrap Text for Multiple Lines
-
1Open a project in Microsoft Excel. You can also create a new project.
- Use this method if your text extends beyond the right side of the cell.
-
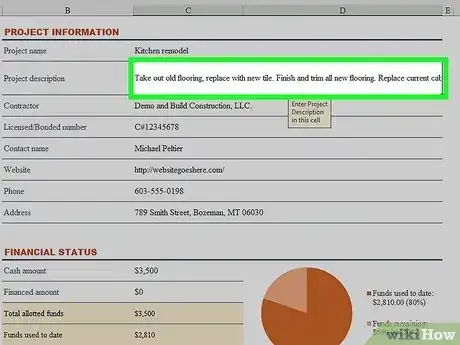
2Select the cell you want to indent. You can select one or multiple cells.
-
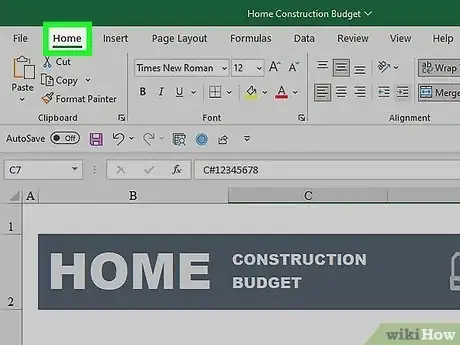
3Click Home in the top toolbar. This will open a new section of your toolbar.
-
4Click the "Wrap Text" icon. This looks like a blue left-right arrow in the Alignment section.
- The text will shift into multiple lines within the selected cell.
Indenting Individual Text Lines in a Cell
-
1Open a project in Microsoft Excel. You can use a new or existing project.
-
2Select the cell you want to indent. In most cases, this is a cell with text that extends into another cell.
-
3Click Home in the top toolbar. This will open a new section of your toolbar.
-
4Click the "Wrap Text" icon. This looks like a blue left-right arrow in the Alignment section.
- The text will shift into two lines within the selected cell.
-
5Click the space before the second line of text.
-
6Press Alt+↵ Enter on Windows or ⌥ Option+⏎ Return on Mac. This will separate the two lines of text.
-
7Press the spacebar to input a manual indent. You can add as many spaces as you'd like. To delete additional spaces, use the backspace or delete key.
- Your cell is now indented.
