This article was co-authored by wikiHow staff writer, Darlene Antonelli, MA. Darlene Antonelli is a Technology Writer and Editor for wikiHow. Darlene has experience teaching college courses, writing technology-related articles, and working hands-on in the technology field. She earned an MA in Writing from Rowan University in 2012 and wrote her thesis on online communities and the personalities curated in such communities.
This article has been viewed 53,031 times.
Learn more...
This wikiHow will teach you how to change an Excel sheet from a read-only status using a computer. If you're the owner of the file, this is a fairly simple process; however, if you're not the original creator of the file, there are limited solutions to this issue.
Steps
-
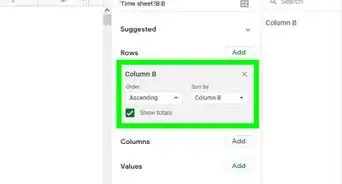
1Open your project in Excel. If you're in Excel, you can go to File > Open or you can right-click the file in your file browser.
- This method works for Excel for Microsoft 365, Excel for Microsoft 365 for Mac, Excel for the web, Excel 2019-2007, and Excel 2019-2011 for Mac.
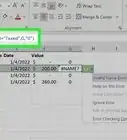
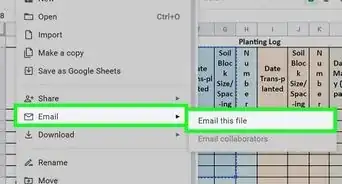
- If you open an Excel file that was sent to you and it opens but gives you a pop-up warning that read-only is recommended, you can click either Yes if you don't want to make edits or No if you want to make edits. To prevent that pop-up from appearing in the future, go to File > Save As > Browse > Tools > General Options and deselect "Read-only recommended."
- Some files may not let you edit unless you enter a password. You'll be prompted for this password when you open the file; if you cannot type the right key, you will not be able to edit the file.
-
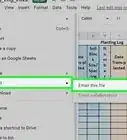
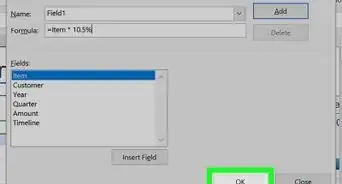
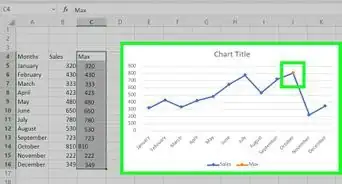
2Click the File tab. You'll find this either above your document editing space or running along the top of your screen.
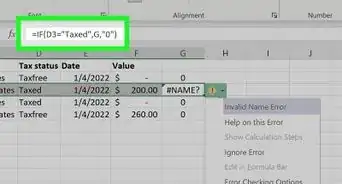
- If the file was sent to you as "final", all you need to do is click the Edit Anyway button that's at the top of your screen in the yellow/orange banner.[1]
Advertisement -
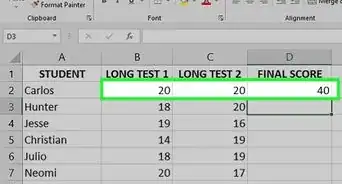
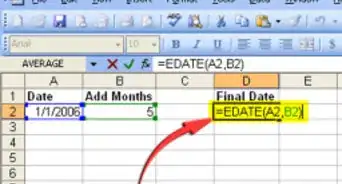
3Click Get Info. You'll see this in the menu that drops-down or slides out.
-
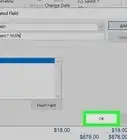
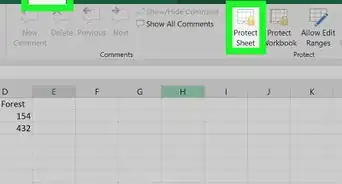
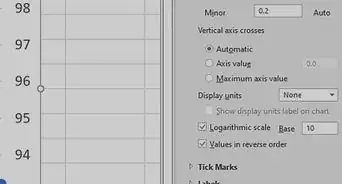
4Click the box to uncheck it next to "Locked." This will change your document from prompting to open in a read-only status.[2]


References
About This Article

1. Open your project in Excel.
2. Click the File tab.
3. Click Get Info.
4. Click the box to uncheck it next to "Locked."