This article was co-authored by wikiHow staff writer, Jack Lloyd. Jack Lloyd is a Technology Writer and Editor for wikiHow. He has over two years of experience writing and editing technology-related articles. He is technology enthusiast and an English teacher.
The wikiHow Tech Team also followed the article's instructions and verified that they work.
This article has been viewed 1,584,343 times.
Learn more...
This wikiHow teaches you how to install the Oracle Java 9 JDK on Ubuntu Linux. Keep in mind that, as of March 2018, only the 64-bit version of Java 9 is available for Ubuntu.
Steps
-
1
-
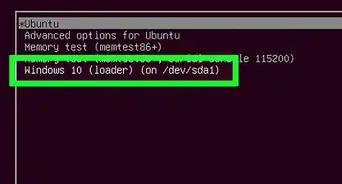
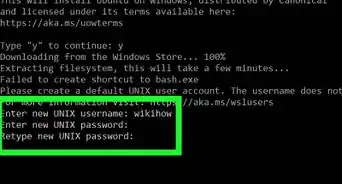
2Remove any current versions of Java. This is extremely important, as failing to do so will render the following instructions useless:
- Type in sudo apt-get purge openjdk-\*
- Press ↵ Enter
- Type in your password if prompted.
- Press Y if prompted, then press ↵ Enter
Advertisement -
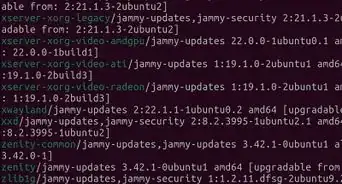
3Enter the Java installation command. Type in sudo apt-get install software-properties-common and press ↵ Enter.[1]
-
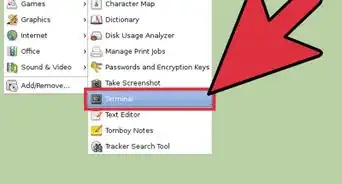
4Remove any old versions of software. Type in sudo apt autoremove and press ↵ Enter, then wait for old software to remove itself. This will both free up space on your computer's hard drive and prevent interference when installing Java.
- The removal process may take several minutes.
-
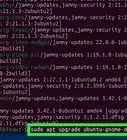
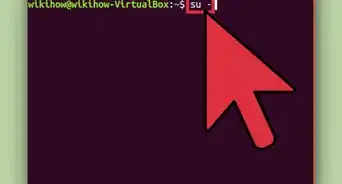
5Update packages. Type in sudo apt-get update and press ↵ Enter to ensure that the current software is up-to-date.
-
6Access the Oracle Java repository. Type in sudo add-apt-repository ppa:webupd8team/java and press ↵ Enter.
-
7Press ↵ Enter when prompted. You'll see a message that reads "Press [ENTER] to continue or Ctrl-c to cancel adding it" at the bottom of the Terminal window; this is where you'll press ↵ Enter.
-
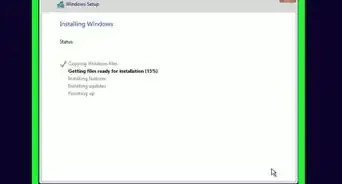
8Download the Java installed. Type in sudo apt-get install oracle-java9-installer and press ↵ Enter, then type in y and press ↵ Enter when prompted. The Java 9 installer will begin downloading, at which point a confirmation box will appear in Terminal.
-
9Agree to the Java terms of use. Press ↵ Enter once to continue, then use the left arrow key to select Yes and press ↵ Enter again.
-
10Wait for Java to download. Java will take upward of 20 minutes to download, so be patient. Once you see your name appear at the bottom of Terminal again, you may proceed.
-
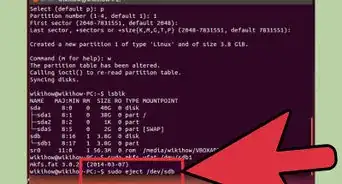
11Set Java 9 as the default. Type in sudo apt-get install oracle-java9-set-default and press ↵ Enter, then enter your password if prompted.
-
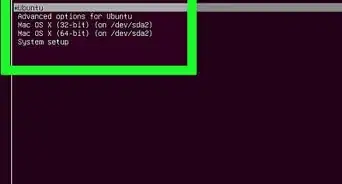
12Check your Java version. Type in java -version and press ↵ Enter. You should see the following text:
java version "9.0.4"
-
13Update all of your packages again. Type in sudo apt-get update and press ↵ Enter. This probably won't do anything, but it's a good way to ensure that both everything from Java and the rest of your software is up-to-date. Once this command finishes running, the Java JDK is installed; you can exit Terminal.


Community Q&A
-
QuestionMy Java version gives me a "cannot execute binary file: Exec format error." What is wrong?
 Community AnswerYou either have a corrupted copy of Java, or - more likely - you installed a version for a different unix variant and/or CPU architecture.
 -
QuestionWhat do I do if the Oracle Java9 installer has no installable candidates?
 Community AnswerInstead, use: sudo apt install default-jre default-jdk . It seems java9 is no longer supported and not available for download the old-fashioned way.
Warnings
- If you're running 32-bit Ubuntu, you may not be able to install Java 9.⧼thumbs_response⧽


References
About This Article
1. Remove any existing versions of Java.
2. Run " sudo add-apt-repository ppa:webupd8team/java"
3. Run "sudo apt-get install oracle-java9-installer"
4. Agree to the terms.
5. Set the newest version as the default.