wikiHow is a “wiki,” similar to Wikipedia, which means that many of our articles are co-written by multiple authors. To create this article, 10 people, some anonymous, worked to edit and improve it over time.
This article has been viewed 96,661 times.
Learn more...
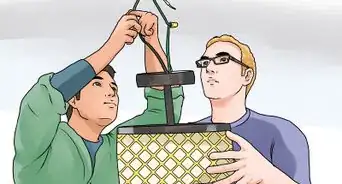
Rope lighting combines the advantages of easy installation, small footprint, ambience and flexibility to make it one of the more popular lighting options of the early 21st century. Although the fact that you're fiddling with electrical wiring might be intimidating, actually installing this rope lighting is even easier than installing a ceiling fixture light. Set aside an afternoon for this project. It may take less time, but it's always better to have time to do things right rather than to be in a hurry.
Steps
-
1Determine where you want your rope lighting for the best effect and ambiance.[1] Note the line of where the rope will run.
-
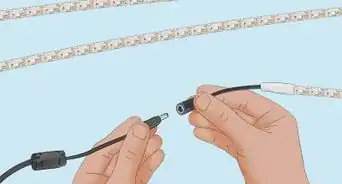
2Measure the length of the areas where you want to install your rope lighting. Buy a single rope that equals that length, rather than splicing several shorter ropes together.Advertisement
-
3Nail plastic cable clips,[2] appropriate for the diameter of your rope lighting, in place along the line where your lighting will run. Space them every 4 to 6 inches (10.2 to 15.2 cm).
- Nail the clips in only half the length of the nails. This will give you space to slide the rope lighting in under the clips.
-
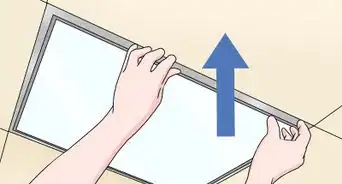
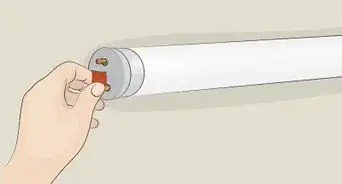
4Slide your rope in position along the line of clips. You will be able to slip some ropes up into the clips, while other arrangements will require you to slide through the open arch of the clips like a snake. In either case, slide the rope through all the clips before proceeding.[3]
-
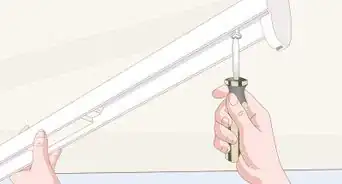
5Nail down all clips the rest of the way to secure the rope lighting in place.[4]
-
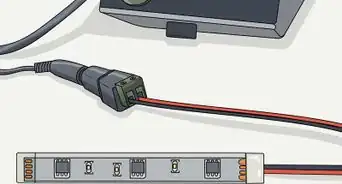
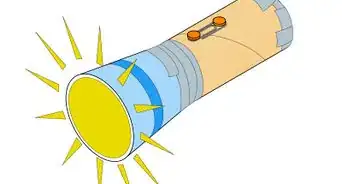
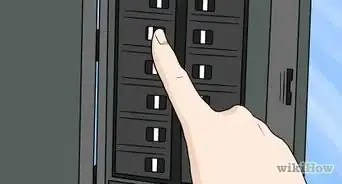
6Plug your light rope into the outlet you planned for it. It's usually better to use an extension cord to reach the outlet, rather than running the rope lighting itself to the outlet.
-
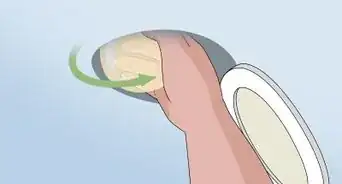
7Test the on/off switch for your light rope. Less expensive models lack a switch, so you'll need to plug and unplug the rope -- or plug it into an outlet attached to a light switch.
-
8Finished.
Community Q&A
-
QuestionHow much heat does this style light generate? In my case, I would be in a gazebo-like building made from an old log house, so the flexibility would be great, but I wouldn't want too much heat for fear of a fire hazard.
 Community AnswerI'd wait till Christmas is about over, then get some rope light that will be on sale, and use that as rope lighting in your gazebo. They give off very little heat and the rubber coating makes them weather proof, so no fire hazard. If it's super cold though, like -25, it'll snap if you bend them in the cold.
 -
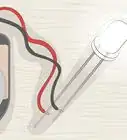
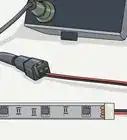
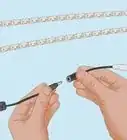
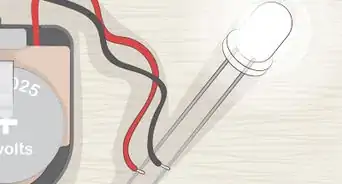
QuestionHow do I splice 2 ends?Community AnswerBlack is negative and white is positive. Make sure when you splice something that you match the two colors together, red-red, black to black, white to white for example. If there is no color coding than you'll have to just have the wire flat on the floor and follow it all the way from end to end to make sure the same wire is going to be connected to the same end of another wire if joining. The positive side coming from your car power needs to match throughout the light to the end or you'll burn our lights or pop a fuse or something, causing a fire hazard. There's typically a red pair of splicing pliers that make cutting wires and taking the rubber coating off easy but you can use scissors too.
Things You'll Need
- Tape measure
- Hammer
- Nails, 1-inch long
- Plastic cable clips
- Electrical tape, in color matching your decorating scheme
- Extension cord


References
- ↑ https://www.takethreelighting.com/rope-light-basics.html
- ↑ https://www.youtube.com/watch?v=Duqned40SQ4
- ↑ https://www.youtube.com/watch?v=-DQ0yCZM__I
- ↑ https://www.youtube.com/watch?v=Duqned40SQ4
- http://www.greenlivingtips.com/articles/96/1/LED---lighting-the-way.html
- http://www.youtube.com/watch?v=-DQ0yCZM__I