This article was co-authored by wikiHow staff writer, Travis Boylls. Travis Boylls is a Technology Writer and Editor for wikiHow. Travis has experience writing technology-related articles, providing software customer service, and in graphic design. He specializes in Windows, macOS, Android, iOS, and Linux platforms. He studied graphic design at Pikes Peak Community College.
The wikiHow Tech Team also followed the article's instructions and verified that they work.
This article has been viewed 44,829 times.
Learn more...
This wikiHow teaches you how to install an SD card on Nintendo Switch. One of the biggest problems with the Nintendo Switch is it only has 32 gigabytes of internal storage space. This is not a lot of storage space, especially if you download a lot of games and downloadable content from the Nintendo eShop. You can expand the storage space on your Nintendo Switch by installing a micro SD card. You will need to format the SD card to be used exclusively with the Nintendo Switch.
Steps
-
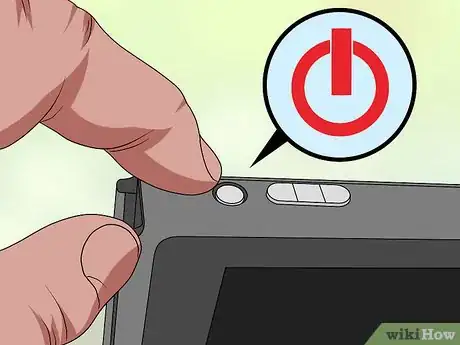
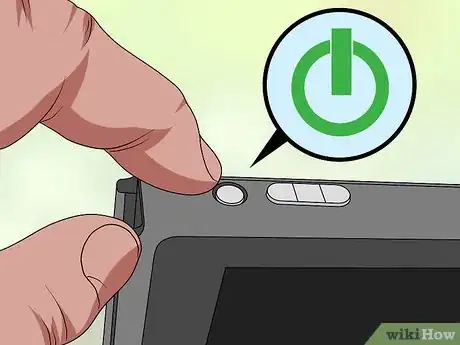
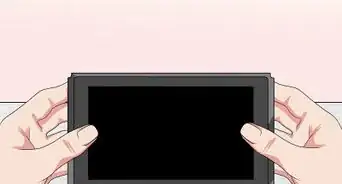
1Power off the Nintendo Switch. To power off the Nintendo Switch, press the power button on the top of the Nintendo Switch next to the "+" and "-" volume buttons. It has an icon with a circle and a line through it.
-
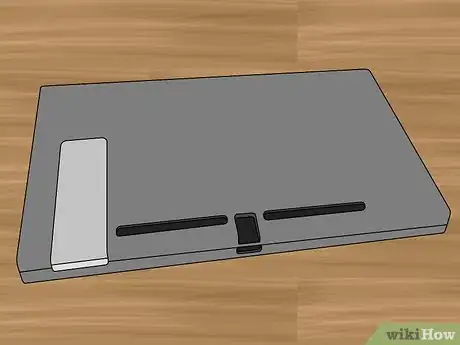
2Turn the Nintendo Switch over. If you haven't already done so, remove the Nintendo Switch from the dock and place it face down.Advertisement
-
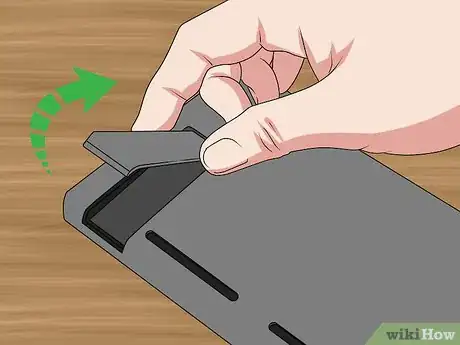
3Open the kickstand. The kickstand is the small plastic strip on the back of the Nintendo Switch. It opens from the bottom of the Nintendo Switch. You may need to use your fingernail or something thin to open it. There is a micro SD slot under the kickstand.
-
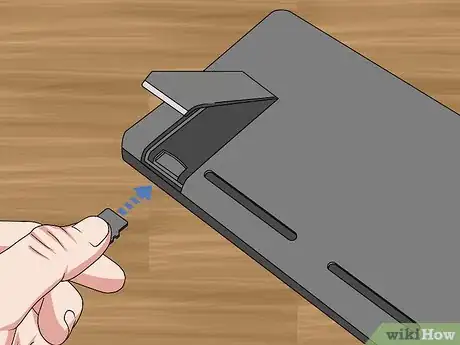
4Insert the micro SD card. Place the micro SD card in the SD card slot with the label face up with the long edge to the left. The Nintendo Switch supports standard micro SD (up to 2 gigabytes), micro SDHC (2 - 32 gigabytes), and micro SDXC (64 gigabytes and above). [1]
- For the best game play experience, purchase an SD card with UHS-1 (Ultra High Speed Phase 1) compatible SD card with transfer speeds of at least 60 megabytes per second or more.
-
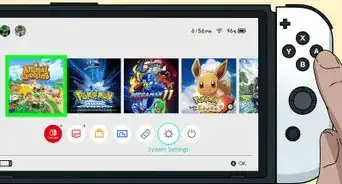
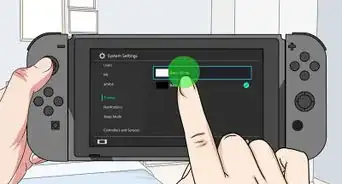
5Power the console on. If you insert a blank SD card, the extra storage space will be available immediately. You can confirm this by selecting gear icon (System Settings), and then selecting Data Management. You will see the available micro SD card storage space displayed in the upper-right corner.
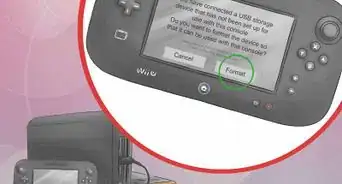
- If you insert a micro SD card with data on it, you will be asked to format the micro SD. Select Format and follow the instructions to format the micro SD card. You will loose all data on the micro SD card, so be sure to backup anything you want to keep.[2]
- If you install a micro SDXC card, you may be asked to update the system in order to use the microSD card. If you see this, tap System Update in the pop-up and follow the instructions to update the system.
Community Q&A
-
QuestionWhat if I insert a new Micro SD card with no data on it?
 JesseCommunity AnswerIt will work and will not have any problems.
 -
QuestionMicroSDXC does not click into place when inserted?
 Elizabeth BurtonCommunity AnswerDon't panic! Try pushing the card in again but harder. You should hear a clicking noise of sorts when it is fully inserted.
References
About This Article
1. Turn off the Nintendo Switch.
2. Turn the Nintendo Switch over and open the kickstand.
3. Insert a micro SD card in the slot under the kickstand.
4. Turn on the Nintendo Switch and follow any on-screen instructions.
