This article was co-authored by wikiHow Staff. Our trained team of editors and researchers validate articles for accuracy and comprehensiveness. wikiHow's Content Management Team carefully monitors the work from our editorial staff to ensure that each article is backed by trusted research and meets our high quality standards.
This article has been viewed 29,949 times.
Learn more...
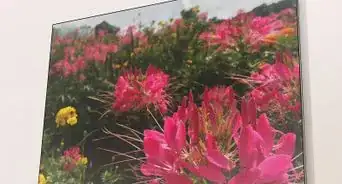
Oilskin canvas is a type of waterproofed fabric. You can sometimes find it labeled as "oilcloth" instead. While modern oilskins are made from cotton and vinyl, traditional oilskins are made from tightly-woven cotton fabric and a solution of boiled linseed oil and mineral spirits. The process sounds intimidating, but it is actually quite simple. Once you know how to make a basic oilskin canvas, you can sew it into all sorts of items, from tarps to tablecloths, to picnic mats!
Steps
Prepping the Fabric
-
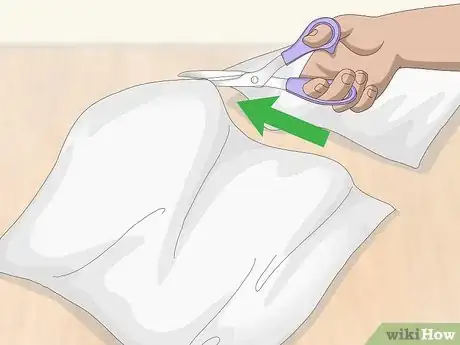
1Cut your fabric down to the size and shapes you need. This way, you won't end up wasting any linseed oil on fabric that you won't be using. Canvas fabric would be the best for this, but can also use duck cloth, heavy cotton, or linen.[1]
-
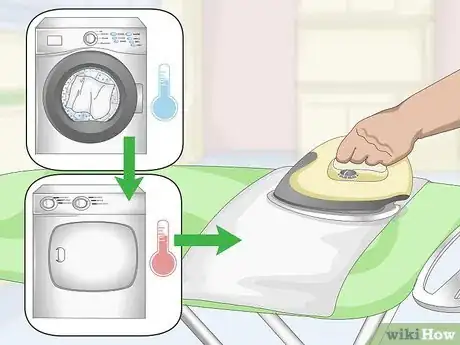
2Wash, dry, and iron the fabric. Wash the fabric like you normally would, but in cold water. Dry it using a high heat setting, then iron it smooth.[2]Advertisement
-
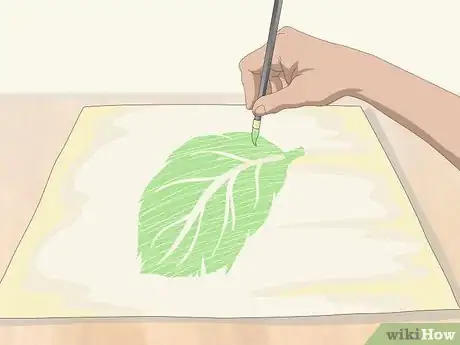
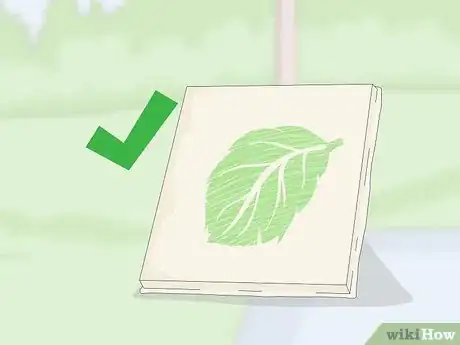
3Add any desired designs to the fabric. If you wish to dye your fabric or paint designs onto it, now is the time to do so. You won't be able to add designs to the fabric after you treat it. If you choose to paint the fabric, the linseed oil will also help seal your designs in. Here are some ideas to get you started:[3]
- Dye or tie your fabric using fabric dye
- Paint, stencil, or stamp designs onto it with fabric paint
- Leave your fabric blank for a natural effect.
-
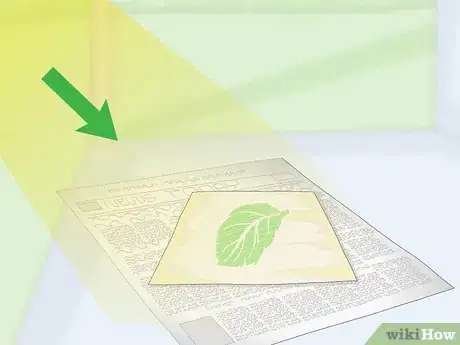
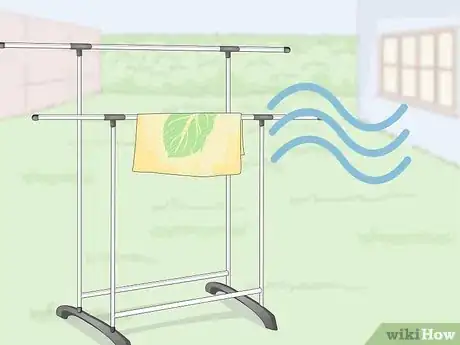
4Let the fabric dry completely. Whether you chose to leave your fabric blank, paint it, or dye it, it must be completely dry before you move on. How long this takes depends on what sort of paint you used. You can speed things up a little by leaving the fabric out to dry in the hot sun, however.
-
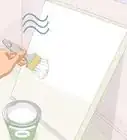
5Set up your fabric outside or in a well-ventilated area. Stretch large pieces of fabric over a frame, or hang them from a clothesline outside. Place smaller pieces of fabric on drop clothes, making sure to smooth out any wrinkles.
- It is vital that you work outside or at least in a well-ventilated area. Linseed oil gives of fumes that can cause headaches.
Mixing and Applying the Linseed Oil
-
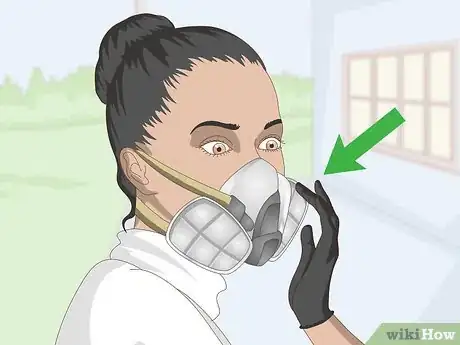
1Protect yourself and your work surface. Put on a respirator and a pair of rubber or plastic gloves. Lay down a protective covering, such as a trash bag or cheap, plastic tablecloth over your work surface.[4]
-
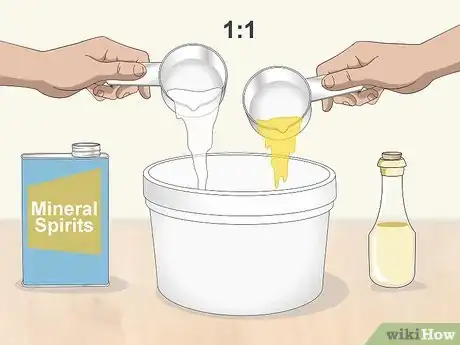
2Mix equal parts of mineral spirits and boiled linseed oil in a bucket. How much you use depends on how much fabric you will be using. Make sure, however, that you are using equal amounts of both liquids.[5] For example: 1 cup (240 milliliters) mineral spirits and 1 cup (240 milliliters) boiled linseed oil.
- If you are dyeing a large, king-sized sheet, plan on using 3 cups (700 milliliters) of each liquid.[6]
-
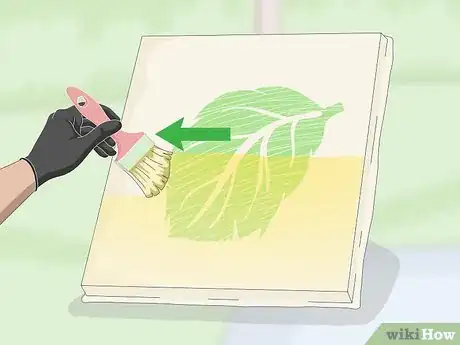
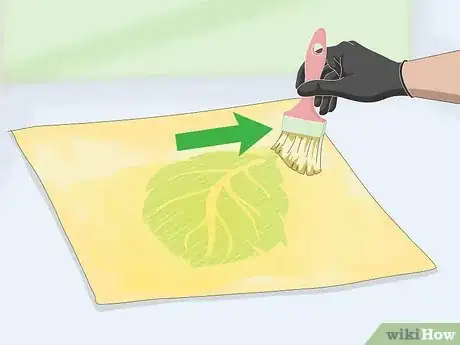
3Paint the fabric with your linseed oil solution. Use a wide, flat brush to apply the solution to the fabric. Work your way from one side of the fabric to the other, using long, even, overlapping strokes.[7]
-
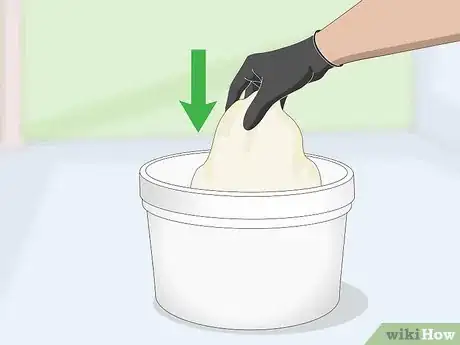
4Consider dipping larger pieces of fabric. If you left your fabric loose and did not hang it, you can dip the fabric into the bucket. Stir it around with a stick to ensure that it gets evenly coated, then lift it out and squeeze the excess oil from it.[8]
-
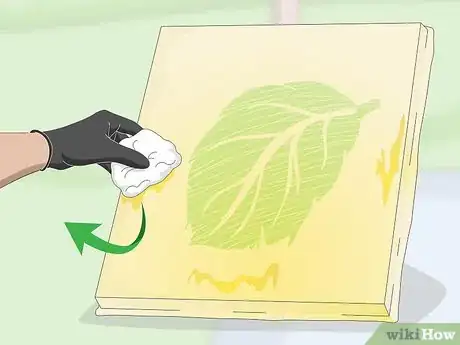
5Wipe up any pools or spills with a rag. This includes both the fabric itself and your work surface. Linseed oil will leave behind stains and residue regardless of how you clean it up. Nevertheless, you do not want puddles of it laying around. Do not discard the rags you used to wipe up the spills, however.
Drying and Curing the Fabric
-
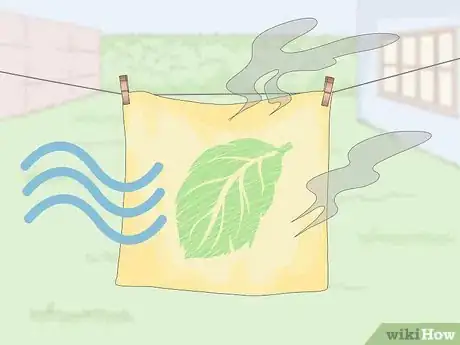
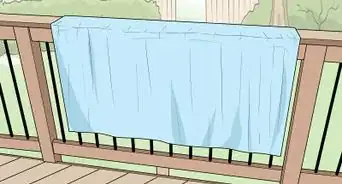
1Find a well-ventilated place to dry the fabric and the rags. Linseed oil gives of heat as it dries. It can combust, even if there are no sparks to ignite it. The best place to dry the fabric and rags is outside; make sure that there is some sort of roof or awning over the set-up, however.[9]
-
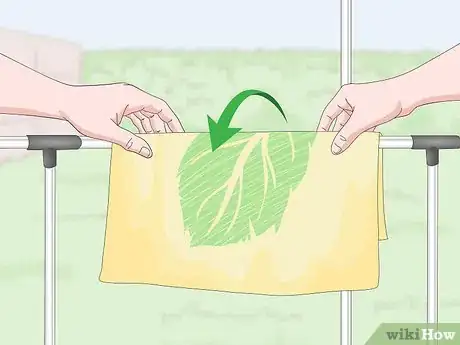
2Hang the fabric and rags up to dry. Drape the fabric and rags over a clothesline or rack. This will help dissipate the heat generated by the curing process and reduce the chances of combustion. It will also allow for airflow around the fabric, and help it dry faster.
-
3Leave the fabric there until it dries and no longer feels tacky. This can take as little as three days to as long as a week, depending on the humidity levels in your area. The more humid it is, the longer it will take for the fabric to dry. The oilskin is dry when it no longer feels tacky or sticky.[10]
- Once the rags are dry, you can discard them. Do not throw them away sooner, however, as this is a fire hazard.
-
4Apply a second coat, if desired. You don't have to do this, but it will help waterproof the fabric even more.[11] If you have any of the linseed oil solution leftover, pour it into a glass jar or an empty paint can, and save it for another project.[12]
- If you painted the linseed oil on, you can use this opportunity to paint the back.
- Use this chance to fill in any bare patches.
-
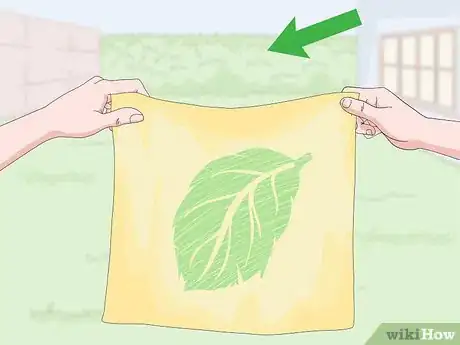
5Air out the fabric, if desired. Linseed oil will have a faint odor to it, even after it dries and cures. If this bothers you, leave the fabric outside for a few days. This will allow the odor to dissipate.[13]
Warnings
- Linseed oil generates heat as it dries, making it a fire hazard. Allow any rags used to wipe up spills to dry completely before discarding them.⧼thumbs_response⧽
- Oilskin canvas may get sticky, especially if the weather is warm and humid.[19]⧼thumbs_response⧽
Things You'll Need
- Canvas fabric
- Boiled linseed oil
- Mineral spirits
- Paintbrush
- Glass jar or metal can
- Respirator
- Rubber or latex gloves
- Clothesline or wooden stretcher
- Paint or fabric dye
References
- ↑ http://www.curbly.com/6857-real-oilcloth-and-how-to-make-it
- ↑ https://survivalsherpa.wordpress.com/2014/10/01/how-to-make-lightweight-oilskin-tarps-from-bed-sheets/
- ↑ http://www.curbly.com/6857-real-oilcloth-and-how-to-make-it
- ↑ http://www.curbly.com/6857-real-oilcloth-and-how-to-make-it
- ↑ http://www.curbly.com/6857-real-oilcloth-and-how-to-make-it
- ↑ https://survivalsherpa.wordpress.com/2014/10/01/how-to-make-lightweight-oilskin-tarps-from-bed-sheets/
- ↑ http://www.curbly.com/6857-real-oilcloth-and-how-to-make-it
- ↑ https://www.youtube.com/watch?v=fx7bffQCsow
- ↑ https://survivalsherpa.wordpress.com/2014/10/01/how-to-make-lightweight-oilskin-tarps-from-bed-sheets/
- ↑ https://www.youtube.com/watch?v=fx7bffQCsow
- ↑ http://www.curbly.com/6857-real-oilcloth-and-how-to-make-it
- ↑ https://survivalsherpa.wordpress.com/2014/10/01/how-to-make-lightweight-oilskin-tarps-from-bed-sheets/
- ↑ http://www.curbly.com/6857-real-oilcloth-and-how-to-make-it
- ↑ http://www.curbly.com/6857-real-oilcloth-and-how-to-make-it
- ↑ https://survivalsherpa.wordpress.com/2014/10/01/how-to-make-lightweight-oilskin-tarps-from-bed-sheets/
- ↑ https://www.youtube.com/watch?v=fx7bffQCsow
- ↑ https://www.youtube.com/watch?v=fx7bffQCsow
- ↑ https://www.youtube.com/watch?v=fx7bffQCsow
- ↑ https://survivalsherpa.wordpress.com/2014/10/01/how-to-make-lightweight-oilskin-tarps-from-bed-sheets/
