X
wikiHow is a “wiki,” similar to Wikipedia, which means that many of our articles are co-written by multiple authors. To create this article, volunteer authors worked to edit and improve it over time.
This article has been viewed 30,139 times.
Learn more...
Everybody needs a garden table, especially for those wonderful days of spring and summer. Whether you are a woodworker, enjoy working on DIY projects, or you just want to save money, this article is for you. Here are detailed instructions on how to make your own garden table. You can always buy a garden table, but nothing beats the pride and enjoyment in your own work.
Steps

Part 2
Part 2 of 6:
Preparing the Materials
-
1Gather all the tools and materials. For this project, you'll need the items listed below in "Things You'll Need".
-
2Make all the cuts to the planks as follows:
- 2 pieces 82 cm (32,3 inches) long of 2,5 x 10 cm (1×4 inches) plank
- 4 pieces 177 cm (69,7 inches) long of 2,5 x 10 cm (1×4 inches) plank
- 2 pieces 168 cm (66,1 inches) long of 2,5 x 10 cm (1×4 inches) plank
- 17 pieces 92 cm (36,2 inches) long of 2,5 x 10 cm (1×4 inches) plank
- 4 pieces 74 cm (29,1 inches) long of 5 x 10 cm (2×4 inches) plank
-
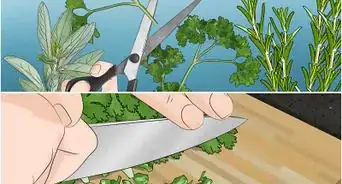
3Start sanding. Use a sander to smooth all the previously cut pieces.


Advertisement
Part 3
Part 3 of 6:
Making the Frame
-
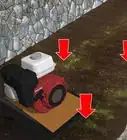
1Start with the assembly of the table as shown in the picture above.
- Use a clamp when assembling every piece and make sure that all the joints are at 90 degree angles.
-
2Drill a hole one or two sizes smaller than the screw. Then put the screw through that hole. That ensures the screw will get where you wanted it to go.
- Do not try to put the screw in if you haven't drilled the hole first.
-
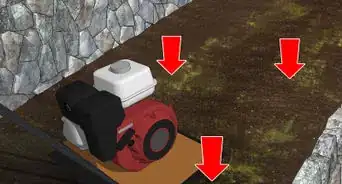
3After the frame is completed, you need to put two 168 cm (66.1 inches) planks on the left and the right side of the frame, as shown in the picture above. The planks enhance the stability of the legs and add to the visual appearance of the table.


Advertisement
Part 4
Part 4 of 6:
Adding the Plate
-
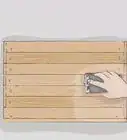
1Choose the plate planks. Now it's time to put the plate of the table on the frame. For the plate of the table you will use 92 cm (36.2 inches) planks.
-
2Attach the planks. Every plank must be screwed down on four places; that means on every plank of the frame. This is important because it is very hard to acquire completely dry wood and if you don’t tighten it down, it will bend and your table will be ruined. On the picture you can see how to assemble the plate on the frame.
- Leave 1 cm (1/3 of an inch) space between every plank on the plate, for visual appearance.


Advertisement
Part 5
Part 5 of 6:
Attaching the Legs


Community Q&A
-
QuestionHow do I screw down every plank in four places? Do I have to put screws through the top of the table into the frame below? Won't this leave the table top with lots of screw tops showing?
 Kicky RickyCommunity AnswerYou have to put the screws through the top of the table into the frame below, but you can drill in small depressions with a bolder drill to match the diameter of the screw head, so when you screw them in, they wont appear as higher than the table plank.
Advertisement
Things You'll Need
- 5 planks 2,5 cm x 10 cm (1×4 inches), 370 cm (145,7 inches) long
- 5 planks 2,5 cm x 10 cm (1×4 inches), 250 cm (98,4 inches) long
- 1 plank 5 cm x 10 cm (2×4 inches), 300 cm (118,1 inches) long
- Wood screws 5 cm (2 inch)
- Wood screws 7 cm (3 inches)
- Wood glue
- Tape measure
- Clamp
- Carpenter pencil
- Safety goggle
- Drill and driver
- Jigsaw saw


-Oven-Step-15.webp)


References
- http://www.handymantips.org/how-to-make-your-own-garden-table/ - Original source, shared with permission
About This Article
Advertisement