This article was co-authored by wikiHow Staff. Our trained team of editors and researchers validate articles for accuracy and comprehensiveness. wikiHow's Content Management Team carefully monitors the work from our editorial staff to ensure that each article is backed by trusted research and meets our high quality standards.
This article has been viewed 992,320 times.
Learn more...
Offering download links for files through your website is a common desire, and there are a couple ways to do it. Sites that offer website building tools, such as GoDaddy, WordPress, and Weebly, often offer the ability to upload a file at the same time as you make a link. If you build your own site from scratch, you can create download links using simple HTML code for files hosted on your server.
Steps
Using HTML
-
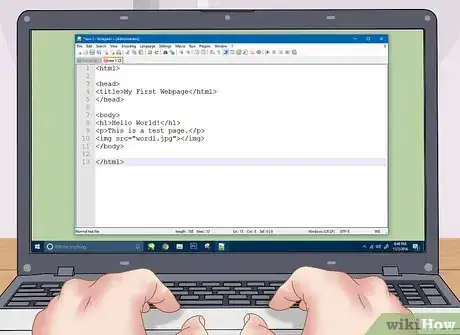
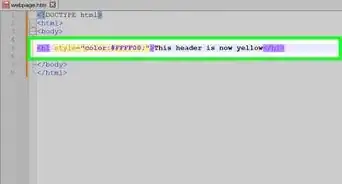
1Create an HTML page if you don't have one yet. You'll be adding your download link to an HTML web page. If you don't have an existing site, you can create a basic HTML page to test out the download link. See Create a Simple Web Page with HTML for details.
-
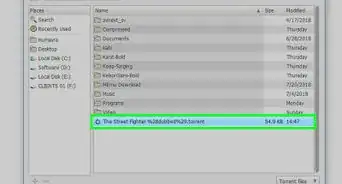
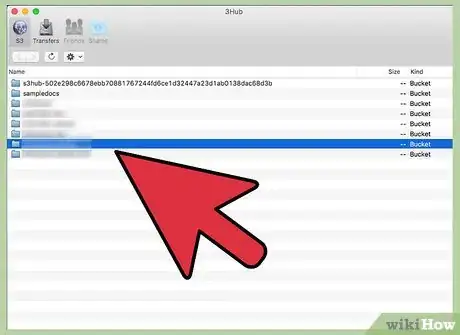
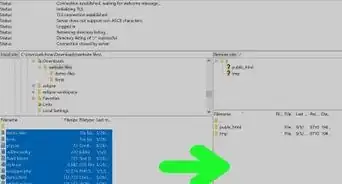
2Open a folder on your server for both the page and the file. The easiest way to link a file is by placing the file in the same folder as the page's HTML file. Use the control panel file manager or the file browser in your FTP program to navigate to the folder containing the HTML file you'll be adding the link to.
- Your FTP client should already be configured to connect to your webserver since you've uploaded your site there before. If it isn't, see How to Use FTP for instructions on configuring your FTP client to connect to your server.
- If your web server has an online control panel, you can access your server files directly through the web management interface. You'll be able to access this when you sign into your site as an administrator. Once you're in the control panel, select the "File Manager" option.
- If you created your website using a website creation tool like WordPress, Weebly, or Wix, see the platform-specific instructions in the methods below.
Advertisement -
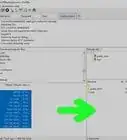
3Upload the file you want to create a link to. You can upload pretty much any type of file, from PDF files to ZIP files. Note that some servers may limit the size of the file you are allowed to upload, and large files can eat through your allotted bandwidth pretty quickly. Browsers may block potentially malicious files from being downloaded by your visitors, such as EXE or DLL files.
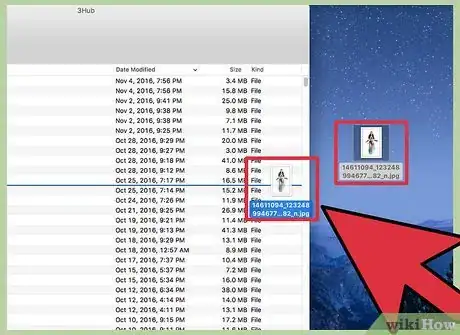
- To upload files using your FTP program, drag the file into the folder in the FTP window that you want to upload it to. It will begin uploading immediately. Your upload speeds will typically be much slower than your download speeds, so it may take a while to completely upload the file.
- If you are using the virtual control panel file manager, click the "Upload" button at the top of the window. Browse your computer for the file you want to upload. Large files may take a while to upload to your server.
-
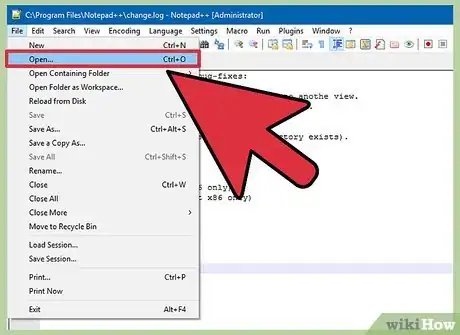
4Open the page you want to add your link to in your code editor. Once the file is uploaded, you'll need to add the link to it on your web page. Open the HTML file that you want to add the link to. You can double-click it in the control panel file manager to open it in the built-in page editor. If you're using an FTP, right-click the HTML file on your server and use "Open With" to open it in your code or text editor.
-
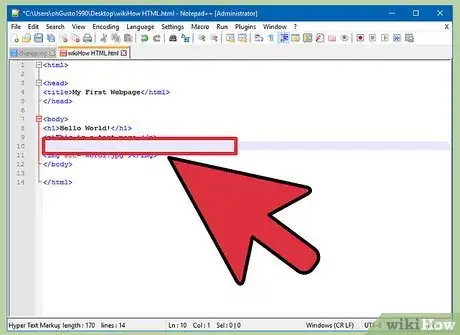
5Find the spot on the page that you want to add the link. Place your cursor in the spot in the code that you want to insert your download link. This could be in the body of a paragraph, at the bottom of a page, or anywhere else.
-
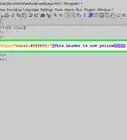
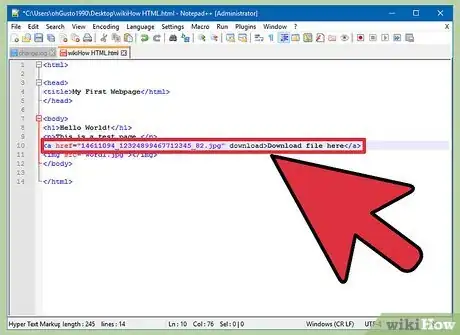
6Add the code for the link. Enter the following HTML5 code for your download link. This will start the download immediately for users after they click the link. As long as the file to be downloaded is in the same folder as the HTML file, you just need to use the name and extension. If the file is located in another folder, you'll need to include the folder structure.[1]
<!-- Uploaded file in same location as HTML file -->
<a href="examplefile.pdf" download>Link text</a>

<!-- Uploaded file in different location than HTML file -->
<a href="/path/to/file/examplefile2.jpg" download>Link text</a>
- The <a> download attribute does not work in Safari, Internet Explorer, or Opera Mini. Users with these browsers will open the file in a new page and have to save it manually.[2]
-
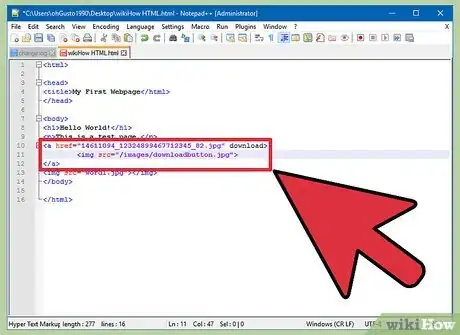
7Create a download button instead of a link. You can use an image instead of text to create the download link. This requires a button image already on your web server.
<a href="examplefile.pdf" download>
	<img src="/images/downloadbutton.jpg">
</a>
-
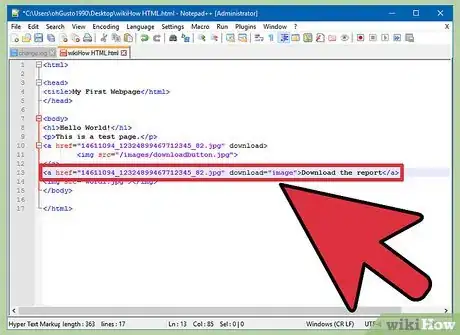
8Rename the downloaded file. If you define the <a> download attribute, you can change the name for the file when someone downloads it. This can make it easier for users to identify files that they download from you.
<a href="083116sal_rep.pdf" download="August 31 2016 Sales Report">Download the report</a>
-
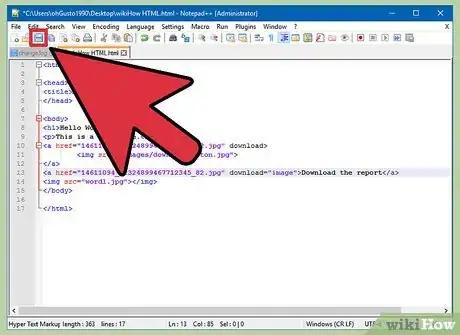
9Save the changes to your HTML file. Once you're satisfied with your code, save the changes to your HTML file and reupload it if necessary. You'll be able to see your new download button live on your website.
Using WordPress
-
1Open your site in the WordPress site editor. If you use WordPress to manage and publish your website, you can use the built-in tools to add a download link to any of your pages. Log into your WordPress dashboard using the admin account.
-
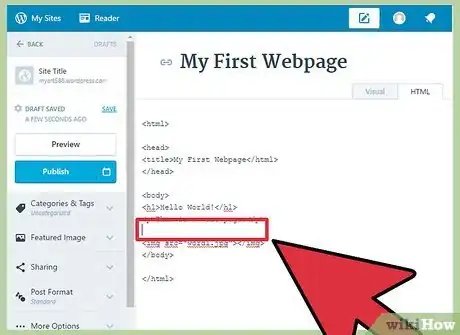
2Place your cursor where you want the link to appear. You can put the link in the middle of an existing paragraph or create a new line for it.
-
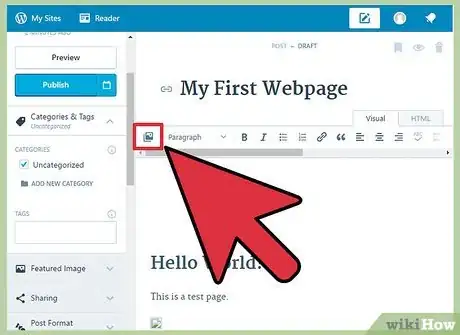
3Click the "Add Media" button. You'll find this above the posting tools at the top of the page.
-
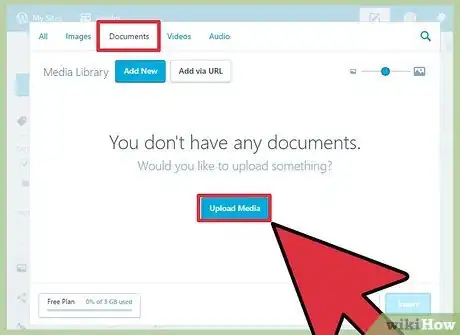
4Click the "Upload Files" tab and then drag the file into the window. You can upload a variety of different files, but WordPress may limit the size based on your account type.
- It may take a little while to upload files, as most connections are slower uploading than downloading.
-
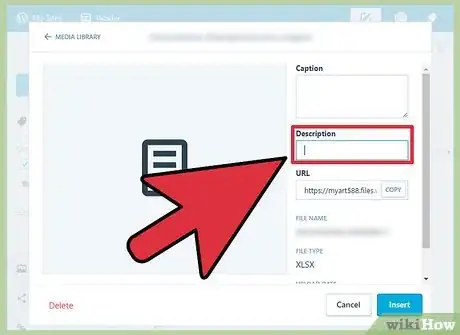
5Add a description for the file. You can enter a description underneath the file in the Add Media window. This will be the text that displays as the download link.
-
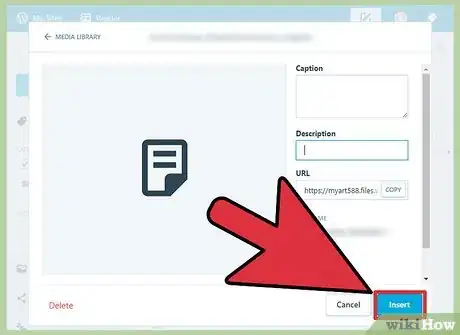
6Click the "Insert into post/page" button. This will insert the download link at the location of your cursor. Note that this will link to an attachment page and not the actual file. This is a limitation of the WordPress software.[3]
Using Weebly
-
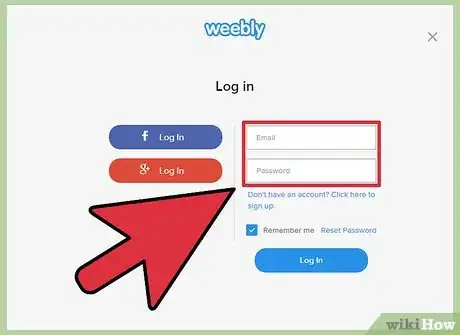
1Open your website in the Weebly editor. Log into the Weebly site and open your web page in the Weebly editor.
-
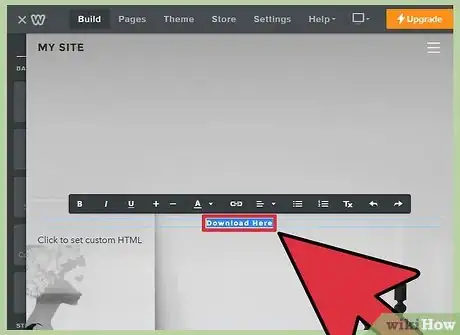
2Select the text or object that you want to turn into a link. You can highlight text in a text field or select an image on your page that you want to turn into the download link for your file.
-
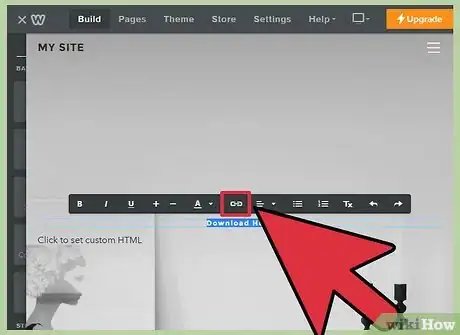
3Click the "Link" button. When you have text selected, this looks like a chainlink, and can be found at the top of the text editor. When you have an image selected, click "Link" in the image control panel.
-
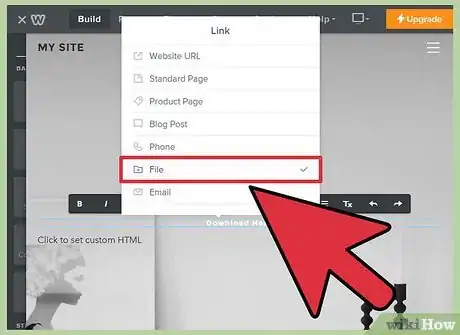
4Select "File" and then click "upload a file." This will open the file browser.
-
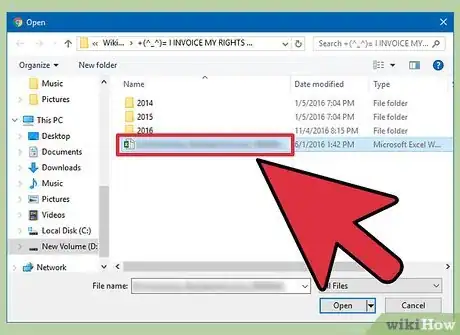
5Select the file you want to make available for download. Once you select the file, it will begin uploading.
- Basic users are limited to files 5 MB and smaller. Premium users have a 100 MB file size limit.
-
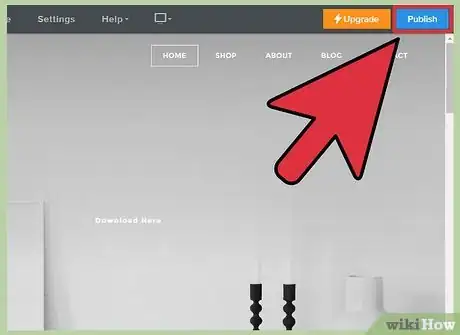
6Publish your site to see the new link. After uploading the file, the link will be ready to use. Click the Publish button to push your changes to the live site. Your visitors will now be able to click the link and download the file.
Using Wix
-
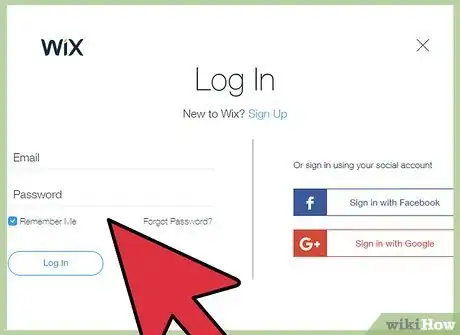
1Open your website in the Wix editor. If you use Wix to create and manage your site, log into the Wix website and load your webpage in the site editor.
-
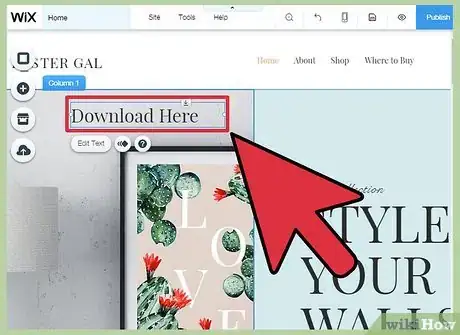
2Select the text or image that you want to turn into a link. You can create links from text on your page or from images.
-
3Turn your selection into a link. The process varies a little for text and images:
- Text - Click the Link button in the Text Settings window. The button looks like a chainlink. This will open the link menu.
- Image - Select "A link open" from the "When image is clicked" menu in the Image Settings window. Click "Add a link" in the "What does the link do?" section. This will open the link menu.
-
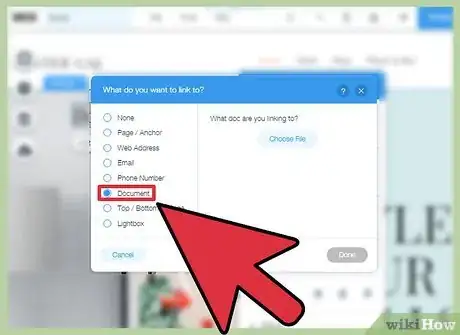
4Select "Document" from the list of link options. This will allow you to upload various document files.
-
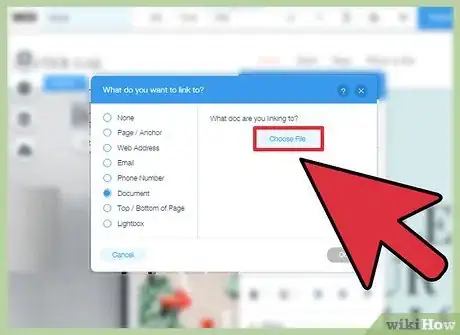
5Click the "Choose File" button. This will open the file uploader.
-
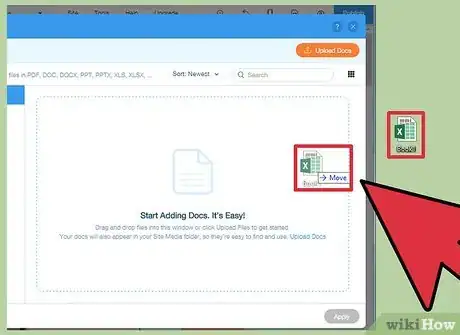
6Drag the file you want to upload into the window. You can only upload DOC, PDF, PPT, XLS, and ODT (and their subformats) files. This means you're essentially limited to uploading documents. File sizes are limited to 15 MB.
-
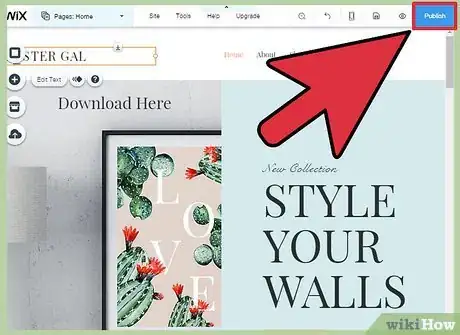
7Publish your site. Once you've uploaded the file, your link is ready to go. Click the "Publish" button in the upper-right corner to save your changes and push them to the live site.
Using GoDaddy
-
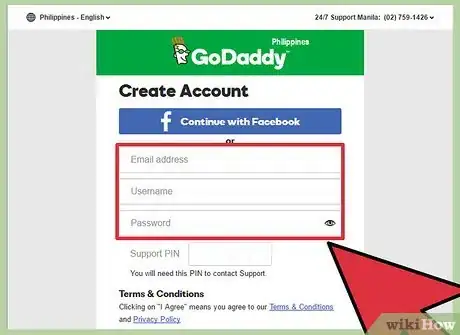
1Open your site in the GoDaddy site editor. If you used the GoDaddy site builder, log into the GoDaddy website and open your website in the editor.
-
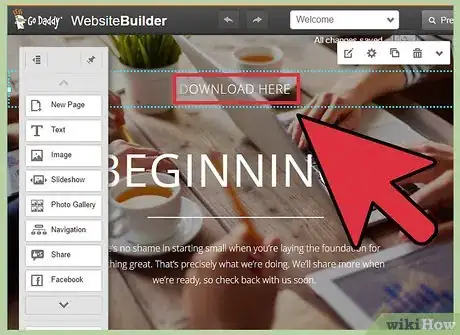
2Select the object or text that you want to turn into a link. You can turn any object on your site into a link, as well as any text from your text boxes. If you want to create a download button, click the "Button" option from the left menu to insert one.
-
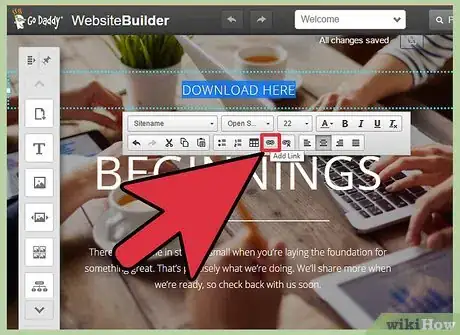
3Create a link from your selected object or text. If you have an object selected, click the Settings button to open the menu. If you have text selected, click the "Link" button in the text formatting tools, which looks like a chainlink.
-
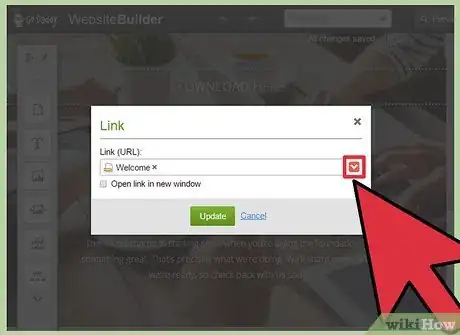
4Click the red arrow below "Link (URL)" and select "Upload." This will allow you to select the file you want to upload to your website.
-
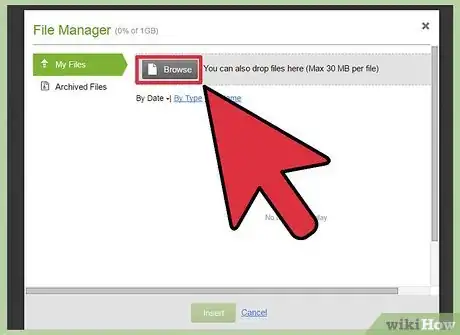
5Click the "Browse" button and find the file you want to upload. Files are limited to 30 MB in size. You cannot upload HTML, PHP, EXE, DLL and several other potentially dangerous types of files.
-
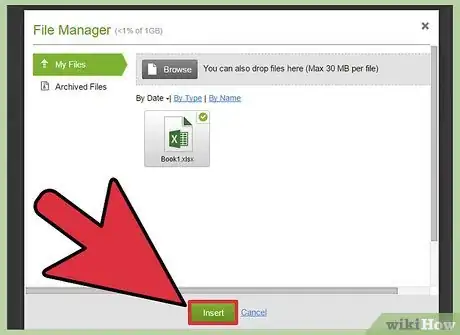
6Click "Insert" once the file has uploaded. You'll see a checkmark next to the file in the window when it has finished uploading.
-
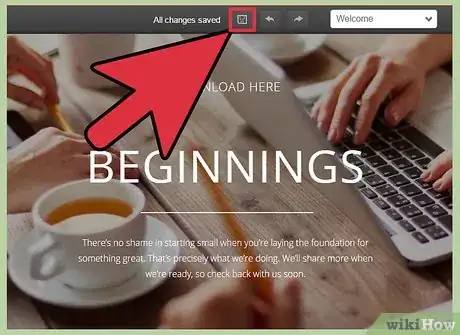
7Click "Save" to create the link. Clicking "Save" will apply the file to the object or text link you created.
-
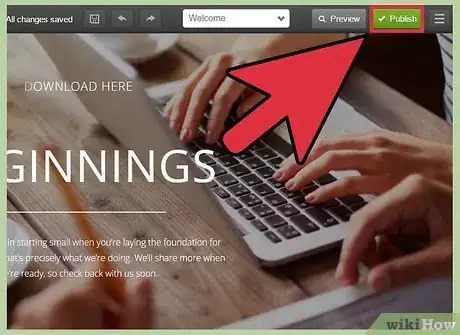
8Click "Publish" to save the changes to your site. This will make your new link live, and your visitors will be able to download the linked file.[4]
Community Q&A
-
QuestionDoes a hyperlink mean that I have to have the file on the server?
 Community AnswerNo, a hyperlink is just something that redirects you to a link, it does not mean that the file needs to be on the server for it to be redirected.
 -
QuestionWhat would be the best method to have a PDF download link from one of my YouTube posts?
 Community AnswerIf you put it in the description of the video, the link will be available to your viewers.
 -
QuestionHow do I find a website builder?
 Philip okugbeCommunity AnswerThere are a lot of drag and drop site builders online such as Yola, Weebly, Wix, etc.
References
About This Article
To make a file downloadable from your website, start by creating a folder on your server for both your website's HTML page and the file you want to share. Once you make the folder, you can find it by using your Control Panel's file manager or the file browser in your FTP program. From here, you can begin uploading files immediately by simply dragging them into the folder in the FTP window or by clicking the "Upload" button in the virtual control panel manager. Once everything is uploaded, open your web page in the code editor and place your cursor where you want to add the download link. Finish by using HTML5 code to create a download link for the file, then save the changes you've made to your HTML page. For more tips, including how to make a file downloadable from your WordPress site, read on!





-Step-23.webp)
