X
wikiHow is a “wiki,” similar to Wikipedia, which means that many of our articles are co-written by multiple authors. To create this article, 11 people, some anonymous, worked to edit and improve it over time.
This article has been viewed 38,333 times.
Learn more...
Remote control cars are one of the toys of childhood that can still be enjoyed by adults. Why buy a brand new RC car when you can make your own? This tutorial will show you how to make a very basic one-direction toy car, meaning that it can only go forward and backward. Also, note that this not wireless like actual RC cars, so it will have a long wire attached to the car.
Steps
Part 1
Part 1 of 4:
Building the Wheels


Part 2
Part 2 of 4:
Constructing the Body


Part 3
Part 3 of 4:
Wiring the Car
-
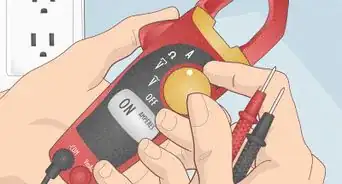
1Familiarize yourself with the equipment. These steps will require you to have basic knowledge on how to solder.
- If you don't know, check out How to Solder Wires Together.
-
2
-
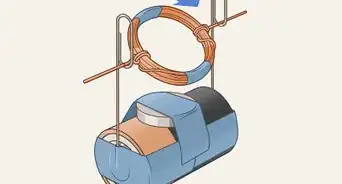
3Take two ends of the same wire either red or black and try to tie a small knot. Then place a hot soldering iron and melt the solder wire over the knot to permanently connect the two wires.
-
4Repeat this process as needed to extend the wire length. Remember that you should connect red wires to red wires and black wires to black wires.
-
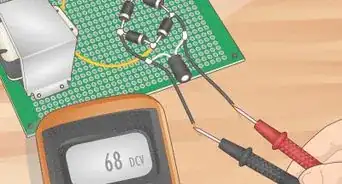
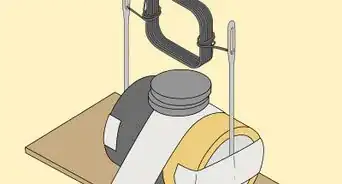
5Connect both of the wires to the motor. Take the end of the red wire and solder it to the top hole of the motor (positive eyebolt). Repeat this process for the black wire, soldering it to the bottom hole (negative eyebolt).
-
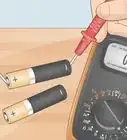
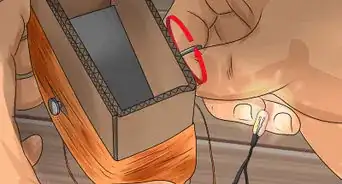
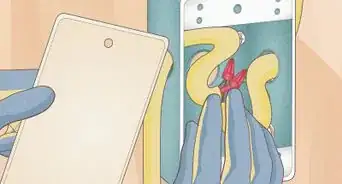
6Test it. Snap the clip buckle at the end of the wires to the 9V battery. If everything is done correctly, the shaft will spin clockwise making the car move forward.
- Note: On the clip buckle, the smaller terminal is positive and the larger terminal is negative. When attaching the larger negative terminal of the clip buckle to the smaller positive terminal of the 9V battery and vice versa, the shaft spins clockwise, causing the car to move forward.
- Likewise, when placing the larger negative terminal of the clip buckle close to the larger negative terminal of the 9V battery, the shaft spins counter clockwise, causing the car to move backward.


Advertisement
Part 4
Part 4 of 4:
Controlling the Car
-
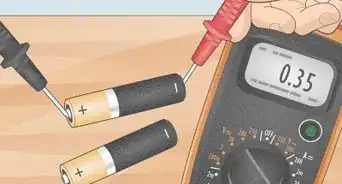
1Drive it forward. Attach the larger negative terminal of the clip buckle to the smaller positive terminal of the 9V battery and vice versa. This will enable the car to move forward.
-
2Drive it backward. Place the larger negative terminals and smaller positive terminals of the clip buckle and the 9V battery on top of each other. This will enable the car to move backward.
.jpg)
.jpg)
Advertisement
Things You'll Need
- A DC motor
- Wires
- Glue
- Soldering kit
- 9V battery
- 9V battery clip buckle
- Popsicle sticks
- Bottle caps
- Tape
- Tiny gears
- A 4-inch rod
- Straws


About This Article
Advertisement