X
This article was co-authored by wikiHow staff writer, Jack Lloyd. Jack Lloyd is a Technology Writer and Editor for wikiHow. He has over two years of experience writing and editing technology-related articles. He is technology enthusiast and an English teacher.
The wikiHow Tech Team also followed the article's instructions and verified that they work.
This article has been viewed 180,242 times.
Learn more...
This wikiHow teaches you how to shoot and edit a 360-degree tour of a house. While you'll need a camera capable of shooting 360-degree panoramas, you can use a free website to piece together, host, and publish your video.
Steps
Part 1
Part 1 of 3:
Recording Your Tour
-
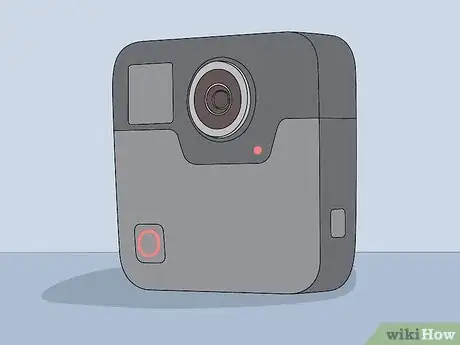
1Buy or rent a 360° camera. You'll need a camera which can shoot 360° panoramic footage, which means the camera must be able to shoot both horizontally and vertically.
- You'll also need a tripod for the camera.
-
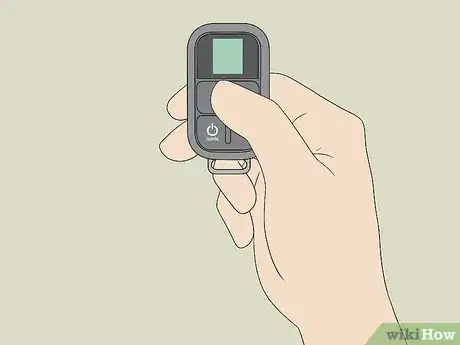
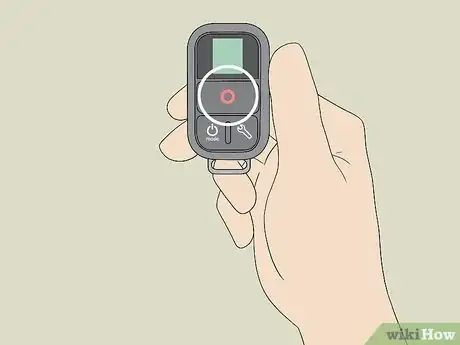
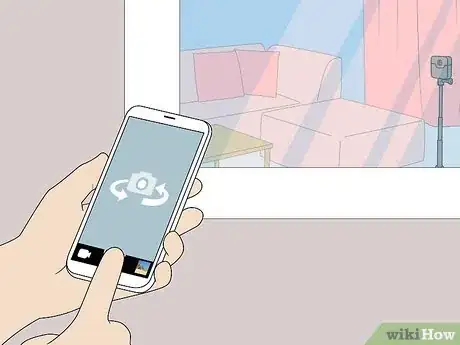
2Ensure that your camera works remotely. Most 360° cameras can be controlled via a remote or an app on your smartphone so as to avoid capturing their owner in the shot.Advertisement
-
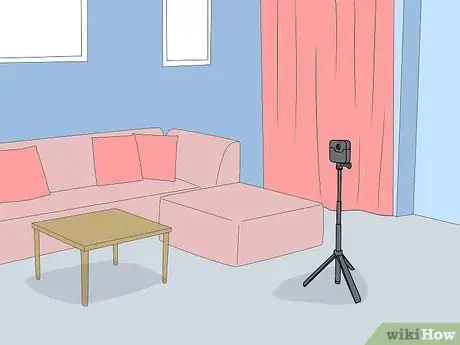
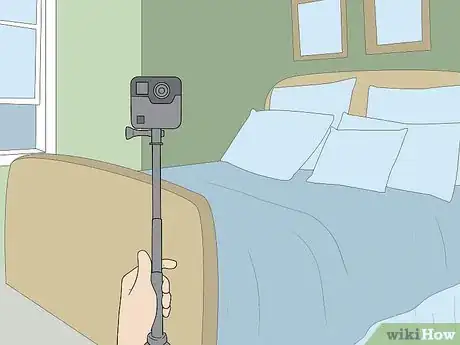
3Position your camera. Place the camera in the first room that you want to shoot, making sure to position it in the best location to capture the largest part of the room.
-
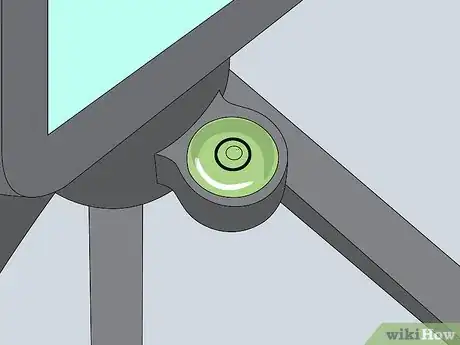
4Make sure your tripod is level. Having a camera which isn't perfectly level—even if it's only off by a few degrees—can result in imbalanced, tilted footage.
-
5Turn on and connect to the camera. This will vary depending on your camera and its method of remote control, but you'll usually press the camera's "Power" button and then either use a remote to control the camera or install an app on your smartphone to access the camera.
- If you end up installing an app on your smartphone, you may have to pair your phone with the camera via Bluetooth. Some cameras can also pair via Wi-Fi.
-
6Take a panoramic shot. Step out of the room in which you're shooting, then use the remote control or the app to record a 360° take of your selected room.
-
7Shoot the rest of the scene. Move your camera forward to the next area you want to shoot, then repeat the process.
- Keep in mind that you may have to take multiple shots within a few feet of each other if you plan on transitioning through a doorway.[1]
- The service you'll use to piece together your footage allows a maximum of 25 photos.
-
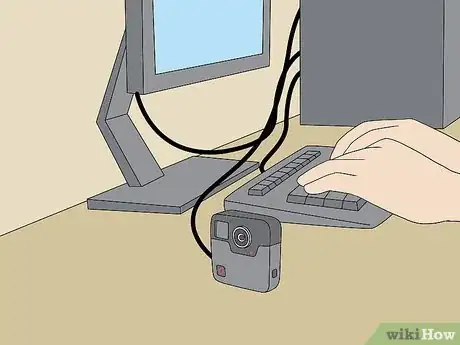
8Move the photos from the camera to your computer. Once you've taken your photos, you can transfer them onto your computer by plugging the camera's SD card (or the camera via its cable) into your computer, opening the SD card's (or camera's) folder, and dragging the photos onto your computer from there.
- The photos can usually be found in a "DCIM" folder on the camera or its SD card.
- If you're using the camera's SD card, you may have to place the SD card in a USB adapter and then plug the adapter into one of your computer's USB ports.
Advertisement
Part 2
Part 2 of 3:
Creating Your Tour
-
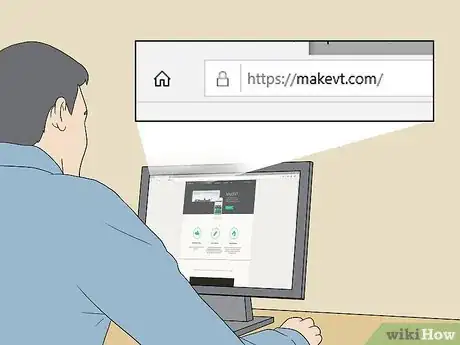
1Open the MakeVT site. Go to https://makevt.com/ in your computer's web browser.
-
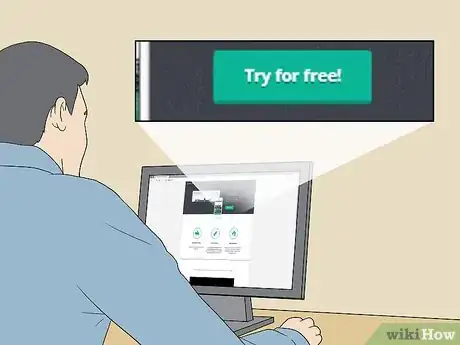
2Click Try for free!. This blue button is in the middle of the page.
-
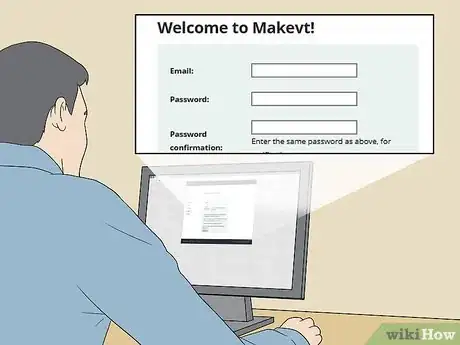
3Create an account and sign in. On the page which opens after clicking Try for free!, do the following:
- Enter an email address in the "Email" text box.
- Enter a password in the "Password" text box.
- Re-enter your password in the "Password confirmation" text box.
- Click Create account.
- Enter your email address and password, then click login.
-
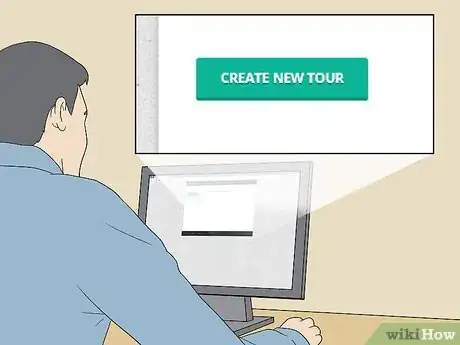
4Click CREATE NEW TOUR. You'll find this option on the left side of the page.
-
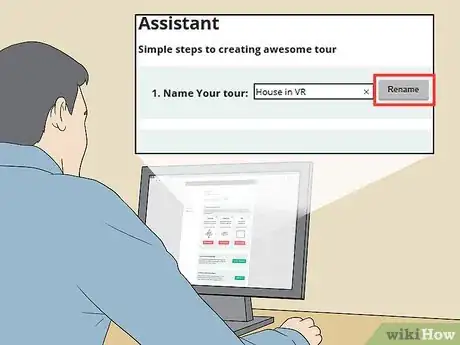
5Enter a name for your tour. In the "Name Your Tour" text box, type in whatever you want to name your virtual tour, then click Rename to the right of the text box.
-
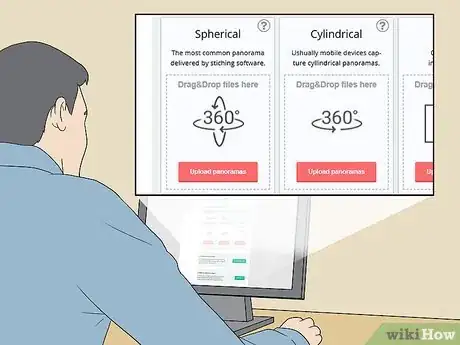
6Upload your photos. Do the following:
- Click Upload panoramas under either the "Spherical" or "Cylindrical" heading.
- Hold down Ctrl (Windows) or ⌘ Command (Mac) while clicking each photo you want to upload.
- You can upload a maximum of 25 photos at 20 megabytes apiece.
- Click Open.
- Wait for the photos to finish uploading.
-
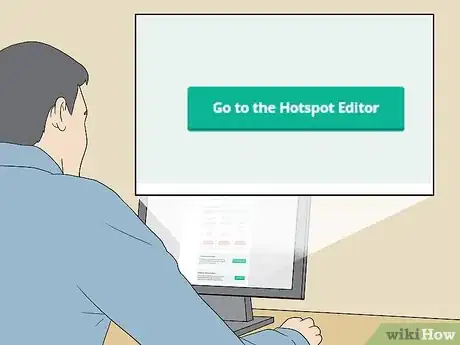
7Scroll down and click Go to the Hotspot Editor. This blue button is near the middle of the page.
-
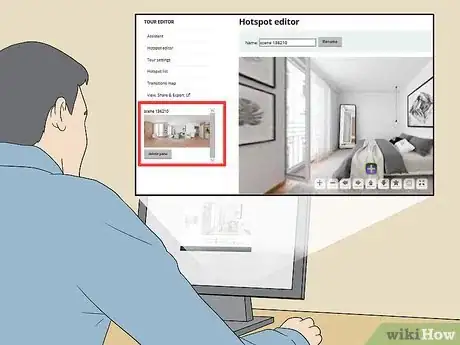
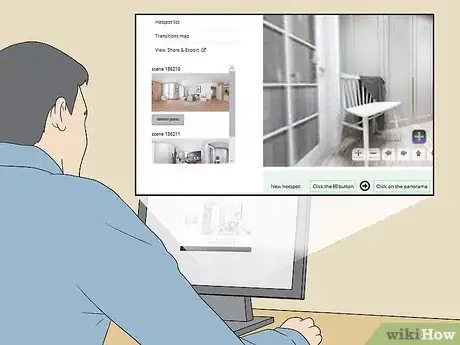
8Select the first scene's panorama. Click the panorama from the first room you shot on the left side of the page. This will open it in the middle of the page.
-
9Create a link to the next scene. In order to create a link to transition from the first room into the next one, do the following:
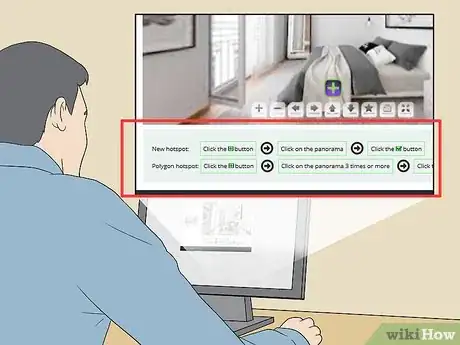
- Click +.
- Click once the panorama.
- Click ✓
- Click an indicator shape (this is what a user will click to move to the next scene).
- Click the "Select type of hotspot" text box, then click Transition in the drop-down menu.
- Click the next scene's panorama in the "Select the destination panorama" section.
- Scroll down and click Save.
-
10Link the rest of your scenes. You'll do this in the same way in which you built the link from the first room to the second one. Once you've completed this process, you can proceed.
Advertisement
Part 3
Part 3 of 3:
Publishing the Tour
-
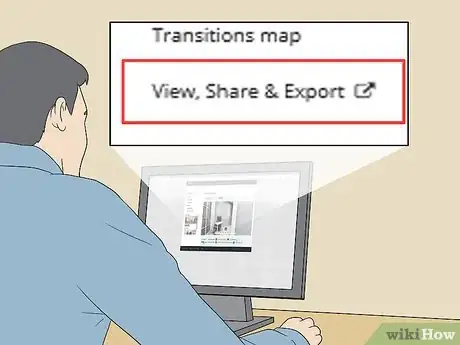
1Click View, Share, & Export. It's a link on the left side of the page.
-
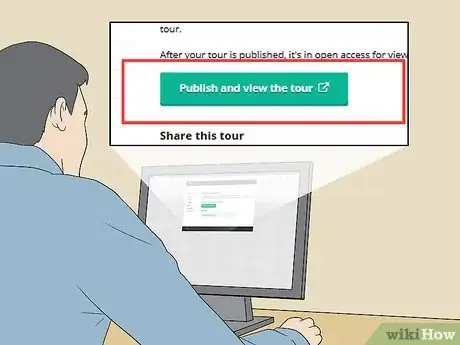
2Click Publish and view the tour. This blue button is in the middle of the page.
-
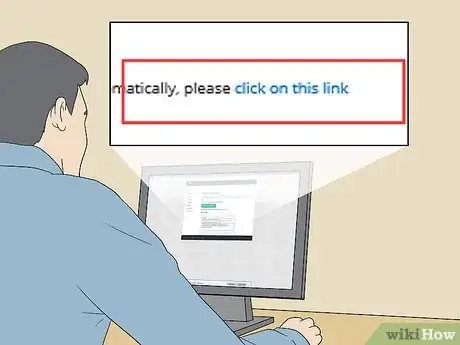
3Open the virtual tour. When it appears, click the click on this link link in the text below the button.
-
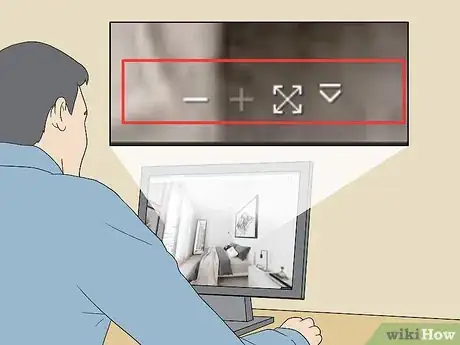
4Run through your tour. Once your tour loads, you can navigate through it by clicking the transition icons on each panorama, and you can move the perspective around by clicking and dragging.
-
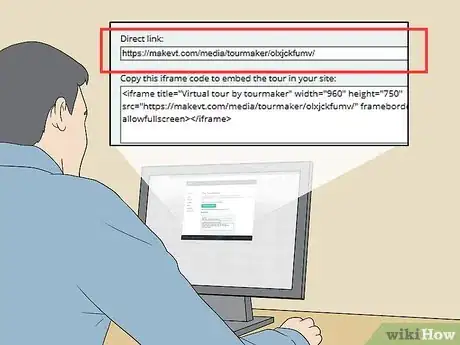
5Add the virtual tour's link to other pages. To copy the link to your tour, highlight the "Direct Link" text box's contents and copy it by pressing Ctrl+C (Windows) or ⌘ Command+C (Mac), then go to a place in which you want to post the tour (e.g., the house's listing or your preferred social media page) and paste it into a post by pressing Ctrl+V or ⌘ Command+V.
Advertisement
Community Q&A
-
QuestionHow is this accessible to the public from my computer?
 Community AnswerYou have to upload the movie to a suitable site, e.g. YouTube. If you have your own website, the movie can be uploaded to that as well.
Advertisement
References
About This Article
Advertisement
