wikiHow is a “wiki,” similar to Wikipedia, which means that many of our articles are co-written by multiple authors. To create this article, 10 people, some anonymous, worked to edit and improve it over time.
This article has been viewed 53,641 times.
Learn more...
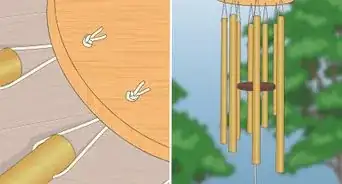
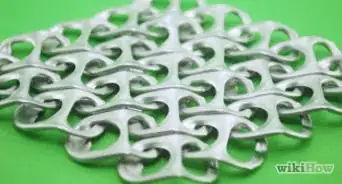
Punched or pierced tin has a long history in the United States, dating back to the colonial period when some referred to tin as "poor man's silver." Colonists used the pierced metal to shield candles from the wind in the lanterns, and the lanterns later burned whale oil. Punched tin boxes were also used as bed warmers, and the early settlers used them to keep their feet warm during carriage or sleigh rides, as well as during services in unheated churches. Punched tin was also popular for the panels of food and pie safes, since it kept insects away from the stored provisions while still allowing the air to circulate, thus preventing any quick mold growth. While antique pierced tin pieces are hard to come by and are usually expensive when found, you can recreate the look with tin sheets or recycled tin cans, a hammer and a nail or an awl.
Steps
Punched Tin Luminaries
-
1Clean tin cans thoroughly to remove any remaining food. Commercial-sized food service cans work well for outdoor luminarias.
-
2Fill the cans 3/4 full of water.Advertisement
-
3Place them in the freezer until the water is frozen solid. Do not fill the cans completely, as the expanding ice might cause it to burst its seams. The ice will prevent bending of the can when you begin the punching.
-
4Transfer your design onto tracing paper. For the best results, use a design that relies only on its outline, as small details get lost. Use pictures from coloring books, greeting cards, quilt or other crafting patterns or design your own pattern. Mark dots about 1/8 inch (3 mm) apart on the outline.
-
5Remove the cans from the freezer and wipe away any condensation that forms. Tape your design to the can with masking tape.
-
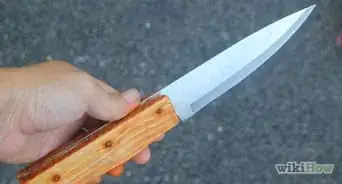
6Place the point of a nail or awl on the first dot, and strike the head with a hammer until the nail goes through the can and into the ice. Remove the nail and repeat the process on each dot.
-
7Allow the ice to melt and pour out the water.
-
8Set a votive or tea light candle in the bottom of the can and light it. You may also use household emergency candles, if the can is taller than the candle.


Framed Punched Tin
-
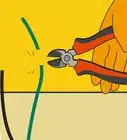
1Measure the cabinet into which the punched tin panel will be set and use the tin snips to cut a tin sheet 1 inch (2.54 cm) larger on all sides.
-
2Transfer your design to tracing paper and mark dots 1/8 inch (3 mm) apart along the entire outline.
-
3Place the tin panel on a flat surface and tape the pattern in place.
-
4Set a piece of wood under the tin sheet at the point where you will begin punching the pattern.
-
5Place the tip of a nail or awl on each dot and strike the head with the hammer, driving the nail through the metal. Repeat for all the dots on the pattern.
-
6Frame the tin sheet as appropriate for the particular cabinet in which you plan to use it.


Community Q&A
-
QuestionHow do I hold the drill steady to make holes?
 GabrielCommunity AnswerYou need to first make a small indentation or hole centered where the drill bit tip can grip and not slip. You can use a hole punch or a chisel to do this or even a nail and a hammer. You can then hold the drill firmly and leveled straight.
Things You'll Need
- Tin cans
- Tracing paper
- Measuring tape or ruler
- Masking tape
- Nail or awl
- Hammer
- Tin sheets
- Tin snips
- Wood scraps