wikiHow is a “wiki,” similar to Wikipedia, which means that many of our articles are co-written by multiple authors. To create this article, volunteer authors worked to edit and improve it over time.
This article has been viewed 110,508 times.
Learn more...
Grammar Nazis are everywhere these days—mostly prominent in social networking sites like Facebook. That’s why you have to be very mindful of the things you post here, including the grammar, choice of words, and of course, the spelling of your post to avoid getting “bashed” and bombarded with nasty comments. Browsers by default have a built-in spell-check tool that can help you correct any misspellings on your statuses. Using the most commonly used web browsers, you can add spell-check on Facebook in just a few steps.
Steps
Adding Spell-Check on Facebook Using Google Chrome
-
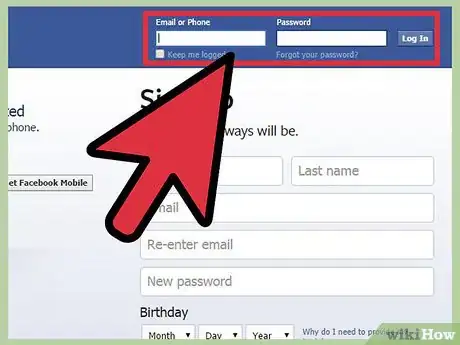
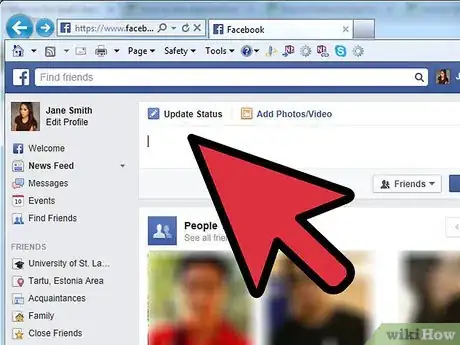
1Sign into your Facebook account. Create a new Google Chrome browsing tab and visit Facebook at www.facebook.com.
- If you’re not yet signed in, enter your account details on the allocated text fields and click the “Sign In” button to proceed to your account.
-
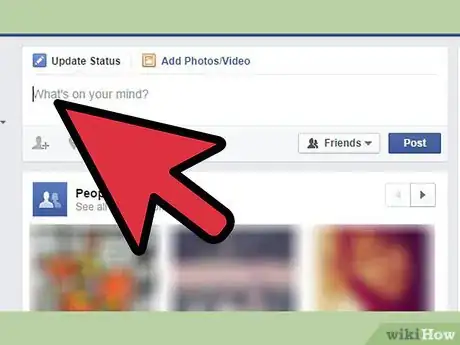
2Post a status. Click the Update Status text field at the very top of the page and start typing in the status that you want to post.Advertisement
-
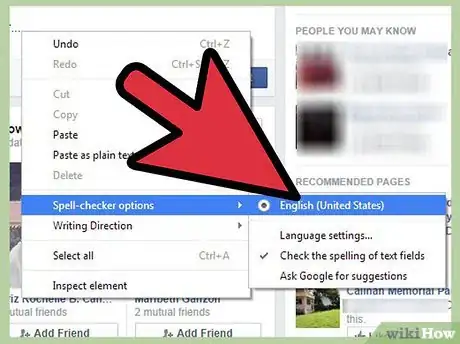
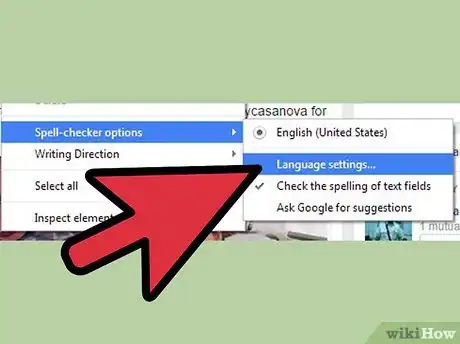
3Enable Google Chrome’s Spell-Check tool. Make a right-click on the Status Update text field and choose “Spell-Check Options” from the pop-out menu. Select the “Check the spelling of text fields” from the slide-out menu that will appear to enable Google Chrome’s built in Spell-Check tool.
- Every time you misspell a word, a red line will appear below it telling you that the word is wrongfully spelled.
-
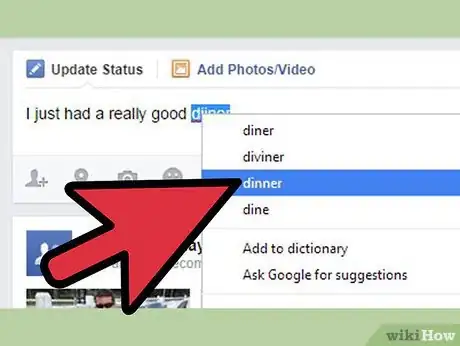
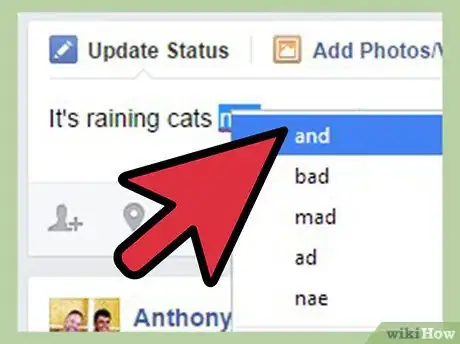
4Correct spelling. To correct the spelling, right-click on the underlined word and a list of possible correct choices will appear. Select one of the suggested words from the list and it will replace the one that you misspelled.
Adding Spell-Check on Facebook Using Mozilla Firefox
-
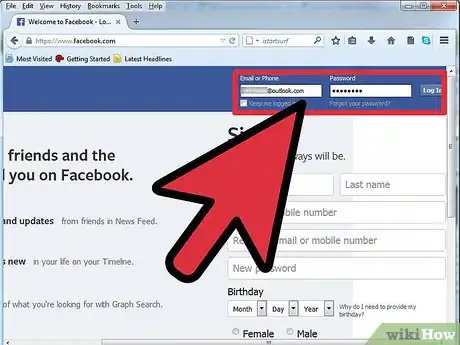
1Sign into your Facebook account. Create a new Mozilla Firefox browsing tab and visit Facebook at www.facebook.com.
- If not yet signed in, enter your account details on the allocated text fields and click the “Sign In” button to proceed to your account.
-
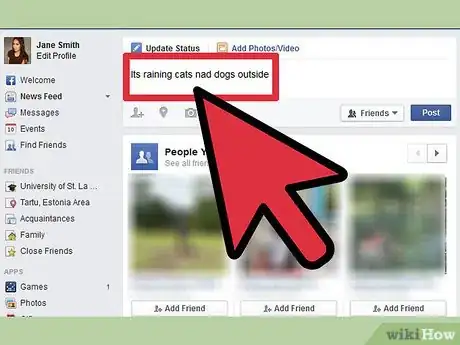
2Post a status. Click the Update Status text field at the very top of the page and start typing in the status that you want to post.
-
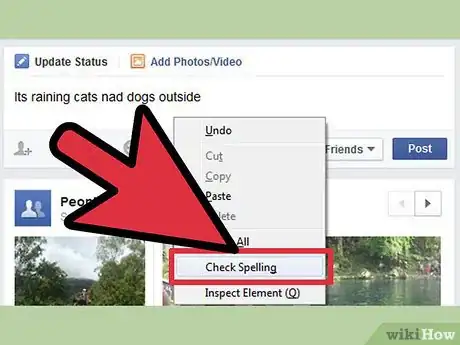
3Enable Mozilla Firefox’s Spell-Check tool. Make a right-click on the Status Update text field and select “Check Spelling” from the pop-out menu. You’ll see a check mark beside this option when the Mozilla Firefox’s Spell-Check tool is active.
- Every time you misspell a word, a red line will appear below it telling you that the word is wrongfully spelled.
-
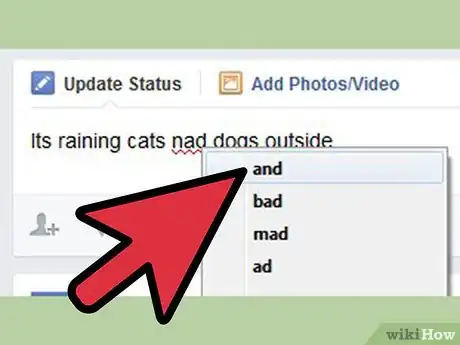
4Correct spelling. To correct the spelling, right-click on the underlined word and a list of possible correct choices will appear. Select one of the suggested words from the list and it will replace the one that you misspelled.
Adding Spell-Check on Facebook Using Safari
-
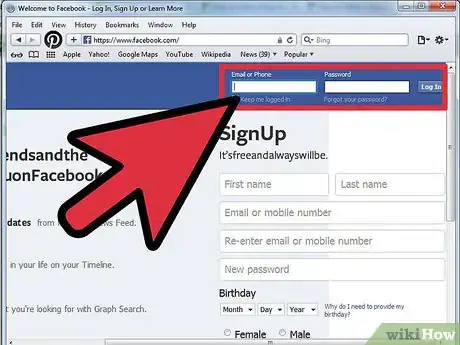
1Sign into your Facebook account. Create a new Safari browsing tab and visit Facebook at www.facebook.com.
- If not yet signed in, enter your account details on the allocated text fields and click the “Sign In” button to proceed to your account.
-
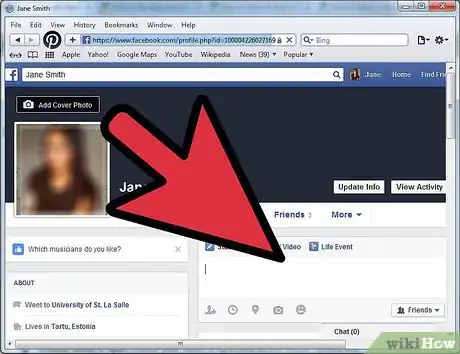
2Post a status. Click the Update Status text field at the very top of the page and start typing in the status that you want to post.
-
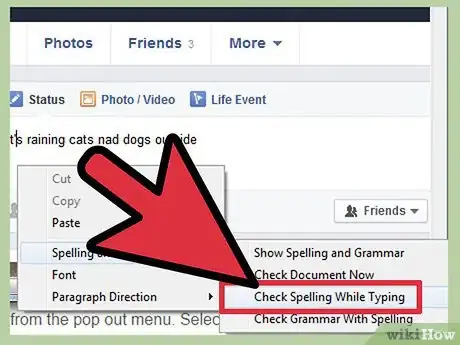
3Enable Safari’s Spell-Check tool. Make a right-click on the Status Update text field and choose “Spelling and Grammar” from the pop out menu. Select the “Check Spelling While Typing” from the slide out menu that will appear to enable Safari’s built in Spell-Check tool.
- Every time you misspell a word, a red line will appear below it telling you that the word is wrongfully spelled.
-
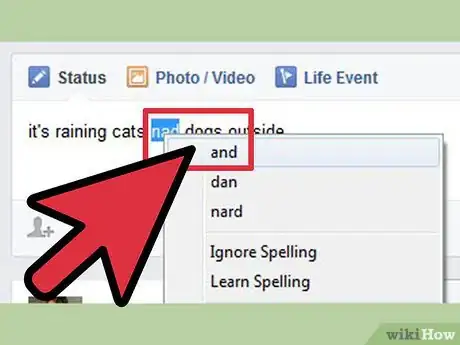
4Correct spelling. To correct the spelling, right-click on the underlined word and a list of possible correct choices will appear. Select one of the suggested words from the list and it will replace the one that you misspelled.
Adding Spell-Check on Facebook Using Internet Explorer
-
1Sign into your Facebook account. Create a new Internet Explorer browsing tab and visit Facebook at www.facebook.com.
- If not yet signed in, enter your account details on the allocated text fields and click the “Sign In” button to proceed to your account.
-
2Post a status. Click the Update Status text field at the very top of the page and start typing in the status that you want to post.
-
3Enable Internet Explorer’s Spell-Check tool. Make a right-click on the Status Update text field and choose “Language” from the pop out menu. Select the language you prefer from the slide-out menu that will appear to enable Internet Explorer’s built in Spell-Check tool.
- For a more accurate spell-checking, select “English (United States)” from the list of language available.
- Every time you misspell a word, a red line will appear below it telling you that the word is wrongfully spelled.
-
4Correct spelling. To correct the spelling, right-click on the underlined word and a list of possible correct choices will appear. Select one of the suggested words from the list and it will replace the one that you misspelled.
Community Q&A
-
QuestionI have lost my spellcheck on Facebook. I use an iMac and Chrome. The directions given above do not produce the same options for me. What do I do?
 Community AnswerThere are extensions in the Chrome store that you can get for spell check. I personally recommend Grammarly. It's very helpful and it doesn't take up any space.
