wikiHow is a “wiki,” similar to Wikipedia, which means that many of our articles are co-written by multiple authors. To create this article, volunteer authors worked to edit and improve it over time.
This article has been viewed 145,588 times.
Learn more...
Today's modern vehicles use a serpentine belt to drive the air conditioning system, alternator, water pump, smog pump and power steering pump. Previously, these systems used multiple belts on pulley systems with a number of ways to manually tighten the belts. The serpentine belt system consists of only one belt and one automatic belt tensioner. The process is often tricky with various manufacturer's designs, but is not very difficult and may be done using basic hand tools.
Steps
-
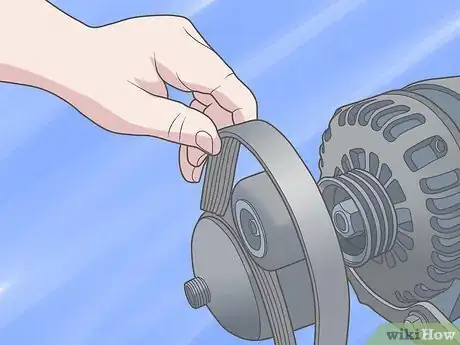
1Determine repair parts needed: All moving parts are subject to failure and you may need to remove the serpentine belt to replace the belt itself or one of the components it drives.
-
2Park the vehicle in a level spot and set the emergency brake. Turn the engine off and chock the rear wheels for both directions.Advertisement
-
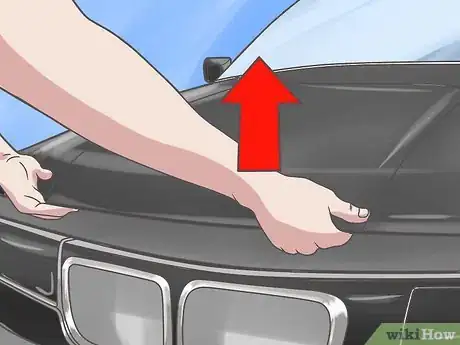
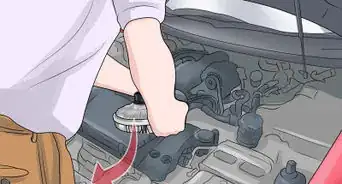
3Raise the hood of the vehicle's engine compartment and set the hood brace to keep it open, if so equipped.[1]
-
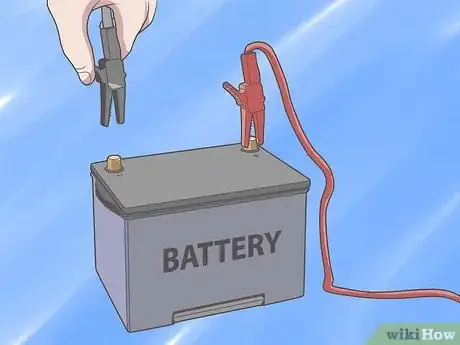
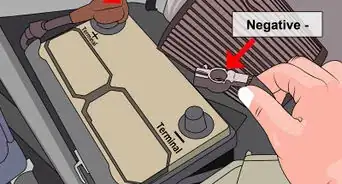
4Engine caution: Remove the negative battery cable connector from the battery terminal to be sure that no one will be able to actuate the engine or starter.[2]
-
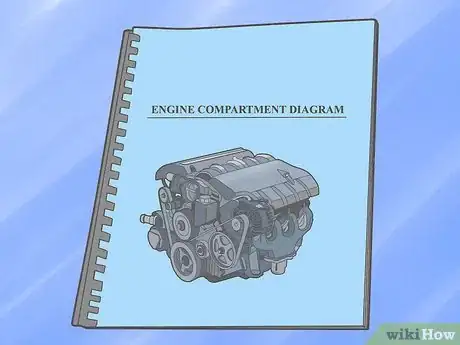
5Look for a diagram decal posted near the front of the engine compartment that lays out the serpentine belt. Most likely, it will be mounted on the top of the radiator shroud or cover. If there is not a diagram, be sure to get one, such as in a repair manual or draw one carefully and clearly.
-
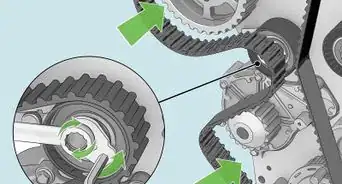
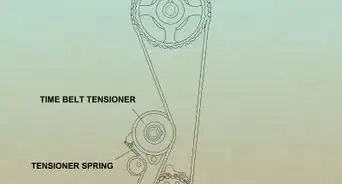
6Locate the serpentine belt auto tensioner pulley using the diagram. The auto tensioner and its pulley is a spring-loaded device that keeps the serpentine belt tight. Its pulley is usually smooth while the other pulleys are grooved. The way to remove tension will be to pivot the tensioner using a tool (1) on the nut of the tensioner pulley, or (2) a special tool-lug outcropping from the tensioner or (3) in a square opening in the bracket of the tensioner pulley, cover or cap that protects the spring. (There is often an idler pulley in the system which looks rather similar to the tensioner pulley -- but it is not a tensioning device, not spring loaded).[3]
-
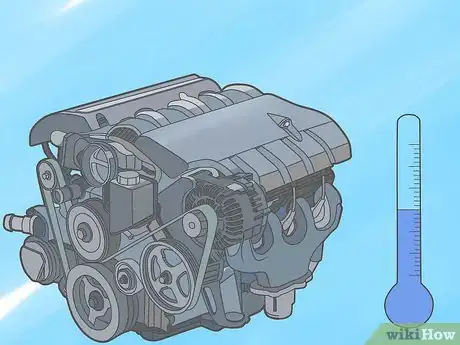
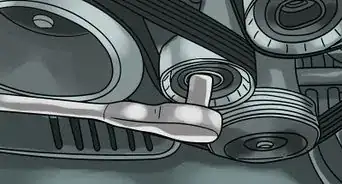
7After letting the engine cool thoroughly, use one of the tools mentioned below to pivot the tensioner pulley to take the tension off the belt.
- Remove any belt guard, cover or fan cowling as necessary -- for instance on a belt driven fan on some rear-wheel-drive vehicles (on older cars, on trucks, etc.) to more easily access the belts, but replace it all later.
- Remove an under engine splash-guard/cover, if necessary (these protect belts and accessories, electronics, etc.): this is found under the vehicle -- to gain access to bottom pulleys. It may be attached with plastic snap in retainers or screws or both. Be sure to put all such covers back on later.
-
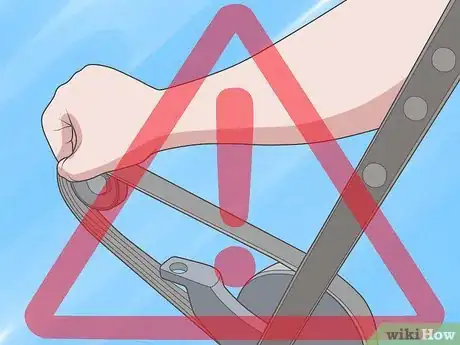
8Serious damage caution. Do "not" cut the belt: Avoid such a "short cut", as that can cause the tensioner or where it attaches to be damaged when it springs back violently.
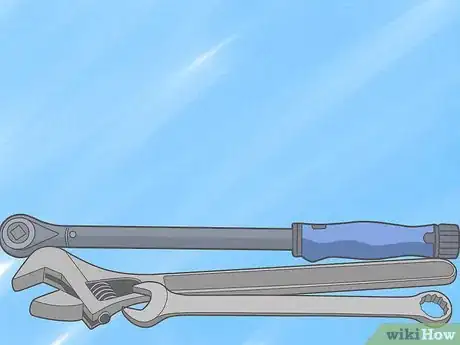
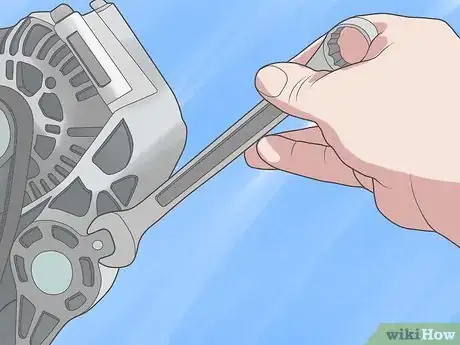
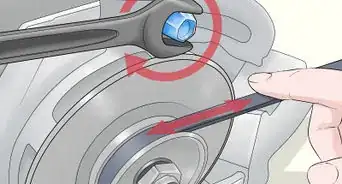
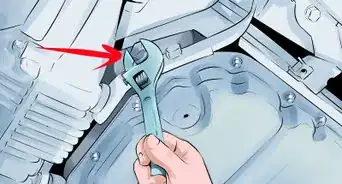
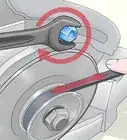
- Using the "universal" hexagon (hex) nut type: Select a socket wrench, a combination or adjustable wrench and insert it over the pulley hex nut (you may need a "cheater pipe" to slip over the wrench handle to lengthen it and give you more leverage). Often a ratchet and socket is to thick to fit (Chrysler products have used the universal hex-nut on the tensioner pulley) in the narrow space between the engine and chassis or front fender, on front wheel drive engines. Then a box end wrench or special, rented, long-handled tool may be used.
- Patented lug feature: Use an open end wrench on a patented "tensioner rigid lug" that accepts an open end wrench, available only with certain manufacturers' engines.
- Patented square opening feature: Use a bare 3/8 inch (9.52 mm) extension attached to a 3/8 inch (9.52 mm) ratchet with a cheater, or use a long handled "breaker/break-over" wrench, inserting it (without a socket) into the square opening -- General Motors (GM) vehicles have this patented method -- in the tensioner lever or bracket.
- Borrow or rent: Get a thin, flat, long-handled, serpentine belt removal tool (or kit with various size low profile sockets and "crow-feet", open-end attachments) at an auto parts store. Follow the instructions in your manual, or a sheet that may come with the tool (or ask for advice from an experienced "handy-man").
-
9Caution against injury: Be careful to neither let the tool slip nor release the tool handle suddenly or it could sling the tool, and damage the auto or possibly cause serious injury.
-
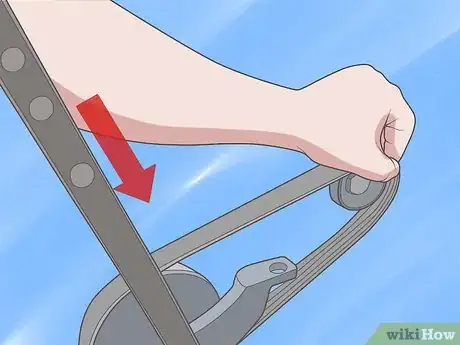
10Push or pull, logically: You may push down on the tool handle -- if the belt is over the tensioner pulley -- or pull up, if the belt passes under the tension pulley (but not necessarily, as that direction depends on the design and orientation of the tensioner and the belt).
- Note: It is a very heavy spring tension, and pivoting the tensioner is often not possible with a short handled tool.
-
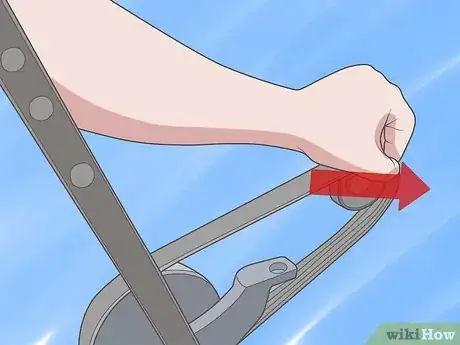
11Hold the tension from the belt, and slip the belt off the auto tensioner pulley to remove the belt and pulley system.
-
12Slowly release the tension to avoid damage or injury, and then remove the tool from the belt auto tensioner.[4]
-
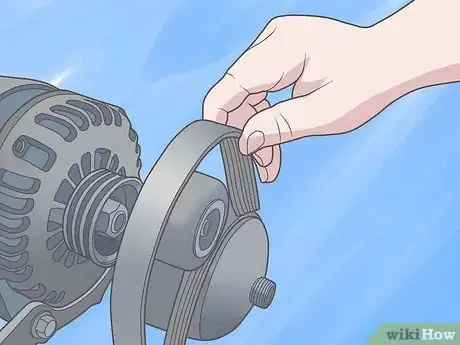
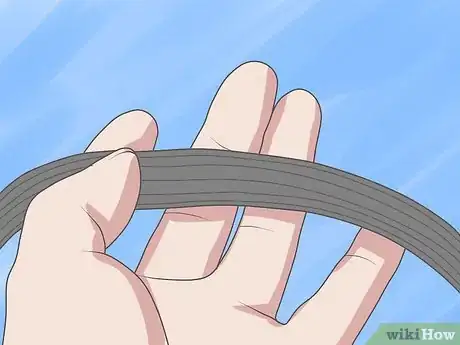
13Carefully examine the pattern as you remove the belt from the remaining pulleys, to be sure that you understand the routing of the belt for replacing it later in reverse sequence. If it is not to be reused -- or would be in your way such as while installing a water pump or such -- remove it from the engine compartment.[5]
- Operating caution: Not any of the belt driven accessories (such as the engine coolant system, air conditioner, heater and power steering) will operate without the belt, so do not run the engine at all.
Community Q&A
-
QuestionCan I still drive if the AC tensioner is off?
 Community AnswerIf the belt is not connected to the alternator or power steering pump, yes, you can.
 -
QuestionHow much time should I plan on spending to change the serpentine belt in my 2008 Ford Focus SE?
 Community AnswerIt depends on your knowledge and expertise. Anywhere between 30 minutes-2 hours.
 -
QuestionWhere is the belt tensioner located?
 Community AnswerThe single belt loops around all the different pulleys on your engine, but one pulley has a tensioner arm, which will be the only pulley the has a square, 3/8-inch hole in the center. That hole is for a 3/8-inch ratchet nub, the part that holds the socket. Place the nub of the ratchet wrench into the square hole of the tensioner pulley and rotate the wrench. Try both directions, which will require you to flip the selector on the wrench to the opposite direction (so you can loosen or tighten). The tensioner will move only in one direction, and when moved will release its grip on the belt. Make sure you study how the original belt wraps around the various pulleys.
Warnings
- Spring projectile caution: Never attempt to open the case/cap of the "tensioner spring" itself -- as the spring is very strong and could fly around or lash out in any direction.⧼thumbs_response⧽
- Burns: The temperature generated by the engine can cause severe burns or hot water scalds. Wait until the engine has cooled to work on anything on the vehicle that is near it, or the engine exhaust pipes.⧼thumbs_response⧽
- Eye injuries: Always wear safety glasses when working on a vehicle.⧼thumbs_response⧽
Things You'll Need
- Wheel chocks
- Chart of pattern of belt routing
Tools depending on the vehicle make and model
- Adjustable or open end wrench
- Box end or combination wrench
- 3/8 inch (9.52 mm) ratchet extension
- 3/8 inch (9.52 mm) ratchet
- Break-over wrench
- Serpentine belt removal tool (special breaker bar)
References
- ↑ https://www.dummies.com/home-garden/car-repair/how-to-raise-your-vehicles-hood/
- ↑ https://www.youtube.com/watch?v=xzG2tvp68mQ
- ↑ https://www.automd.com/46/how-to-replace-a-serpentine-belt/
- ↑ https://www.2carpros.com/articles/replace-serpentine-belt
- ↑ https://www.popularmechanics.com/cars/how-to/a4121/4311197/
- http://www.youtube.com/watch?v=y2KWnnlKv5o&NR=1
