This article was co-authored by wikiHow staff writer, Darlene Antonelli, MA. Darlene Antonelli is a Technology Writer and Editor for wikiHow. Darlene has experience teaching college courses, writing technology-related articles, and working hands-on in the technology field. She earned an MA in Writing from Rowan University in 2012 and wrote her thesis on online communities and the personalities curated in such communities.
This article has been viewed 100,204 times.
Learn more...
Oh no! The power went out while you were working on a Word document! What can you do? Fortunately, you have the ability to autosave and recover your work. AutoSave and AutoRecover are features you can enable (since they aren't default settings) in Microsoft Word 2007 to automatically save and back up your work. The AutoSave feature allows you to choose how often your work is saved automatically in increments of minutes, and the AutoRecover feature will restore you to the same state or location you were at in your document before your power went out. This wikiHow article teaches you how to set up the AutoSave and AutoRecover features in Microsoft Word 2007.
Steps
Enable the AutoSave Feature
-
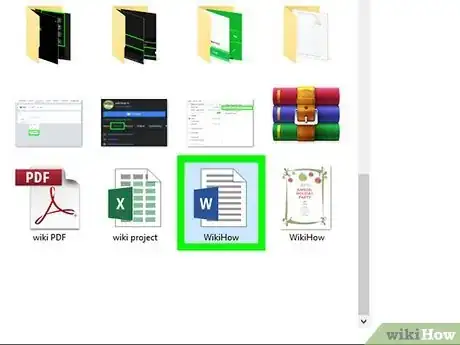
1Open the Microsoft Word 2007 application on your computer.
-
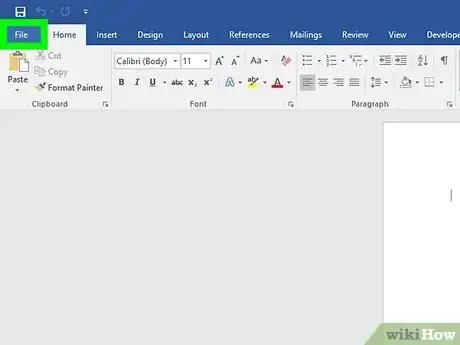
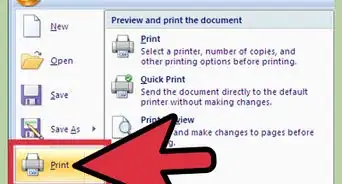
2Click on the Microsoft Office button in any open Word session. This button is a logo of Microsoft Windows and is in the upper-left corner of Word.
- Even if you've used Word for a while, there might be some features or settings that you've missed.
Advertisement -
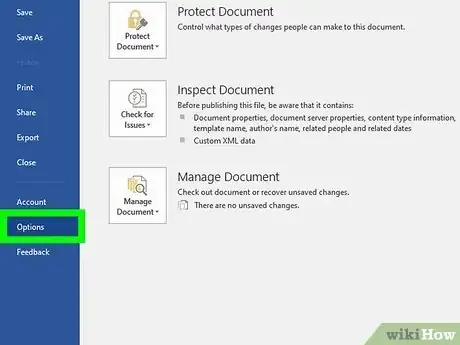
3Select Word Options. It's at the bottom of the window that appears and will open a new menu window.
-
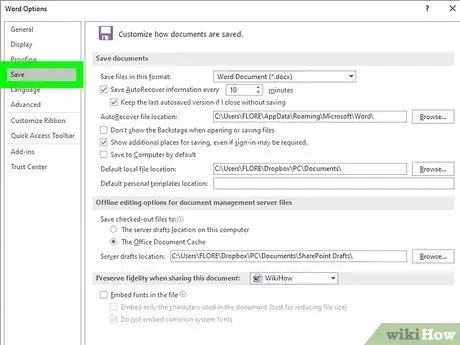
4Choose Save. It's in the left pane and will change the items in the panel on the right side of the screen.
-
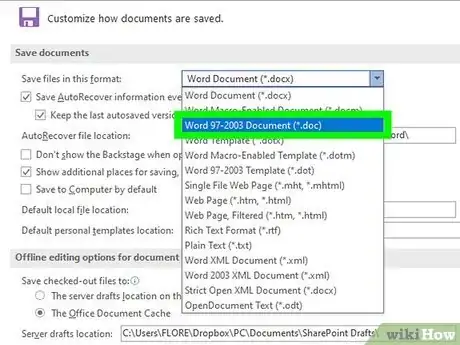
5Click the arrow in the drop-down menu next to "Save files in this format" to select "Word 97-2003 document." You can also use a different format if you'd like, like "Rich Text Format" or "Word Document".
-
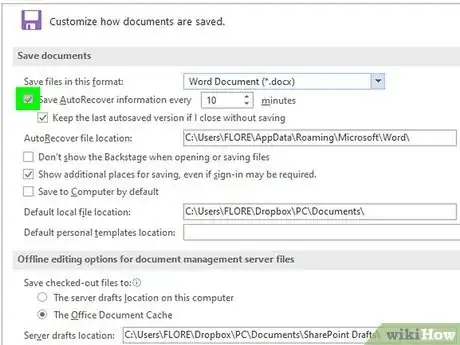
6Click the box next to "Save AutoRecover information every x minutes" to check it [[Image:|techicon|x30px|alt=]]. If you leave this box blank, Word will not set up Autosave or AutoRecover.
-
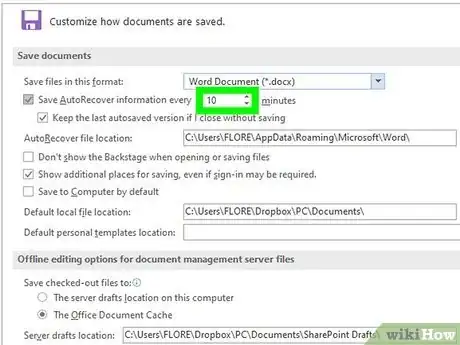
7Specify how often you want Word to save your document by clicking on the arrows in the minutes section. Your system will not save any work you have done after the last AutoSave if it shuts down. For example, if you set Word to save your work every 10 minutes, and your system shuts down 8 minutes after the last AutoSave, any work done during that 8 minutes will not be saved.
-
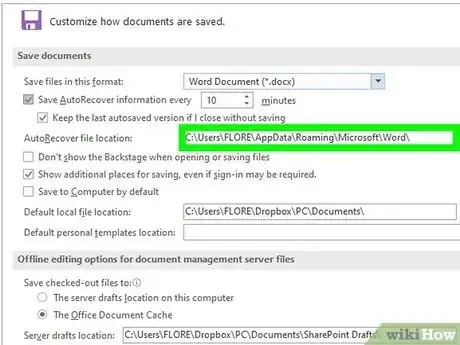
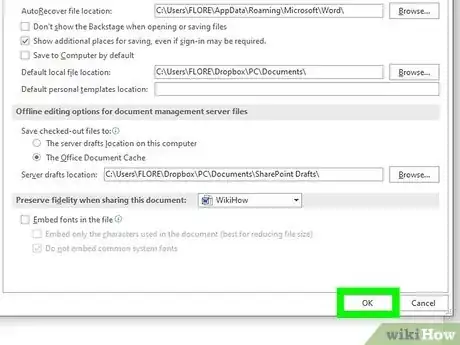
8Modify your saved file locations next to the fields of "AutoRecover file location" and "Default file location" if you want to change the file storage locations. Click Browse next to each field to change the location if you'd like.
-
9Click the "OK" button to apply and save your settings. It's at the bottom of the window and will apply your changes to every Word document you open.[1]
Use AutoRecover to Retrieve Work
-
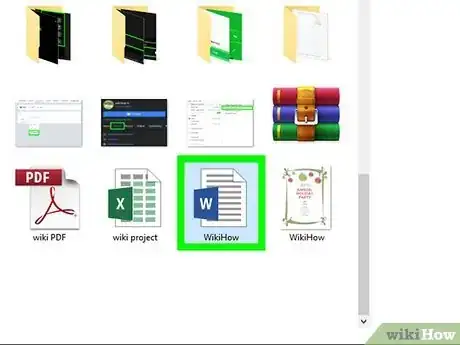
1Reopen Word after your computer has shut down abnormally and rebooted.
- Click "Yes" when a dialog box appears asking if you want to load your automatically saved documents in Word.
- If the Recover panel doesn't appear for you or you accidentally clicked No when prompted to load Autosaved documents, there are a few different ways you can recover your documents, so don't worry. Go to File > Info > Manage Documents > Recover Unsaved Documents.
-
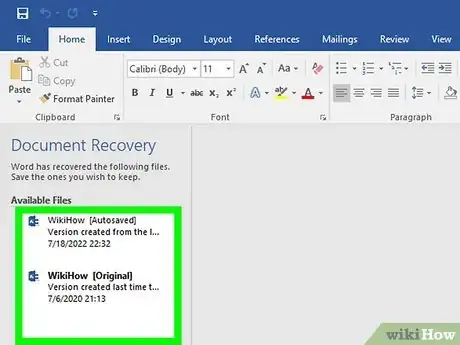
1View your most recent saved Word files on the left side of the Document Recovery Task Pane.
- File names followed by "Original" were last saved using the manual "Save" button method, whereas files followed by "Autosaved" were last saved with the AutoSave feature.
- The files will also display the date and times each version was saved.
-
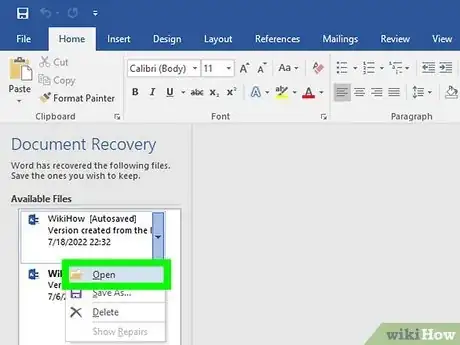
2Click a file and select Open if you want to open it.
- If you don't want a file, click it, and click Delete to remove it from your AutoRecovery Panel and the folder it was saved in.
