X
wikiHow is a “wiki,” similar to Wikipedia, which means that many of our articles are co-written by multiple authors. To create this article, volunteer authors worked to edit and improve it over time.
The wikiHow Video Team also followed the article's instructions and verified that they work.
This article has been viewed 84,749 times.
Learn more...
Clothes are expensive. When you lose a button, most shirts come with extra ones at the bottom. But how do you put that button in a spot to replace the one you lost? You sew it back on!
Steps
-
1Unwind 2 feet (24 in.) of your thread. Use your scissors to make a neat cut, keeping the edges from fraying as much as possible. This will make it easier to thread your needle.[1]
-
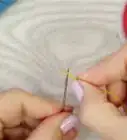
2Thread your needle by moistening the tip of the thread and feeding it through the eye of the needle.[2]Advertisement
-
3Fold the thread in half, with the needle at the center and tie a knot at the other end. To tie the knot, loop the thread around two of your fingers, pushing the needle through the loop you just made.[3]
-
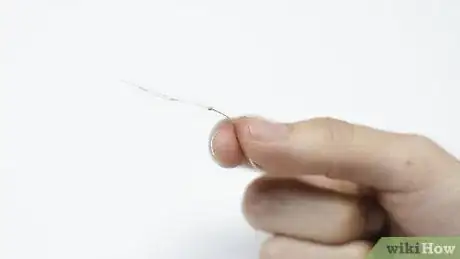
4Your knot will look like this when it is tied correctly.[4]
-
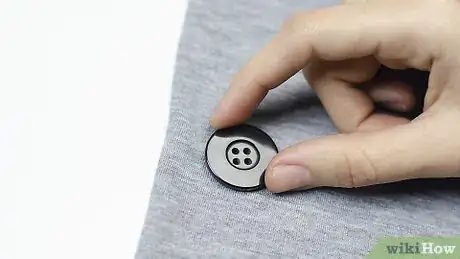
5Place your button on the material in the spot you want it to be sewn.
-
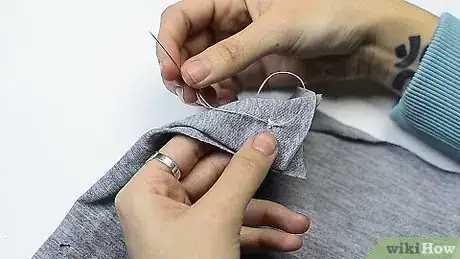
6Push the needle through the fabric under the button. Push it through one of the button-holes, making sure to pull the thread all the way through until the knot catches on the fabric.
-
7Push the needle down the button-hole directly opposite (diagonally) the first hole and through the fabric, pulling the thread all the way through.[5]
-
8Push the needle up through the fabric and through one of the remaining button-holes, making sure the thread is pulled all the way through.[6]
-
9Push the needle through the opposite hole and down through the fabric, pulling it tight.
-
10Repeat this process through the same holes until you feel the button is secure enough. Going through each hole 3 times should be sufficient. For larger buttons, more passes may be needed.
-
11With the needle underneath the button, pass the needle through the crisscrossing threads on the bottom of the button. Pull the thread completely through, without going through any of the holes of the fabric itself.
-
12To tie the knot off, push the needle through the crisscrossing threads one last time, without pulling the thread all the way through.
-
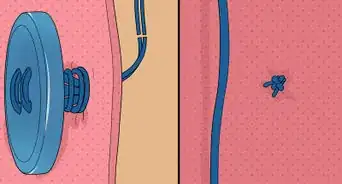
13Push the needle through the loop in the thread and pull it tight, forming a knot similar to the one you used to tie off the thread initially.
-
14Using your scissors, cut the remaining thread just above the knot you just made. Congratulations, you have successfully sewn a button!
-
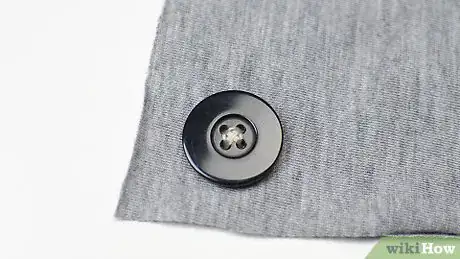
15Finished.
Advertisement
Community Q&A
-
QuestionHow do I sew my own clothes?
 T. ChinsenTop AnswererMaking your own clothes with a sewing machine is the most efficient method. Sewing by hand is also an option. Purchase a pattern to get a guide to the materials and method of making a garment.
 -
QuestionCan you tie the knot off at the end without the needle?
 Community AnswerYes, but it is much harder to do. The needle helps you make a tighter knot than you could do with your fingers alone.
Advertisement
Things You'll Need
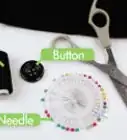
- Sewing needle
- Thread, with colors matching what was already used in the garment
- Replacement button
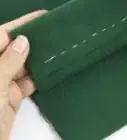
- Material to be repaired
- Scissors
- Thimble (if you don't like bleeding)
References
- ↑ https://www.sewmag.co.uk/how-to-sew/how-to-sew-a-four-hole-button
- ↑ https://www.youtube.com/watch?v=_C1ld5KqO88
- ↑ https://www.allfreesewing.com/Basics-and-Tutorials/How-to-Sew-a-4-Hole-Button
- ↑ https://www.ties.com/blog/how-to-sew-a-button
- ↑ https://www.fabric.com/blog/sewing-101-how-to-sew-a-button/
- ↑ https://www.fabric.com/blog/sewing-101-how-to-sew-a-button/
About This Article
Advertisement
