X
wikiHow is a “wiki,” similar to Wikipedia, which means that many of our articles are co-written by multiple authors. To create this article, volunteer authors worked to edit and improve it over time.
This article has been viewed 29,305 times.
Learn more...
The "share" option is a key feature of Facebook. It allows you to share links, posts, videos, and more with others on their timelines. Let us assume that a new song has been released, and you want to share it with your friends. While sharing links and videos on Facebook is easy, they don't have a built-in option for sharing music files. What do you do? Easy: use a third-party web app.
Steps
Method 1
Method 1 of 2:
Using CloudApp
-
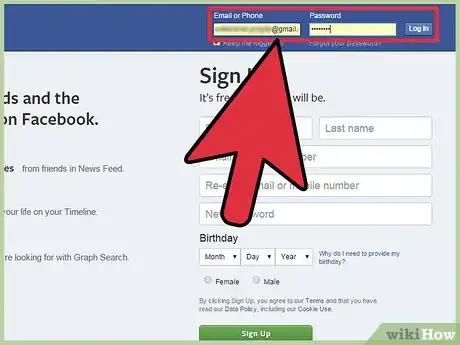
1Log into your Facebook account. Visit the homepage of Facebook. After being directed to it, enter your registered email address and password into the login fields at the top right, and click “Log in” to continue.
-
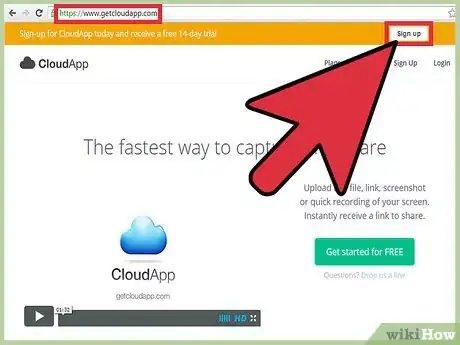
2Sign up for CloudApp. CloudApp provides you with a quick way to share screen recordings, mp3 files, images, and all type of media content, making sharing mp3 files on Facebook easy.
- Open a new browser tab, type “CloudApp” in the address bar, and press Enter to search for it. CloudApp should appear as the first in the list. Click it, and you will be redirected to the home page of CloudApp.
- Click “Sign up” at the top right of the page, and a prompt will pop up asking you for details required to log in. You will be given two options; you can either log in directly using any email ID other than a Google account (like Yahoo, Hotmail, etc.) or log in with Google+. Choose the option you prefer, and click the blue “Sign Up” button.
Advertisement -
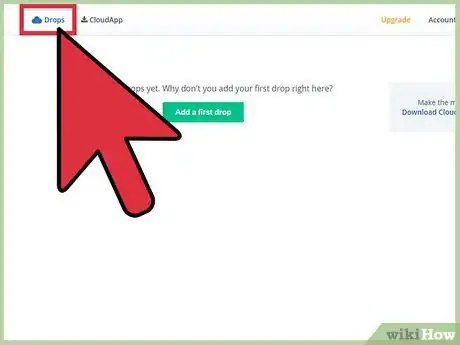
3Access your Library. After signing up, you should be redirected to your own account page with “Library” on the right side. The heading “Recent Drops” should be in the top middle of the screen. If you're not immediately redirected, just click the “Login” link at the top right to go to this Library page.
-
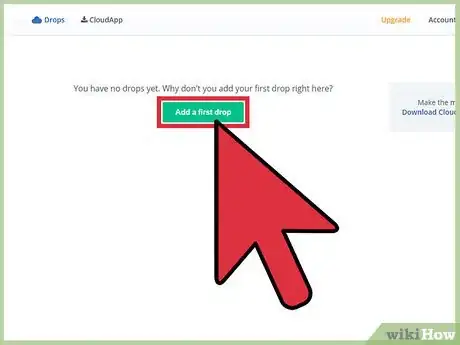
4Upload an mp3. At the top of the page is a green bordered box that says, “Choose or drop a file from your computer.” Click on it to open a file navigator. Use it to browse your computer for the mp3 file you want to share to Facebook. Click the file, and it will be dropped in the Recent Drops list. Doing so will upload the desired file into your account.
-
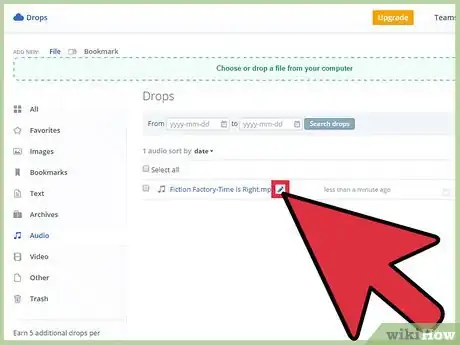
5Rename the mp3 file. Locate the uploaded file in the Recent Drops list, click the pen icon beside the title of the file, and rename it.
- This is optional.
-
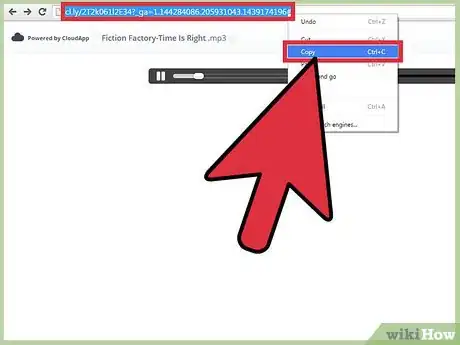
6Copy the mp3 link. After you've renamed the mp3 file, click on it in the Recent Drops list. A new tab will open with the audio playing in it. Copy the URL of the page by right-clicking on the URL and selecting “Copy” from the context menu that appears.
-
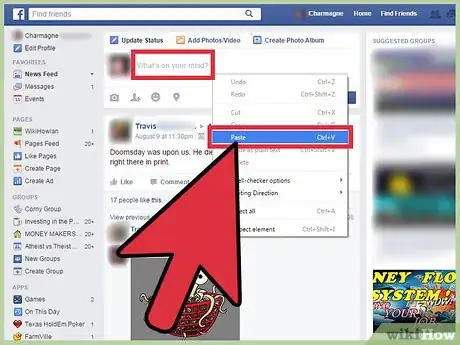
7Share the mp3 on Facebook. Go back to your Facebook tab, and right-click the “What's on your mind” text box at the top of your News Feed or Timeline and select “Paste” to paste the URL in it. Facebook will create a clickable link at the bottom of the Status Update box.
- You can enter a message about the song if you want, and when you're ready to share the mp3 file, just click the blue “Post” button at the bottom right of the Status Update box.
Advertisement
Method 2
Method 2 of 2:
Using SoundCloud
-
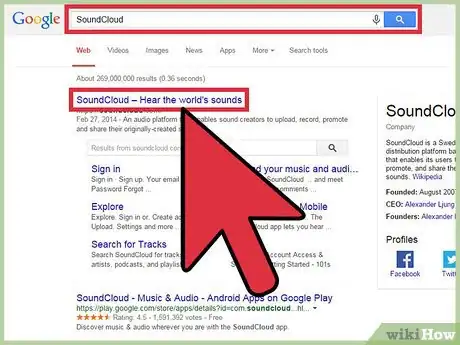
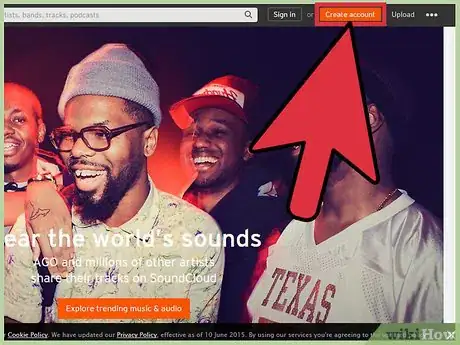
1Visit SoundCloud. Open a new browser tab, type “SoundCloud” in the address bar at the top, and press Enter to search for it. SoundCloud should be at the top of the results; click it to go to its home page.
-
2Sign up with Facebook. Click the red “Sign up” button at the top right of the page. A small window will pop up giving you three options: Sign up with Facebook, with Google+, or with an email address and password.
- Since you want to be able to share mp3 files on Facebook, click “Sign up with Facebook” button. A prompt will appear asking you permission for sharing your activities on SoundCloud to your Timeline. Select “OK” to link your Facebook account with SoundCloud.
-
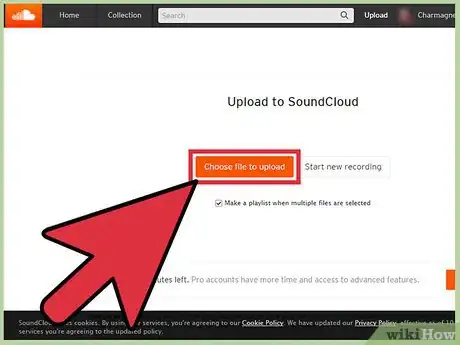
3Upload an mp3 file. Once after logging in, go to the top right of your SoundCloud homepage, and click the “Upload” button. From the options that appear, select “Choose file to upload.” A file explorer will appear; use it to locate the mp3 file on your computer. Once you've located the file, double-click on it.
- Soon after selecting the file, a prompt will pop up showing the uploaded content information like Title, Tags, Description, and the upload progress bar. While waiting for the upload to finish, you can always edit the details. When done, click the “Save” button.
-
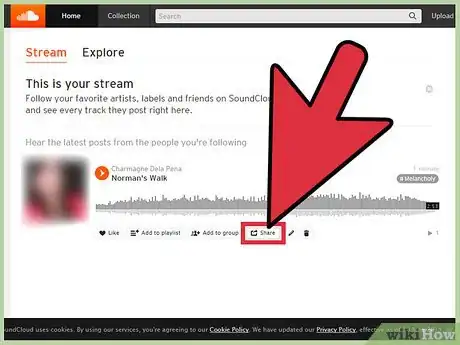
4Share the mp3 on Facebook. After saving the file, you will be directed to a new page with the link “Go to your track.” Click this and a new page will open where the file is being played. Go down the page, and click the icon of a rectangle with an arrow (this is the Share button).
- A pop-up will appear with some sharing options. Select the blue “Facebook” button and another popup will appear with the Facebook Status Update box. It will contain a link to your mp3 file. Write something about the song, if you want, and click the blue “Post” button to share the mp3 file to Facebook.
Advertisement
About This Article
Advertisement
