This article was co-authored by Carroll Kelly. Carroll Kelly is a Shoe Care Specialist and the Owner of Austin Shoe Hospital in Austin, Texas. With over 37 years of experience, Carroll specializes in sustainable shoes, boots, belts, handbags, and luggage repair. Carroll graduated with a Bachelor’s degree from the University of Texas. Austin Shoe Hospital is a family-run business that started over 105 years ago from a single horse-drawn carriage. Today they are the largest and most recognized shoe repair company in the world.
There are 11 references cited in this article, which can be found at the bottom of the page.
This article has been viewed 154,500 times.
There’s nothing quite like a new leather purse or jacket. But leather fresh from the factory is often stiff and unyielding, which can put a damper on your look and make modeling your new accessories less than comfortable. Fortunately, it’s easy to turn any overly-tough hide buttery soft using a few simple distressing techniques. By rubbing the new leather with a specialty leather conditioner, reintroducing vital moisture, or getting hands-on with it, you can achieve that well-worn look and feel in a fraction of the time it would take to break it in naturally.
Steps
Treating Your Accessories with a Leather Conditioner
-
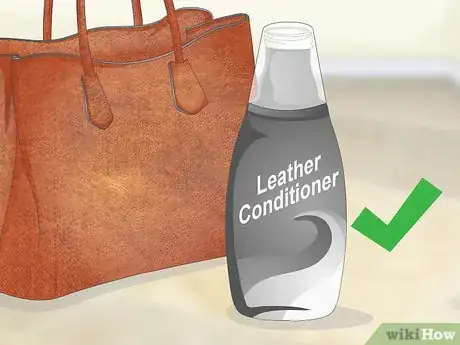
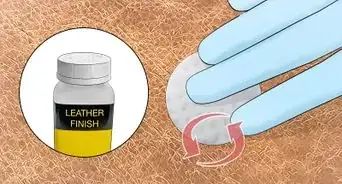
1Purchase a quality leather conditioner. The oils in the conditioner will lubricate the porous leather, allowing it to flex and bend with your body with greater ease.[1] And, unlike homespun oil treatments, they won’t compromise the durability of the material or leave behind a greasy patina.
- If you’re willing to spend a little more money, you can also spring for a complete leather maintenance package. These kits often include other products that are useful for extending the lifespan of your leather goods, such as neatsfoot oil, leather milk, and protective beeswax for waterproofing.
- Avoid using natural alternatives like olive or coconut oil. While these can help relax leather in the short term, they have a tendency to absorb deep into the material. Over time, they can lead to permanent discoloration or more serious cracking and deterioration.[2]
-
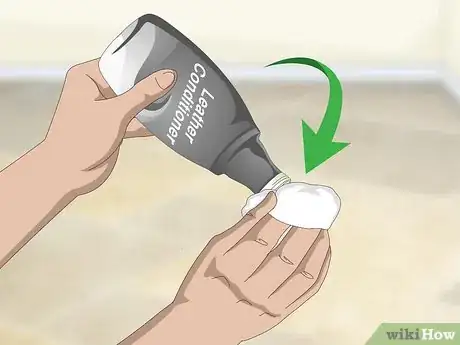
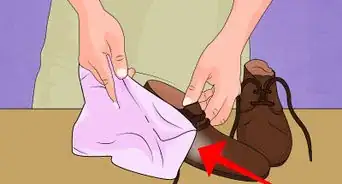
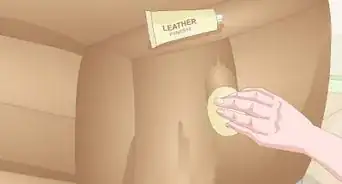
2Squeeze the leather conditioner onto a clean cloth. Fold the cloth over the tip of your finger so that only one small corner is exposed. Use this corner to soak up a small amount of conditioner. That way, you can ensure that you’re getting just the right amount.
- When it comes to leather products, less is more. You just want to treat the surface of the leather, not give it a bath.[3]
- Don’t apply the product directly to the leather. Not only is this a recipe for a giant mess, it also makes it harder to distribute the conditioner consistently.
Advertisement -
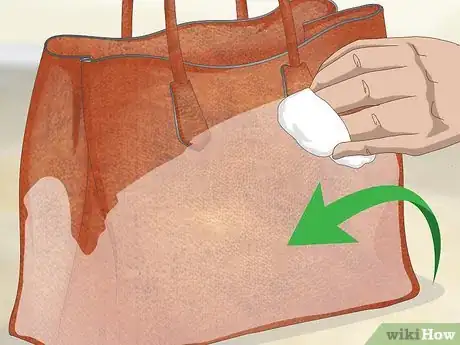
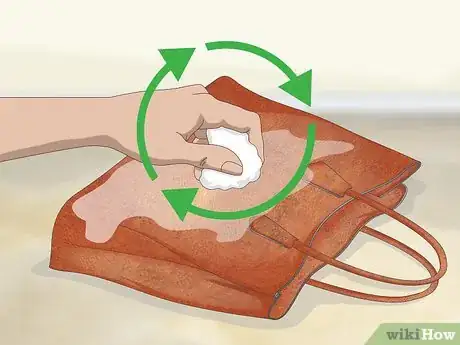
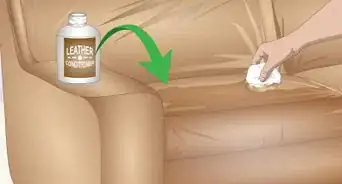
3Spread the conditioner over the surface of the leather. Rub the conditioner in smooth, wide strokes or circles, working your way slowly over a broader area. Aim for a single thin coating. The leather should have a faint sheen to it, but not appear wet or oversaturated.
- Leather conditioners are safe enough to use on every part of the item’s exterior, but you could also focus your attention where it’s needed most, such as the elbows of a jacket or the toe or ankle area of a boot.
- There’s no need to rub on multiple coats. Any additional conditioner you apply will just accumulate on the surface.
-
4Condition your leather goods regularly. Repeat the process at least once every few months to keep your clothing and accessories in top shape. With each application, the stubborn material will grow more and more supple.[4]
- If you live somewhere with a warm, dry climate where your leather is routinely exposed to the elements, consider upping the frequency to once every couple of weeks.[5]
- Since it will remain in a climate-controlled environment, leather furniture and upholstery will only need to be conditioned about once every six months.[6]
Wearing in Leather with Water
-
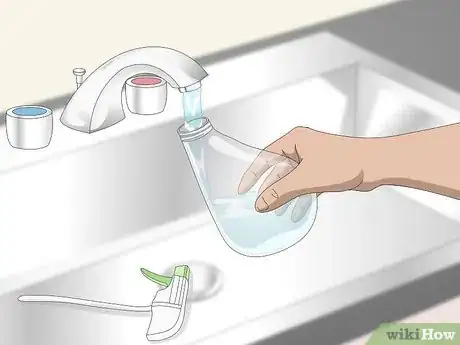
1Fill a spray bottle with water. An infusion of moisture is a great way to put new leather through its paces. Run a cool stream straight from the tap, or, better yet, pour in a bottle of purified drinking water. Make sure you screw the top on tight to avoid any unfortunate mishaps.
- If possible, use distilled water. There will be less chance of the unsightly spotting and mineral buildup that often comes with hard water.
- Assuming you can’t get your hands on a spray bottle, you can also wipe down the leather with a damp cloth.
- This method won't be very useful on waterproofed leather, which will just cause the water to roll right off.
-
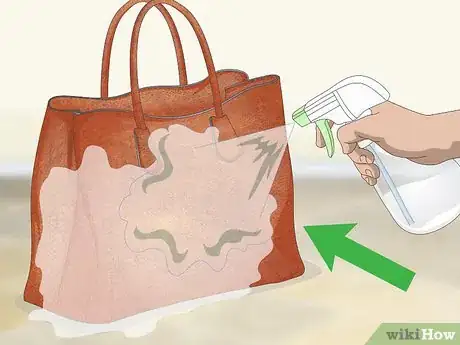
2Spray the entire surface of the leather. Mist the item from top to bottom until the water just begins to bead up. As it sits, the moisture will seep into the leather, breaking down the stiff grain ever-so-slightly. During this time, you can slip into the item (if it’s something wearable) and move around a bit to stretch it out and help it conform to your body[7]
- Alternatively, consider stepping outside for a few moments during a light drizzle. Just be careful not to stay out so long that the leather becomes sopping wet.
- Too much water is not good for leather, but a little bit can have a gentle weathering effect without causing any serious damage.
-
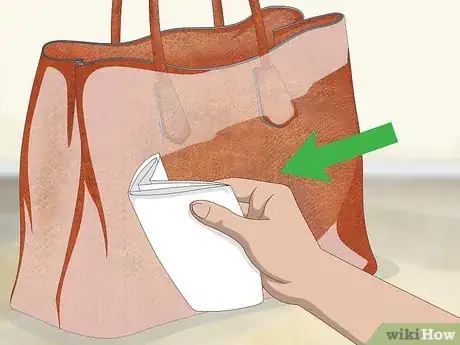
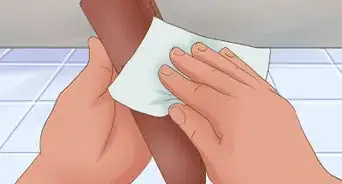
3Wipe off the excess water. Take a clean microfiber towel and give the leather a thorough pat down. Once this is done, leave the item in a cool, dry place and let it finish air drying naturally. The remaining moisture will escape via evaporation.
- It’s important not to leave behind any standing water. Oversaturation can eventually produce cracking and fading and cause leather to take on a dull, coarse appearance.
- Don’t forget to dry off all metal components to keep them from rusting.
-
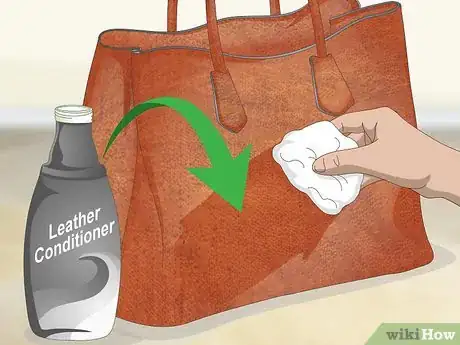
4Follow up with a quality leather conditioner. A protective coat will restore vital moisture to the leather and keep it from becoming dry and brittle. This step will be especially important after subjecting tanned fabrics to other substances like water that can create wear.
Relaxing Leather Using Heat
-
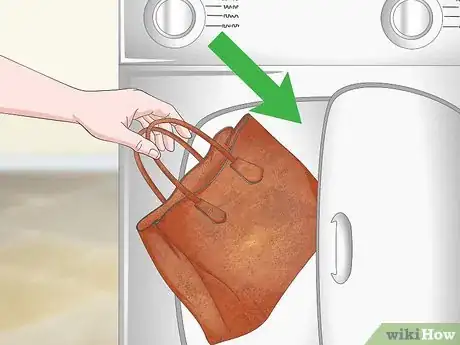
1Throw the item in the dryer. If you’re in a hurry, a quick tumble on a medium temperature setting is sure to get things loosened up. The ambient heat combined with the repeated impact from the spinning drum mimics the effects of wearing the leather for a long period of time. Make sure you only leave the item in the dryer for 10-15 minutes a time—any longer than that and it may begin to shrink or scorch.[8]
- This method is best reserved for newer accessories that don't bend or flow well, as heat can easily rob the remaining moisture from older leather.
- The leather should be dry or just slightly damp when it goes into the dryer. It’s not recommended that you wash and dry leather the way you would ordinary clothing.
- For even better results, throw a heavy sneaker or a few tennis balls into the dryer. The added friction will wear in the item more evenly.
-
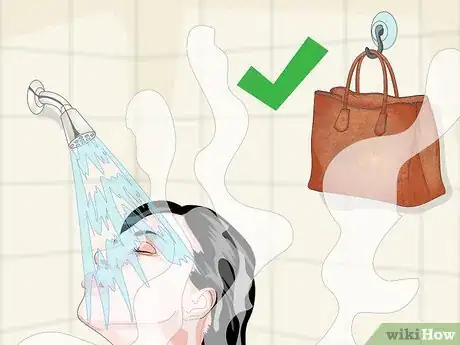
2Leave the item in a warm, humid place. Stretch out the accessory beneath the windshield of your car to soak up some midday rays, or hang it up in the bathroom while you take a hot shower. They key is not to let it sit for too long. After a while, direct heat can cause leather to fade or dry out.
- The steam from the shower will also bathe the leather in moisture, making it doubly effective.
-
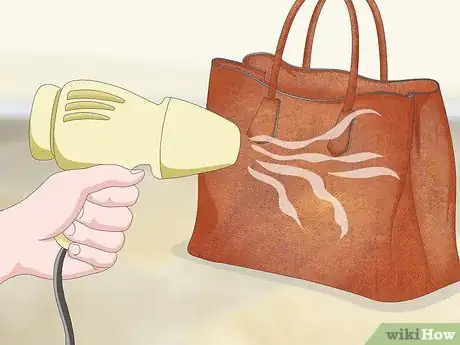
3Blast the leather with a hairdryer. Blow drying will accomplish the same thing as a hot room or a trip through the dryer, only it also allows you to target the stiffest, tightest areas. Direct the heat over the fold, creases, hems, and anywhere else you’d like a little more give. When the leather is nice and supple, put it on and wear it until it cools down.[9]
- Use a low heat only and keep the blow dryer a safe distance from the surface so you don’t run the risk of burning it.
- Be sure to complete the distressing process with a coat of nourishing leather conditioner.
Softening Leather Manually
-
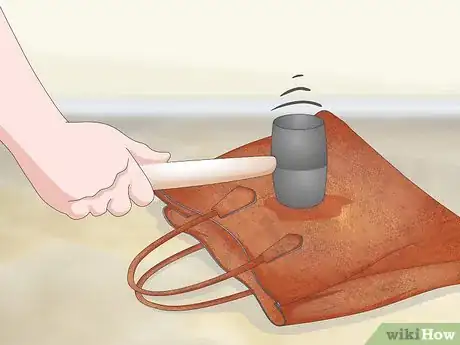
1Rough it up. Take a rubber mallet, baseball bat, or similar object and pound the item all over. Use a moderate amount of force and distribute your strikes over the entire surface area. By compressing the leather, you’re essentially tenderizing it like a tough piece of steak.
- Any type of leather can benefit from a little hands-on treatment, no matter its age, type, texture, or style.
- Try not to whack the leather hard enough to damage it.
- Keep away from delicate areas like seams, pockets, buttons, straps, and zippers.
-
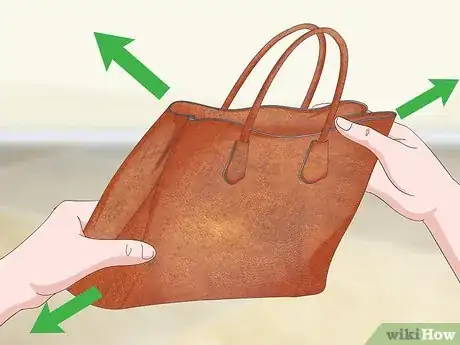
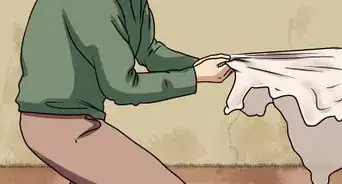
2Knead the leather by hand. Gather up a section of the leather in your fist and pull, twist, and squeeze it like you’re stretching out a ball of bread dough. Vary your movements so the material gets stretched out in all different directions. Little by little, you’ll notice it becoming less rigid.
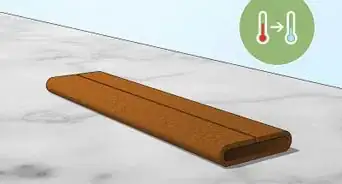
- If it’s a belt or similar item, roll it into a tight ball, then unroll it and roll it up again the other way.[10]
- Work on your accessories while you’re watching TV, waiting for an appointment, or going on a long car ride.
-
3Break it in naturally. If the idea of brutalizing your prized leather pieces doesn’t appeal to you, you may be better off taking the surefire, time-honored approach—simply use the item more. Try to put your leather to use every chance you get. You’ll probably be surprised by how quickly you begin to see an improvement.[11]
- Not only does regular wear work wonders for the texture, it will also let you get more use out of the item.
- Don’t be afraid to get your leather a little dirty. You can always touch it up later on to get it looking its best again.
Community Q&A
-
QuestionI accidentally put a leather sling in the washing machine. I left it outside to dry in the sun, but now it is completely stiff. How do I fix it?
 T. ChinsenTop AnswererThe leather needs to be hydrated with leather conditioner as described in the article.Try wrapping a well dampened towel inside and on the outside of the sling to resoften the leather. A quality conditioner with lanolin should be rubbed into the leather. Follow the article instructions to get the best results.
Warnings
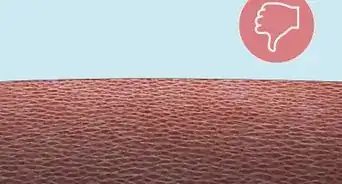
- Never attempt to distress leather with sandpaper, steel wool, or similar tools. These will just scratch up the outer surface and won’t do anything to enhance its pliability.⧼thumbs_response⧽
- Chemicals like rubbing alcohol, hydrogen peroxide, and Windex can cause the dye to run, ruining the color of the item.⧼thumbs_response⧽
- These methods are intended for use on genuine leather, and may not produce the same results on faux varieties.⧼thumbs_response⧽
- Refrain from doing anything that might cause permanent damage to the leather. Once it’s done, you won’t be able to take it back.⧼thumbs_response⧽
Things You'll Need
- Leather conditioner
- Clean cloth
- Spray bottle
- Water
- Clothes dryer
- Hairdryer
- Rubber mallet, baseball bat, or similar object (for striking)
- Tennis ball or sneakers (optional)
References
- ↑ Carroll Kelly. Shoe Care Specialist. Expert Interview. 17 December 2020.
- ↑ https://lifehacker.com/5948625/stop-diy-cleaning-your-leather-with-oil
- ↑ http://goneoutdoors.com/can-soften-leather-saddlebags-5815521.html
- ↑ http://stylecaster.com/how-to-use-leather-conditioner/
- ↑ https://www.realmenrealstyle.com/condition-shoes-leather-honey-interview/
- ↑ https://www.forbes.com/sites/houzz/2016/12/13/how-to-clean-and-care-for-leather-furniture/#702ac7c31ff9
- ↑ https://www.hixmagazine.com/how-to-break-in-leather-work-boots/
- ↑ https://www.glamour.com/story/style-secret-toss-your-old-lea
- ↑ http://www.vogue.co.uk/article/how-to-stretch-shoes-and-leather
About This Article
To soften leather, use a quality leather conditioning product and avoid natural alternatives like olive or coconut oil. Squeeze the conditioner onto a cloth and spread it on the surface of the leather using smooth, wide strokes. You can repeat this every few months to keep your leather soft and supple! If you need to relax your leather in a hurry, put the item in your dryer for 10-15 minutes on medium heat. You can also blast the surface with a blow dryer set on low heat for a few minutes to soften it up. If you want to learn how to soften leather by hand, keep reading the article!
