This article was co-authored by Melissa & Michael Gabso and by wikiHow staff writer, Hunter Rising. Melissa and Michael Gabso are the Owners of MC Construction & Decks based in Los Angeles, California. With over ten years of experience, they specialize in exterior and interior remodeling and redesign, including kitchen, bathroom, and deck construction. MC Construction & Decks also provides plans and permitting services and is known for backyard beautification projects. MG Construction & Decks has been rated as one of the top contractors in the Los Angeles area year after year.
There are 23 references cited in this article, which can be found at the bottom of the page.
This article has been viewed 25,247 times.
If you want to make your driveway stand out or match your landscaping design, you may want to stain your concrete a different color. Staining can be done with an acid mixture for an earthier tone, or with a solid stain to make your concrete pop! By cleaning your driveway, applying your stain of choice, and sealing the concrete, you can give your yard a whole new look!
Steps
Cleaning Your Concrete before Staining
-
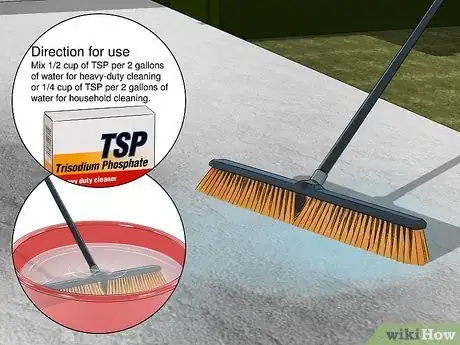
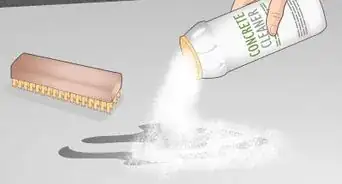
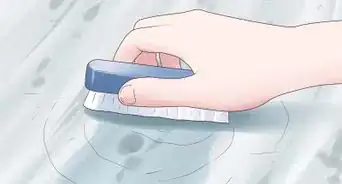
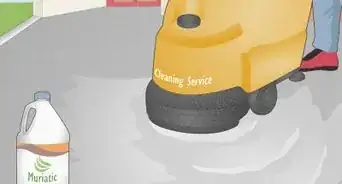
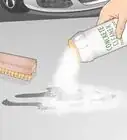
1Scrub your driveway with a heavy duty cleaner and a broom. Follow the mixing directions on your cleaner to make a cleaning solution in a 5 US gal (19 L) bucket. Dip the end of the broom into the bucket or pour some of the solution on the concrete to scrub any existing stains or residue off your driveway.[1]
- Cleaners like trisodium phosphate (TSP) work best for scrubbing your driveway.
- Existing marks on your concrete will stain different colors and will not have a uniform look.
-
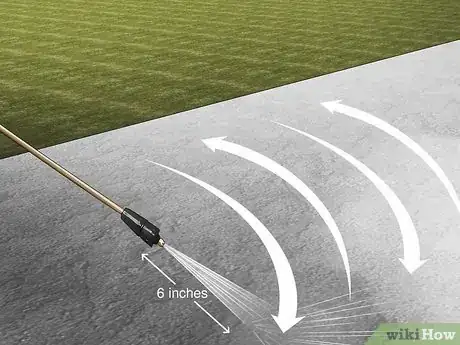
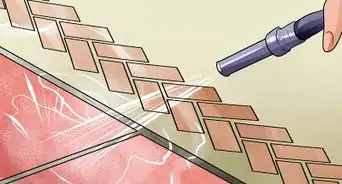
2Use a power washer to remove any residue from your driveway.[2] Hold the nozzle of the pressure washer 6 inches (15 cm) from the surface of the concrete and work in long back and forth strokes. You’ll notice the dirt and residue being removed from the surface of the concrete as you work across your driveway.[3]
- Sometimes, using a pressure washer will clean enough residue where you won’t have to use a cleaner.
- If a power wash doesn't remove all the dirt and oil, do an acid wash as well.[4]
- A power washer attachment for a garden hose will work fine.
- If you don’t have access to a power washer, scrub the concrete with water and a stiff brush thoroughly.
Advertisement -
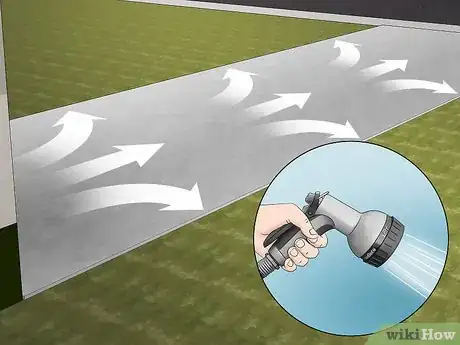
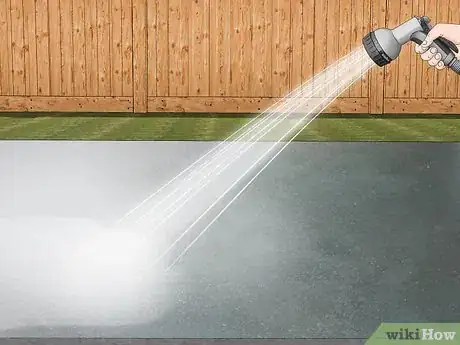
3Rinse your driveway with a garden hose. Use a gentle shower setting on your hose to clear any debris or residue left on the concrete. Start on the side of your driveway closest to your home and work your way down and across towards the street as you rinse.[5]
-
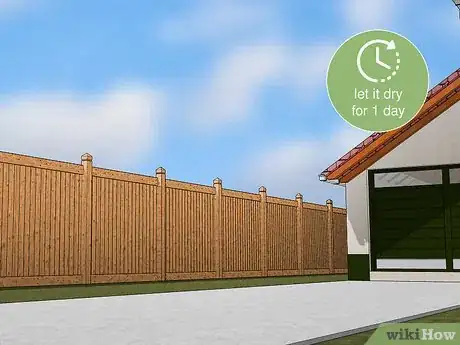
4Let the concrete dry for 1 day before applying the stain. The stain will soak into the pores of the concrete, but your driveway needs to be completely dry beforehand. Check your weather forecast for the week ahead to make sure it’s not going to rain when you plan on staining.[6]
Applying Acid Stain
-
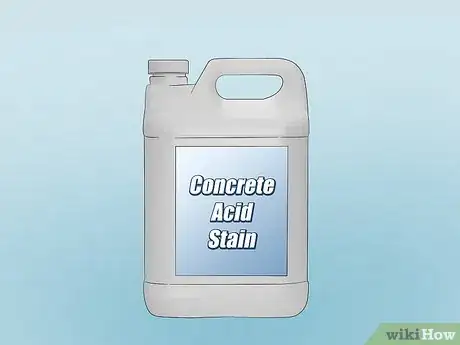
1Purchase an acid stain from a hardware store. Acid stains come in earth tone colors, like terra cotta or shades of brown and create a permanent marbling effect on your concrete. Find the color that would work best for you and purchase the amount of stain needed for your driveway.[7]
- The amount of stain you need will depend on the size of your driveway, but 1 gallon (3.8 L) of stain will cover 200 to 300 square feet (19 to 28 m2). Read the label on the bottle to determine how much you’ll need to effectively stain your driveway.
-
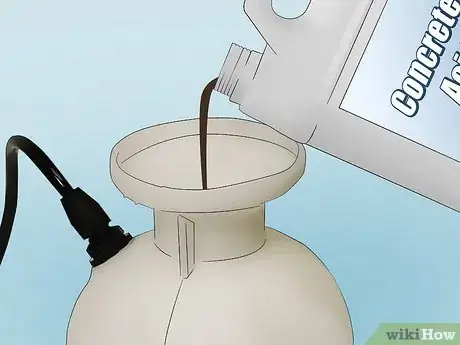
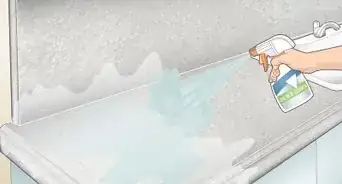
2Fill a plastic pump sprayer with the acid. Pour the acid from the bottle into the pump sprayer. Be slow as you transfer the acid stain so it doesn’t splash or spill. It’s not necessary to dilute the acid with water, but you can mix it with an equal amount of water if you want a lighter color.[8]
- Use caution when working with acid. Keep it away from your skin, eyes, or mouth since it is corrosive.
- Pump sprayers can be purchased at your local home and garden store.
- Pump sprayers with metal will corrode due to the hydrochloric acid present in the stain.
-
3Hold the nozzle 1 ft (0.30 m) from your driveway while applying the stain. Start in the center of your driveway and work your way out to the edges, using short back and forth strokes as you spread the acid. Spray the concrete so it is saturated but don’t let the stain puddle.[9]
- Make sure all areas of your concrete are covered so the stain works evenly across the entire surface.
-
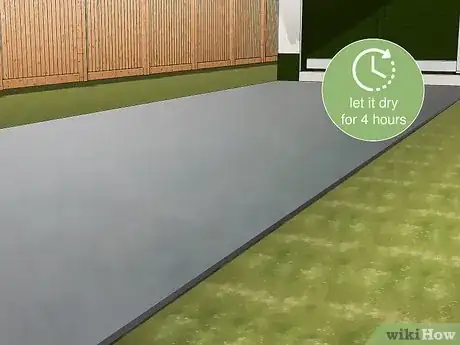
4Let the acid dry for 4 hours. This allows the acid to set in the pores of your driveway so it can chemically change the color of the concrete. Avoid walking or driving on your driveway so you don’t disturb the wet stain.[10]
-
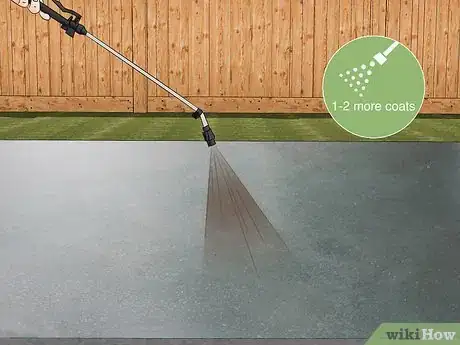
5Apply 1 or 2 more coats to get your desired color. It’s typical to apply 2-3 coats of acid stain to get the exact color you want. Start in the center of your driveway again and work your way to the outer edges, allowing 4 hours of drying time in between each coat.[11]
- Rinse a small corner of your driveway to see how the stain has affected the concrete to see if you like the color. If you’re happy with the color after 1 coat, you can skip adding more.
- Wear disposable booties if you want to protect your shoes from the acid wash.
-
6Rinse the stain from your driveway after 4 hours until the water runs clear. Use a garden hose on a gentle setting to spray the residual stain off your driveway. Start in the middle of your driveway close to your home and spray the water toward the street. When the runoff water is clear, you’re finished.[12]
- You can use a broom to move any residue after you’ve rinsed your driveway.
-
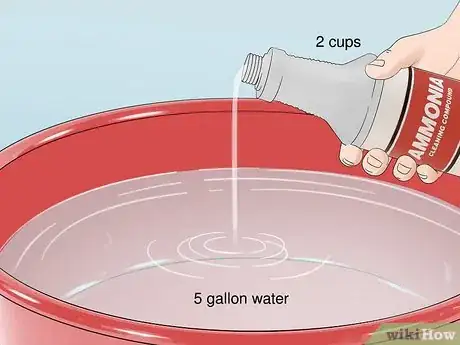
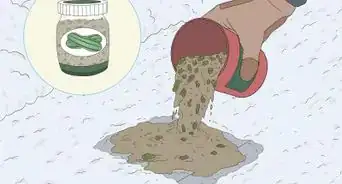
7Mix 2 c (470 mL) of ammonia with 5 US gal (19 L) of water. Use a 5 US gal (19 L) bucket to make the solution. This will help clean any residue that may be trapped in your concrete, but more importantly it will stop the acid from reacting with your concrete and stop further staining.[13]
- This process is known as “neutralization.”
-
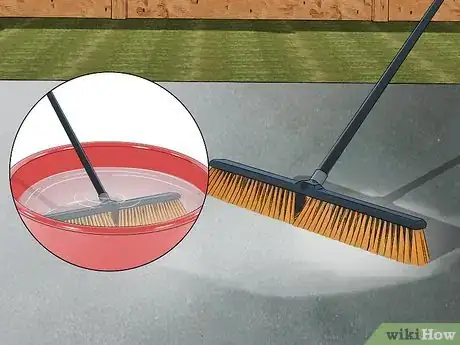
8Use a broom to spread the ammonia solution and gently clean away residue. Dip the end of your broom into the bucket with the solution or pour a small amount onto the concrete. Carefully move the solution across the entirety of your driveway.[14]
- If you scrub too hard with the broom, it could lift some of the stain from your concrete and affect the color. Remember, you’re not scrubbing the concrete, you’re just moving the residue off of it.
-
9Spray the solution off of your driveway with a garden hose. Give your driveway a final rinse with your garden hose after you’ve spread the ammonia solution. Spray the water until the runoff is clear and clean.[15]
Staining with Solid Colors
-
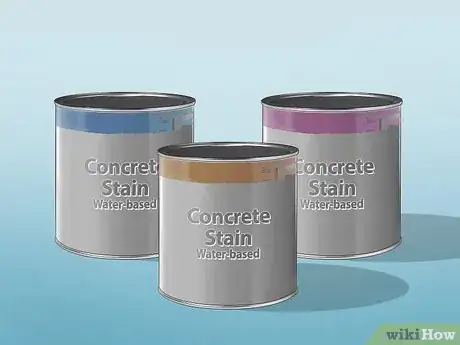
1Pick a color of water-based stain for your concrete. Water-based stain will give you a more vibrant color and completely cover your concrete, unlike acid stain that is more muted and translucent. Find a color that complements your yard and home.[16]
- Solid color water-based stain can be purchased at a paint store or a home and garden store. Read the label to determine how much stain you’ll need for the size of your driveway.
- Purchase 1 gallon (3.8 L) of stain for every 600 to 800 square feet (56 to 74 m2) of concrete.
-
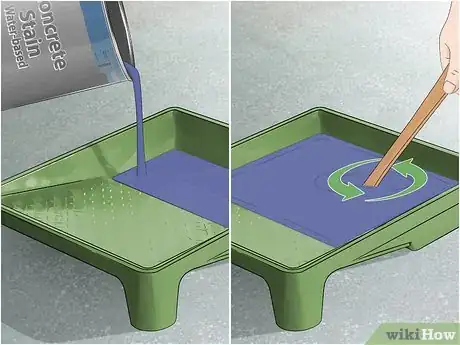
2Pour the stain into a roller bucket 18 in (0.46 m) wide. Once you have the stain in your bucket, use a stir stick to mix the stain thoroughly. While it’s in the can, it may separate and won’t produce an even coat if it’s applied right away.[17]
-
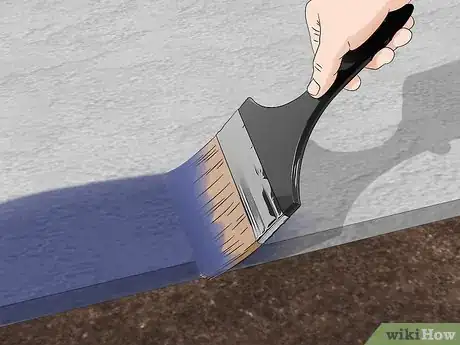
3Use a paintbrush to put the stain on the edges and cracks of the concrete. A wide paintbrush will work best and give you the most coverage. Use the tips of the bristles to work into the spaces in between the concrete slabs until you can only see the color of the stain. Work around each of the edges of your driveway.[18]
- If you have mulch or dirt next to your driveway, move it away from the concrete to paint down the sides of the concrete.
-
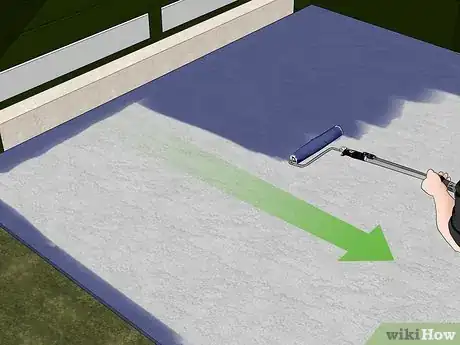
4Paint the stain onto the concrete with a 9 in (23 cm) roller. Start on the end of the driveway near your home and work toward the street. Dip the entire roller in the bucket and move it back and forth so it’s covered in the stain. Shake any excess back into the bucket before rolling it onto your driveway in long back and forth strokes.[19]
- Use a long-handled roller so you can stand up rather than kneel on the ground.
- Overlap each stroke you make by about 2 inches (5.1 cm) to coat the entire driveway.
- A thin coat works best for the base layer of stain. The stain should not pool up as you’re applying it.
-
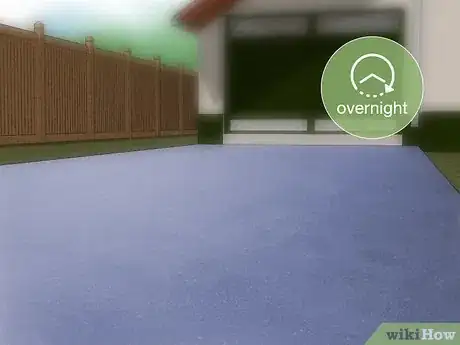
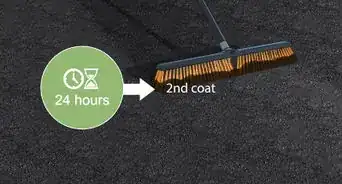
5Let the stain dry overnight. Solid color stain usually takes 2 coats and you should wait 24 hours before starting on your next coat. This gives the stain time to dry and set so you can walk on it the next day.[20]
- Use wet paint signs to let others know not to walk on your driveway.
-
6Add a second coat going the opposite direction as your first coat. For example, if you painted up and down your driveway for the base coat, paint across your driveway for the second coat. Cover the entirety of your driveway with a thick layer of the stain.[21]
- Don’t drive on the stained driveway for 2 days so it has time to completely dry and set.
Sealing Your Concrete When You’re Finished
-
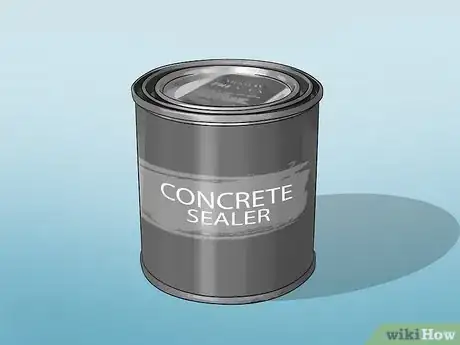
1Purchase a concrete sealer from your local hardware store. A sealer will help waterproof the surface of your driveway, protect it from future stains, and enhance the color of the stain you’ve used. Read the label on the sealer to determine how much you should use for the size of your driveway.[22]
-
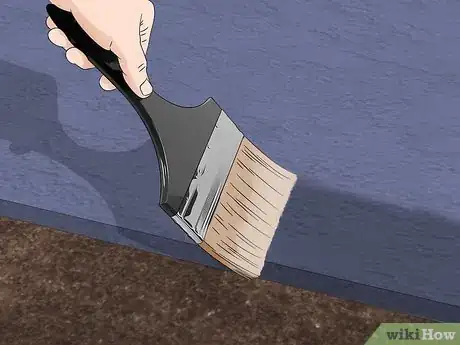
2Paint the sealer on the edges and cracks in your concrete with a paintbrush. Dip a wide-bristle paintbrush into the sealer and use it between the concrete slabs and around the outer edges. Work the tips of the bristles into the cracks so they are thoroughly protected.[23]
- Make sure the concrete is completely dry before applying any sealer
- Work the sealer onto the sides of the slab next to dirt or mulch if you’re able to.
-
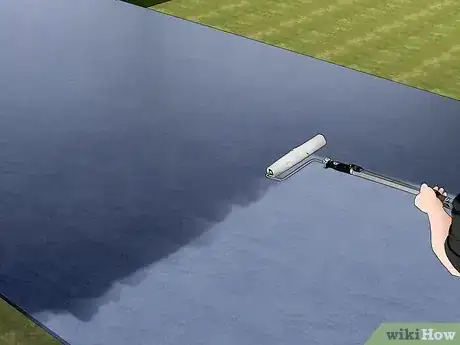
3Use a clean 9 in (23 cm) roller to spread the sealer. Spread the sealer evenly across the surface of the paint roller and apply it to the concrete. Start from the middle of the driveway in short back and forth strokes and work your way towards the edges of the concrete.[24]
- Opt for a long-handled roller so you don’t have to kneel on the ground while you work.
- Spread the sealer evenly so it doesn’t puddle. You want to saturate the concrete, but not have excess sealer or else it could affect your stain.
-
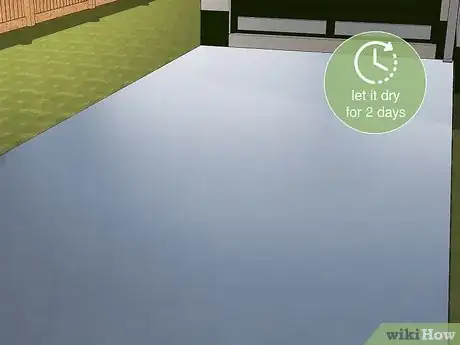
4Allow the sealer to dry for 2 days before bringing cars on your driveway. Let the sealer cure completely before walking or driving on the surface. It will typically take 2 days if the weather is dry and warm. If it’s humid, allow at least 1 more day for it to dry.[25]
- Hang up wet paint signs or place cones in front of your driveway so no one can drive a vehicle onto the concrete.
Expert Q&A
Did you know you can get expert answers for this article?
Unlock expert answers by supporting wikiHow
-
QuestionDo I need to do anything to prepare my driveway for staining?
 Melissa & Michael GabsoMelissa and Michael Gabso are the Owners of MC Construction & Decks based in Los Angeles, California. With over ten years of experience, they specialize in exterior and interior remodeling and redesign, including kitchen, bathroom, and deck construction. MC Construction & Decks also provides plans and permitting services and is known for backyard beautification projects. MG Construction & Decks has been rated as one of the top contractors in the Los Angeles area year after year.
Remodel & Redesign Experts
Warnings
- Use caution when working with strong chemicals like an acid stain. Avoid letting it come into contact with your skin.⧼thumbs_response⧽
Things You’ll Need
Cleaning Your Concrete before Staining
- Bucket
- Cleaner
- Broom or hand brush
- Pressure washer
Applying Acid Stain
- Acid stain
- Pump sprayer
- Garden hose
- Bucket
- Ammonia
- Broom
Staining with Solid Colors
- Solid color stain
- Roller bucket
- Paintbrush
- 9 in (23 cm) paint roller
Sealing Your Concrete When You’re Finished
- Concrete sealer
- Paintbrush
- 9 in (23 cm) paint roller
References
- ↑ https://youtu.be/j-XqX47nsMo?t=53s
- ↑ Melissa & Michael Gabso. Remodel & Redesign Experts. Expert Interview. 7 October 2020.
- ↑ https://youtu.be/j-XqX47nsMo?t=6m38s
- ↑ Melissa & Michael Gabso. Remodel & Redesign Experts. Expert Interview. 7 October 2020.
- ↑ https://youtu.be/j-XqX47nsMo?t=46s
- ↑ https://youtu.be/j-XqX47nsMo?t=41s
- ↑ https://concretecoatingsinc.com/wp-content/uploads/2016/10/VIVID-Acid-Stain-Sales-Sheet-2-1.pdf
- ↑ https://youtu.be/oYgasKj8Y5U?t=50s
- ↑ https://youtu.be/oYgasKj8Y5U?t=1m
- ↑ https://youtu.be/oYgasKj8Y5U?t=1m23s
- ↑ https://youtu.be/oYgasKj8Y5U?t=1m23s
- ↑ https://youtu.be/oYgasKj8Y5U?t=1m33s
- ↑ https://youtu.be/oYgasKj8Y5U?t=1m40s
- ↑ https://youtu.be/oYgasKj8Y5U?t=1m49s
- ↑ https://youtu.be/oYgasKj8Y5U?t=2m2s
- ↑ https://youtu.be/NuEPYhHGgKw?t=23s
- ↑ https://youtu.be/NuEPYhHGgKw?t=1m
- ↑ https://youtu.be/NuEPYhHGgKw?t=1m30s
- ↑ https://youtu.be/NuEPYhHGgKw?t=1m32s
- ↑ https://youtu.be/NuEPYhHGgKw?t=4m30s
- ↑ https://youtu.be/NuEPYhHGgKw?t=4m34s
- ↑ https://youtu.be/oYgasKj8Y5U?t=2m10s
- ↑ https://youtu.be/jiErqqNVy_g?t=48s
- ↑ https://youtu.be/jiErqqNVy_g?t=53s
- ↑ https://youtu.be/jiErqqNVy_g?t=58s
