X
wikiHow is a “wiki,” similar to Wikipedia, which means that many of our articles are co-written by multiple authors. To create this article, volunteer authors worked to edit and improve it over time.
This article has been viewed 42,292 times.
Learn more...
You have important Word, Excel, or PowerPoint documents on your PC and you wish you could transfer them to your iPad? No problem, doing so is easy, doesn't cost a dime and there's no need to send the documents over email. Here's how to transfer Office documents to your iPad as simple as if you transferred them to a USB flash drive.
Steps
-
1Get yourself any free iOS application on the iPad that supports reading documents in multiple formats. A good example of such apps is FileApp or Documents 5
-
2Next, connect the iPad to your computer and run iTunes. Click on the iPad button on top of the iTunes windowAdvertisement
-
3Click on the Apps tab and scroll down until you see "File Sharing"
-
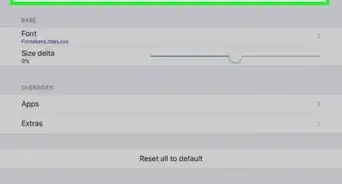
4Select the document application you installed on your iPad and click on "Add files..."
-
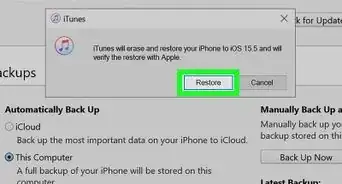
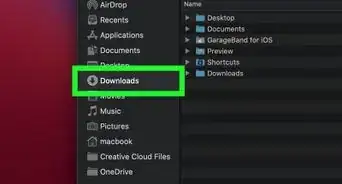
5Navigate to the location of the Word, Excel, or PowerPoint documents you want to add and click "Open"
-
6That's it, the Office documents are now added to your iPad. Just open the document app on the iPad.
-
7This is how to add Word and Excel documents to iPad.


Advertisement


About This Article
Advertisement