This article was co-authored by wikiHow staff writer, Travis Boylls. Travis Boylls is a Technology Writer and Editor for wikiHow. Travis has experience writing technology-related articles, providing software customer service, and in graphic design. He specializes in Windows, macOS, Android, iOS, and Linux platforms. He studied graphic design at Pikes Peak Community College.
This article has been viewed 107,216 times.
Learn more...
This wikiHow teaches you how to uninstall Razer Synapse on a Windows or Mac computer. Razer Synapse is a cloud-based configuration software for Razer accessories so you can instantly load your mouse and keyboard presets on any computer.[1] It's been criticized for being difficult to uninstall because the client can become corrupted and additional files are sometimes left on your computer after a normal uninstall.
Steps
On Windows
-
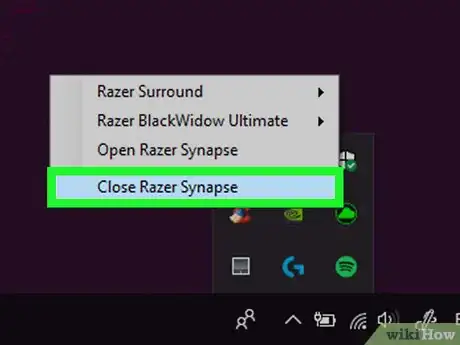
1Close Razer Synapse. It's a green icon that resembles a cloud in the bottom-right corner of the system tray.
- Right-click the Razer Synapse icon (click ∧ first if it's not visible).
- Click Close Razer Synapse.
-
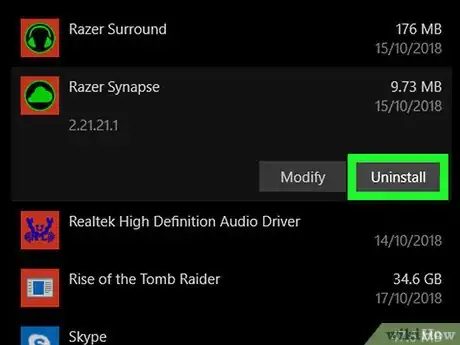
2Uninstall Razer Synapse. You can uninstall Razer Synapse using the Uninstall file in the Razer Synapse directory, or use the following steps.
- Open Start .
- Click Settings .
- Click Apps.
- Scroll down and select Razer Synapse.
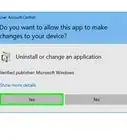
- Click Uninstall.
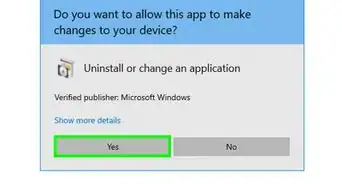
- Click Uninstall to confirm.
Advertisement -
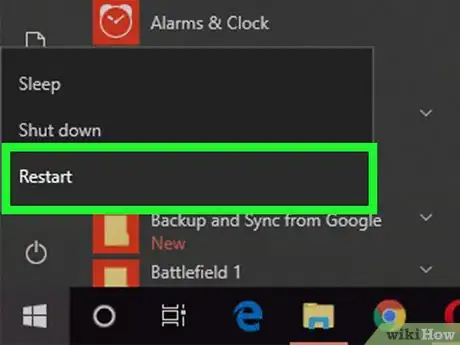
3Restart your computer. If Razer Synapse is no longer on your computer, stop right here. If it continues to be a problem, there may still be some remnants of it in your registry. Backup your files and continue with the next steps. [2] Use the following steps to restart your computer.
- Click Start .
- Click the Power icon .
- Click Restart.
-
4
-
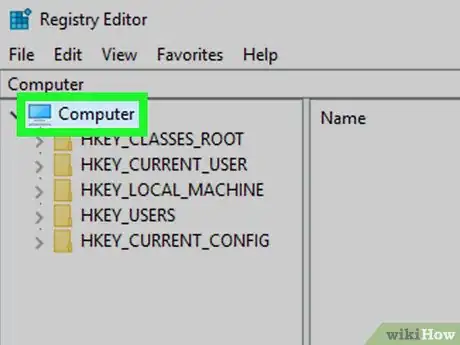
5Click Computer. It's at the top of the registry editor sidebar on the left.
-
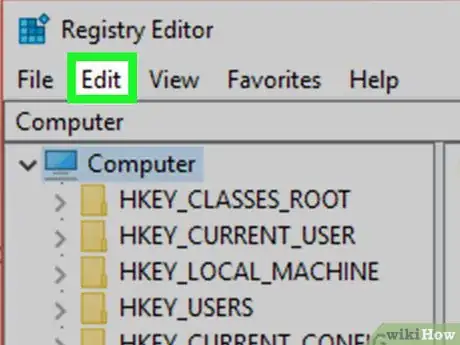
6Click Edit. It's the second option in the menu bar at the top.
-
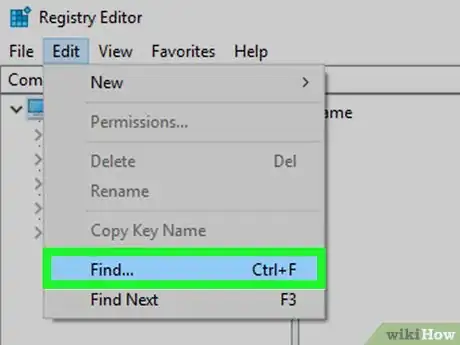
7Click Find. It's in the edit menu. This will open a search bar.
-
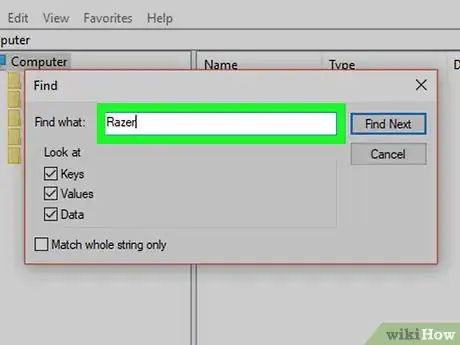
8Type Razer in the search bar and press ↵ Enter. This will search for any items from Razer.
-
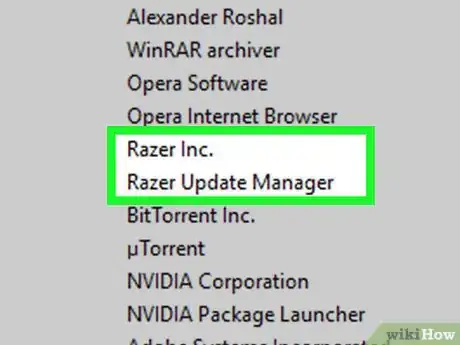
9Right-click any items from Razer. They will say "Razer inc" in the data column.
-
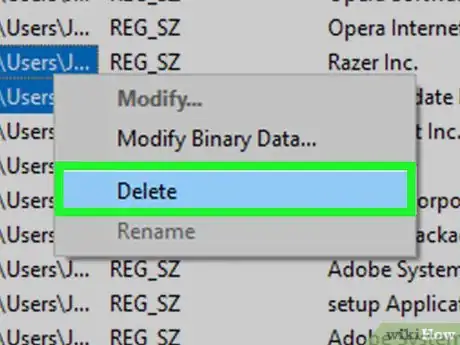
10Click Delete. This will delete the registry item.
- Warning: Be careful what you delete from the registry. Deleting the wrong items can cause your system to not function properly.
-
11
-
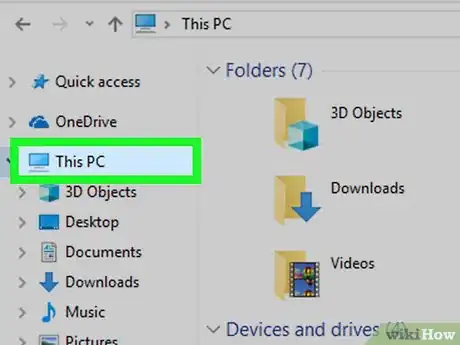
12Click This PC. This will open your root menu on your computer.
-
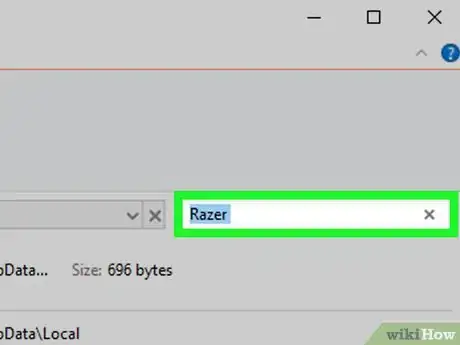
13Type Razer in the search bar and press ↵ Enter. The search bar is in the upper-right corner of the File Explorer. This will search for any remaining items from Razer on your computer. The search may take a few minutes.
-
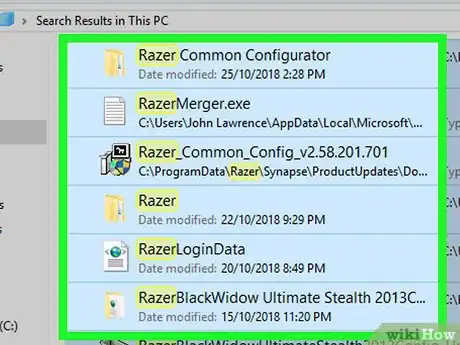
14Select all items. Hold ⇧ Shift and click to select more than one item.
-
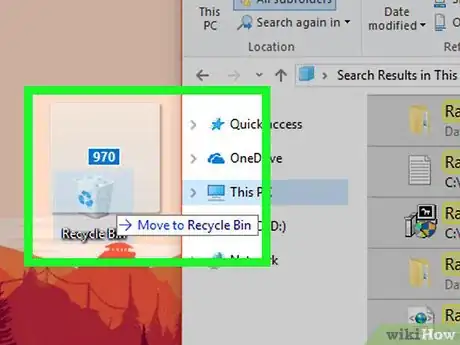
15Drag items to the recycling bin. The recycling bin is in the upper-left corner of your Desktop. This will delete all remaining Razer items.
On Mac
-
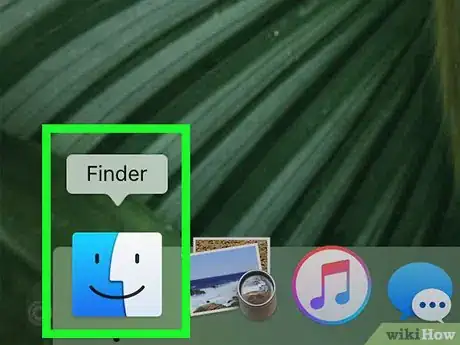
1
-
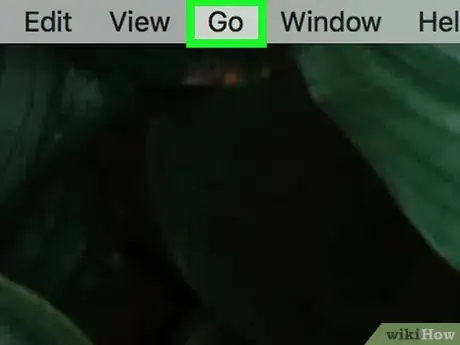
2Click Go. It's in the menu bar at the top of the screen. This opens a drop-down menu.
-
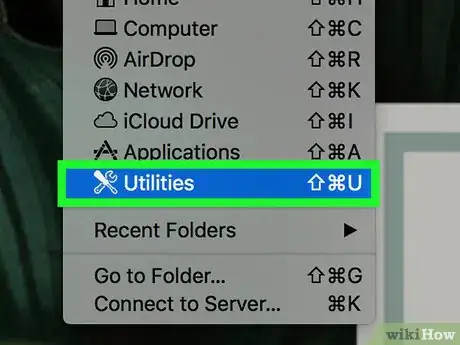
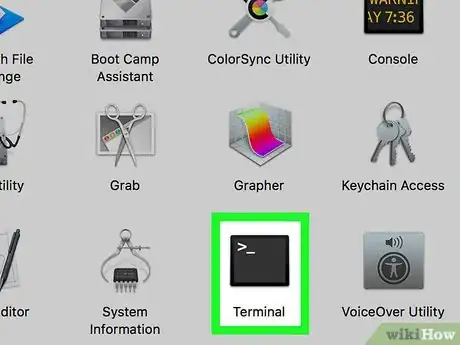
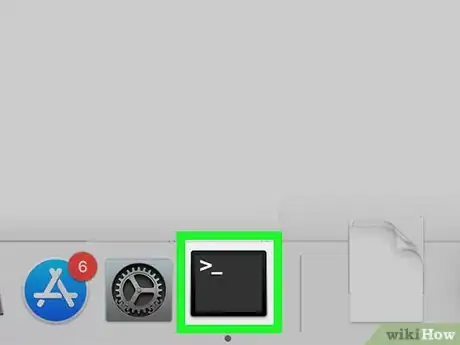
3Click Utilities. This will open your system Utilities.
-
4
-
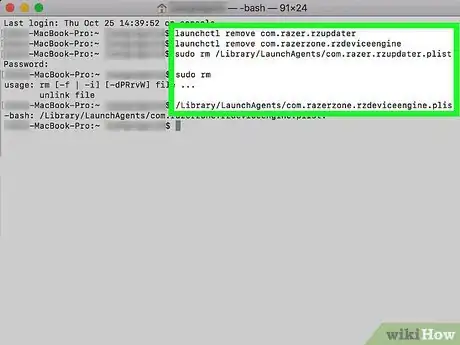
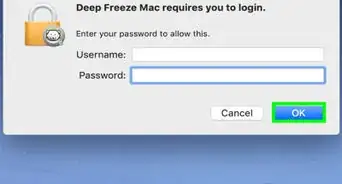
5Type several commands to delete the Razer files and directories. Enter each command into terminal and press ⏎ Return after each line. You may prompted to enter your administrator password to continue.
- launchctl remove com.razer.rzupdater
- launchctl remove com.razerzone.rzdeviceengine
- sudo rm /Library/LaunchAgents/com.razer.rzupdater.plist
- sudo rm /Library/LaunchAgents/com.razerzone.rzdeviceengine.plist
-
6
-
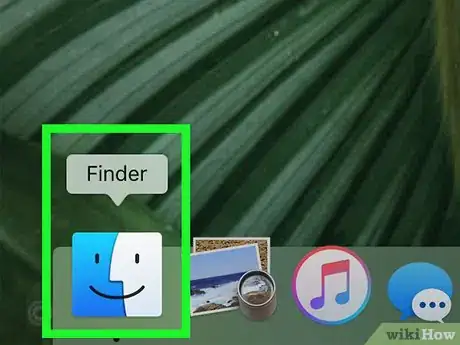
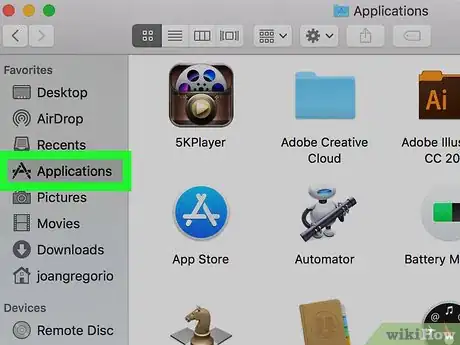
7Click Applications. You can click Applications in the left sidebar, or in the "Go" menu.
-
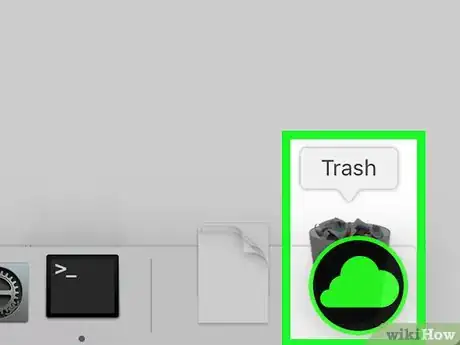
8Drag Razer Synapse to the trash. This will uninstall Razer Synapse.
-
9Return to your Terminal window. You should still have the terminal window open, but if not, you can re-open it just as before.
-
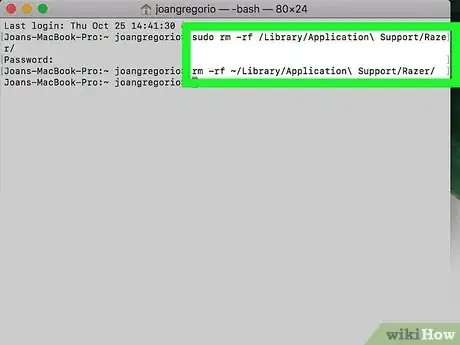
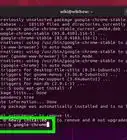
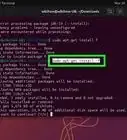
10Type the following lines in the terminal. This will remove the support folders for Razer Synapse.[3]
- sudo rm -rf /Library/Application\ Support/Razer/
- rm -rf ~/Library/Application\ Support/Razer/
