This article was co-authored by wikiHow staff writer, Nicole Levine, MFA. Nicole Levine is a Technology Writer and Editor for wikiHow. She has more than 20 years of experience creating technical documentation and leading support teams at major web hosting and software companies. Nicole also holds an MFA in Creative Writing from Portland State University and teaches composition, fiction-writing, and zine-making at various institutions.
This article has been viewed 597,919 times.
Learn more...
AutoCAD is a computer-aided drafting software program that enables the user to create precise 2- and 3-dimensional drawings used in construction and manufacturing. You can run the most-recent version of AutoCAD on your Mac or PC. People who learn how to use AutoCAD can create scaled drawings that are used to manufacture equipment, plan infrastructure projects, design electrical circuitry, and build homes and commercial structures. If you're brand new to AutoCAD, this wikiHow will help you learn your way around the app and become familiar with its basic features and functions.
Steps
Getting Started
-
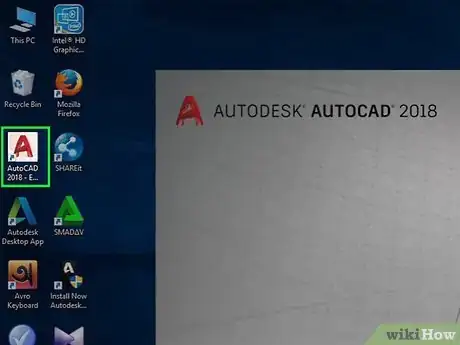
1Open AutoCAD. You'll find it in the Windows menu or your Mac's Applications folder. If you haven't already installed AutoCAD, visit https://www.autodesk.com to download and install it now.
-
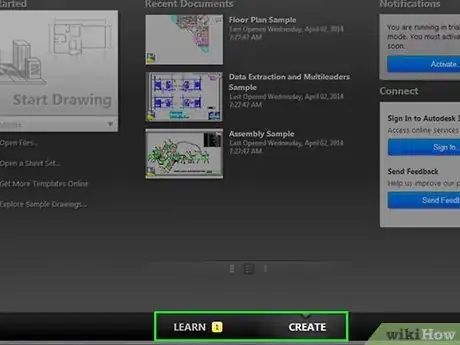
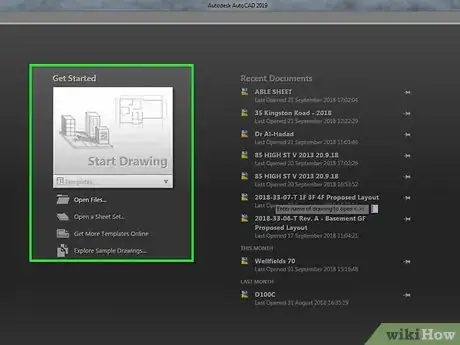
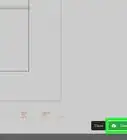
2Browse the Start screen. When you open AutoCAD, you'll see two tabs on the bottom—LEARN and CREATE (the default tab). If you click the LEARN tab, you'll find helpful videos to get you started with your project. If you click back to the CREATE tab, you'll find the following areas:
- In the "Get Started" section on the left, you can select Start Drawing to create a new project, Open Files to choose an existing project, or click the Templates menu to start from a template.[1]
- If there are any recent AutoCAD documents to work on, they'll appear in the Recent Documents section at the middle of the screen.
- If any updates are available, they'll appear in the Notifications area at the top-right corner.
- You can also sign in to your A360 account by clicking Sign In at the bottom-right corner.
Advertisement -
3Click Start Drawing or open an existing file. If you want to start a new project from a template, choose that template instead.[2]
- If you don't see the option to do so, click the File menu and select New to create a new drawing now.
-
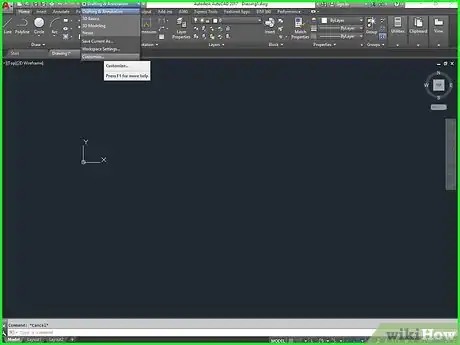
4Familiarize yourself with the workspace layout. Once you've opened a drawing, take some time to acquaint yourself with the locations of menus and tools:
- The drawing area is the part of the workspace with a gridded background. At the top-left corner of this area are two tabs: one is for the current drawing (which will have a name like "Drawing1") and the other can take you back to the Start screen. If you open more than one drawing at once, each will have its own tab above the drawing area.
- The Y-axis appears in green on the left side of the drawing area, and the X-axis is the red line along the bottom.
- The Viewcube is the square with a directional compass around it—you can use this to adjust your perspective when working in 3D.
- The ribbon toolbar at the top above the drawing area contains your tools on a series of tabs (Home, Insert, Annotate, etc.).
- Click the View tab at the top to show and hide tools and features on the workspace.
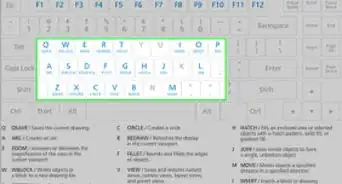
- The "Type a command" area at the bottom lets you type in commands and tool functions once you get a bit more acquainted with the app.[3]
-
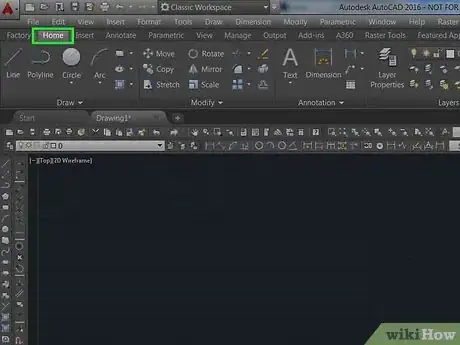
5Click the Home tab. It's at the top-left corner of AutoCAD. You'll see your drawing tools in the "Draw" area on the left side of the ribbon toolbar.
- Hover your mouse over any of the tools to see more information about what they do, as well as instructions for finding more help about their uses.
- As you draw with any tool, you'll see useful measurements near the cursor, such as length and angle.
-
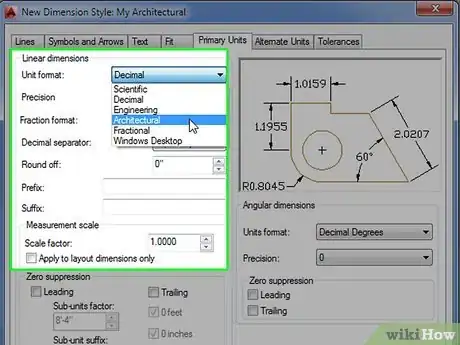
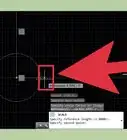
6Set your default measurement formats. If you need to change the way the scale, length, or angle measurements appear on the screen, units into the command prompt and pressing Enter or Return to bring up the Drawing Units panel. For example, if you're seeing measurements in microns and you need to see them in meters, you can make that change here whenever you want.
Drawing in AutoCAD
-
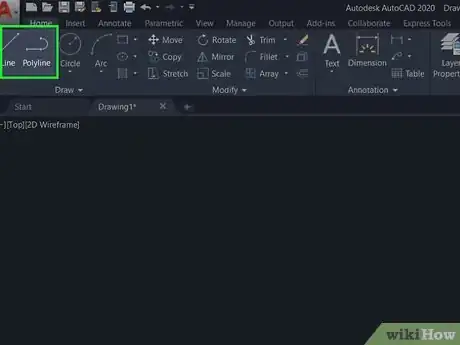
1Click the Line or Polyline tool to draw lines. Both tools are at the top-left corner. The Line tool is for drawing individual line segments, while the Polyline tool lets you create a single object from a series of line segments.[4] To draw your first lines:
- Click the mouse at the starting point of your line segment.
- Move the mouse to the place where you'd like to end the segment, and click the mouse at the ending point. If you're using the Line tool, this completes your first segment/line.
- If you're using the Polyline tool, move the mouse again and click to continue creating segments. When you're finished, hit the Esc key to stop drawing.
- If you need to set precise measurements for your segments (and this is true for any tool), type the desired measurement into the box near the cursor instead of clicking a segment endpoint. When you press Enter or Return, the endpoint will be placed at the distance you entered.
-
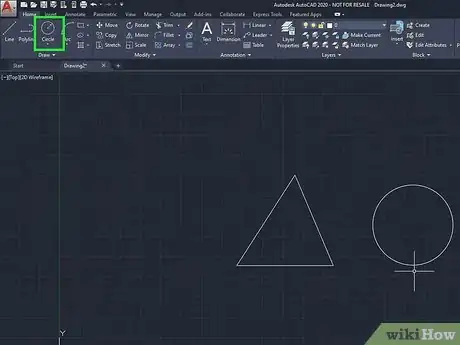
2Click the Circle tool to draw a circle. It's to the right of the Polyline tool in the toolbar. To draw a circle:
- Click the location on the drawing area where the circle's center should be.
- Drag the mouse outward and click to select the radius.
-
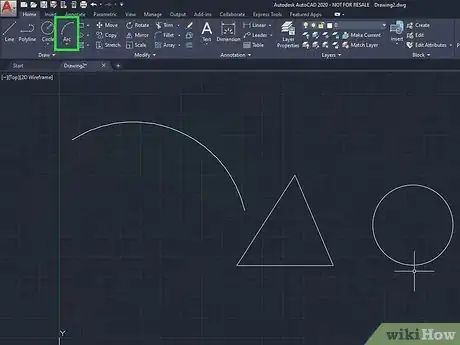
3Click the Arc tool to draw a curved line. It's to the right of the Circle tool in the toolbar. To draw an arced line:
- Click the mouse at the starting point.
- Move the mouse and then click to end the segment.
- Move the mouse in the direction of the curve you want and click to curve the line.
-
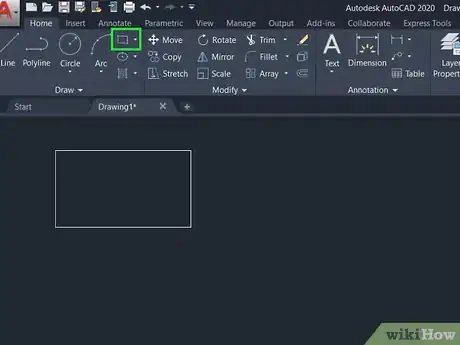
4Click the Rectangle tool to create a rectangle. The rectangle tool is simple—click the first point, which will be any corner of the rectangle, and then drag the mouse until the rectangle is the size you want. Click the mouse to place the rectangle.
-
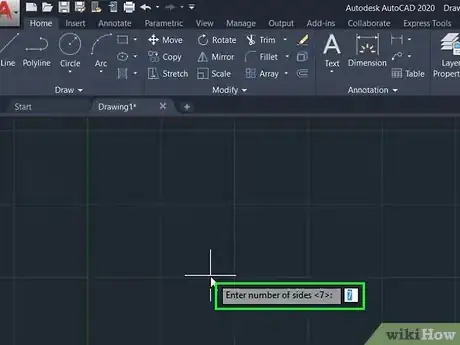
5Click the Polygon tool to a multi-sided shape. Here's how:
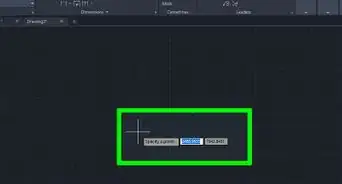
- Move the cursor to the drawing area—you'll see a box that says "Enter the number of sides." Type the number of sized and press Enter or Return.
- Click the center point of your shape.
- Move the mouse to the desired size and click to place the shape.
-
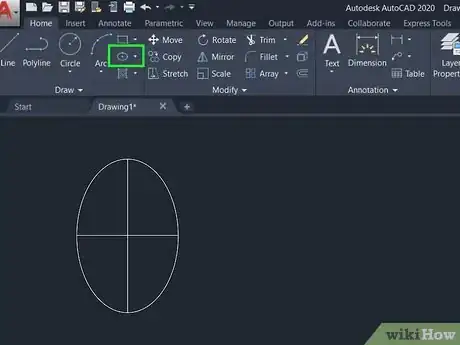
6Click the Elipse tool to create an oval. An ellipse is created by placing three points. Here's how:
- Click the desired center point.
- Move the mouse to the desired size and click a second point.
- Move the mouse to shape the ellipse and click to place the shape.
-
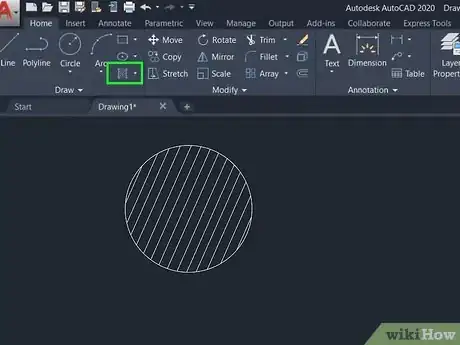
7Use the Hatch tool to fill a shape with a pattern. It's the square at the bottom-right corner of the Draw panel in the toolbar. Click the tool, then click a shape to fill it. You can choose any of the patterns or solid fills that appear in the "Pattern" panel that shows in the toolbar while Hatch is enabled.
-
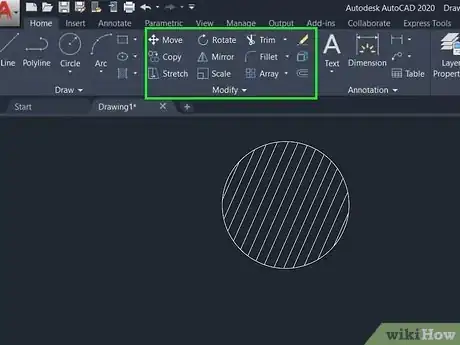
8Use the tools in the "Modify" panel to edit your shapes. First, if you just click a shape or line without selecting a tool first, anchor points will appear—you can drag these anchor points to modify the shape if you'd like. There are lots of other modifications you can make:
- Click Move to move a line or shape. After clicking the tool, click the object you want to move, and then drag it anywhere. You can select multiple objects at once to move them as a group
- Click Rotate and then a shape to turn it clockwise or counterclockwise. If you want to flip the image, use the Mirror tool.
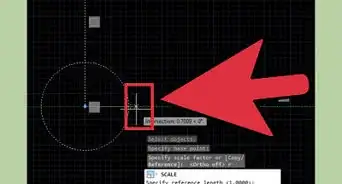
- Click Scale and then a shape to change its size. Check out How to Scale in AutoCAD to learn more about what you can do with scaling.
- Click Stretch if you want to resize an image by stretching it rather than keeping it scaled.
- Click one of the Array tools (Rectangular Array, Path Array, or Polar Array) to create an array of the object you select.
- The Trim tool lets you cut a segment or side of an object that meets the border of another object, turning them into a single object.
- The Fillet and Chamfer tools let you create curved and sharp vertices by intersecting two selected sides.
-
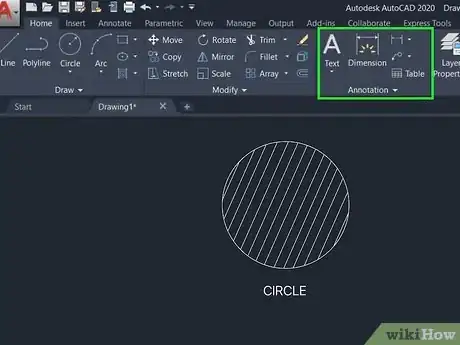
9Click the Annotate tab to add text and tables. The tab is next to the "Insert" tab at the top. This is where you can create text boxes, add tables with multiple rows and/or columns, and more.
- Click Single Line or Multi Line on the top-left side of the ribbon toolbar to switch between text styles.
- Any text you add will also act as a single object that you can move.
- This tab also has a "Dimensions" panel that lets you annotate dimensions of shapes and lines.
-
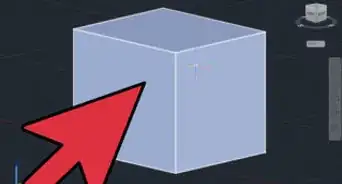
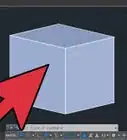
10Work with 3D objects. There are two ways to switch to a 3D view—one is to drag the Viewcube at the top-right corner of the drawing area in any direction, and the other is to click the Orbit icon in the right panel—it's the circle with an upward-pointing arrow inside.
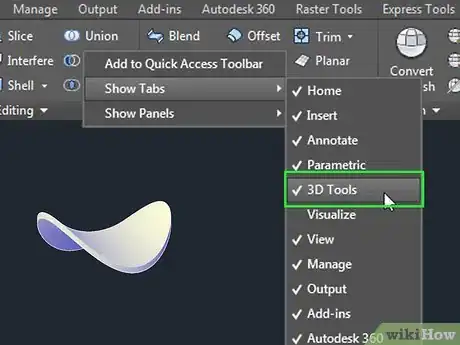
- Click the 3D Tools tab at the top to open editing tools specific to 3D design. If you don't see this tab, right-click the blank area after the last tab above the ribbon toolbar, open Show tabs, and select 3D Tools.
- Click the down-arrow below "Box" in the "Modeling" panel of the toolbar view and select different 3D objects to draw (e.g., Cone, Sphere, Pyramid). You'll draw the images similar to how you did in regular 2D format, but this time you'll have another axis (the blue line) to work with.
- The shapes will appear as 3D line drawings rather than with volume. You can change this by clicking 2D Wireframe near the top-left corner of the drawing area and selecting another view, such as Shaded, Realistic, or X-ray.
- To turn a 2D object into a 3D one, use the Extrude tool to increase its depth, and/or Revolve to rotate it around an axis.[5]
- You can modify 3D objects similarly to 2D objects—click an object to show the blue draggable nodes, then move them around as needed.
- The "Solid Editing" and "Surfaces" panels contain advanced editing tools for creating and editing complex shapes.
-
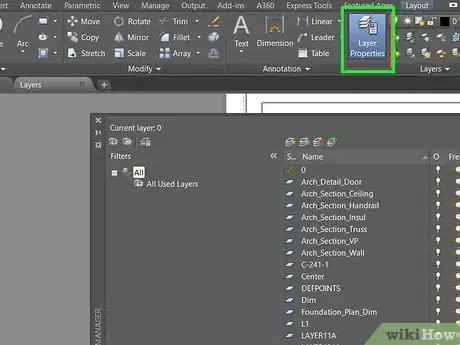
11Place drawings on different layers. When you're working on more complicated drawings, it can be beneficial to place parts on different layers that you can edit, hide, view, and rearrange.[6] Here's some basics to get you started with layers:
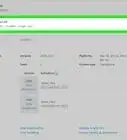
- On the Home tab, click the Layer Properties icon in the "Layers" panel to display the Layer Properties panel. This shows all layers and what you can do with them.
- Click the icon of three sheets of paper with a red-and-yellow circle on its left side (it's the first icon on top of the Layer Properties panel) to create and name a new layer. Now you'll have two layers in the panel.
- Double-click a layer to select it. The layer with the checkmark is the current layer.
- Click the lightbulb on a layer to toggle to hide it/show it. If you're working with particularly large files, use the sun icon to freeze the layer instead of hiding it.
- Use the padlock icon to protect a layer from accidental edits by locking it.
-
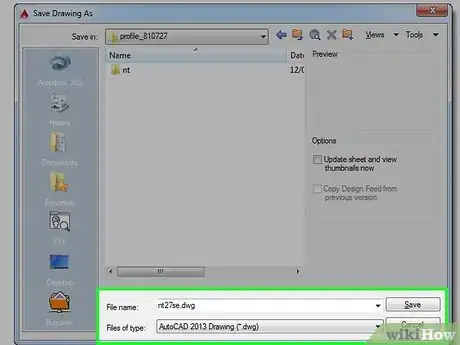
12Save your drawing. To save what you're working on, click the A menu at the top-left corner and select Save As, and choose Drawing. This lets you save your work as a DWG file, which is the default AutoCAD format.
- Now that you've got the basics down, try drawing an L-shaped stairway or a step pyramid!
- As you become proficient with AutoCAD, you'll be able to convert lines into surfaces, surfaces into 3D solids, add realistic material representations, and manipulate light and shadows.
Community Q&A
-
QuestionCan I use AutoCAD to create a floor plan of a geothermal power plant?
 Community AnswerYes you can, use 2d. Start with the perimeter, then the interior walls, then finish it off with the machinery and furniture.
 -
QuestionHow do you change sizes on a current drawing?
 Community AnswerIf you are working in AutoCad, then type limits on the size in millimeters or inches.
References
- ↑ https://knowledge.autodesk.com/support/autocad/learn-explore/caas/CloudHelp/cloudhelp/2020/ENU/AutoCAD-WhatsNew/files/GUID-B7040851-266C-48CB-9682-654F3A6B8086-htm.html?v=2021
- ↑ https://knowledge.autodesk.com/support/autocad/learn-explore/caas/CloudHelp/cloudhelp/2020/ENU/AutoCAD-Core/files/GUID-5B6347C1-B458-4336-AB2A-C16AF161B755-htm.html
- ↑ https://download.autodesk.com/us/autocad/learningpath/interface_overview/Interface_Overview_ACAD.htm
- ↑ https://knowledge.autodesk.com/support/autocad/learn-explore/caas/CloudHelp/cloudhelp/2016/ENU/AutoCAD-Core/files/GUID-392BF13C-D9E7-47A8-8E07-435296332279-htm.html
- ↑ https://www.youtube.com/watch?v=CzlnmYOwaIw
- ↑ https://knowledge.autodesk.com/support/autocad/learn-explore/caas/CloudHelp/cloudhelp/2020/ENU/AutoCAD-Core/files/GUID-FA005756-B8F5-4A78-988F-31335A68D77C-htm.html
About This Article
1. Use the Line or Polyline tool to draw line segments.
2. Draw 2D shapes using the Circle, Arc, Rectangle, Polygon and Ellipse tools.
3. Use the Hatch tool to fill objects with patterns and color.
4. Edit shapes using the tools on the "Modify" panel.
5. Add text and tables on the Annotate tab.
6. Click and drag the Viewcube at the top-right corner to switch to 3D view.
7. Click the 3D Tools tab at the top to find 3D modeling tools.
8. Place different parts of the drawing on different layers.
