This article was co-authored by Carin Bennett. Carin Bennett is the Social Media Manager for NFP headquartered in New York City. With over 10 years of experience, she specializes in planning, developing, implementing, and managing Social Media Accounts to create and maintain a company’s brand while engaging with their community using social media. She earned a Juris Doctor degree from both St. Thomas University & Barry University Schools of Law and her BA from the University of North Florida.
This article has been viewed 28,108 times.
Are you drowning in news feeds and status updates? HootSuite is a social network manager that allows you to create custom views of all your connected social networks. You can use HootSuite to post to multiple accounts, manage your tweets, and much more. If you run a business, HootSuite can help you make sense of your social media marketing. HootSuite can be up and running in just a few clicks, and your days of drowning in a sea of information will be over.
Steps
Setting up HootSuite for Personal Use
-
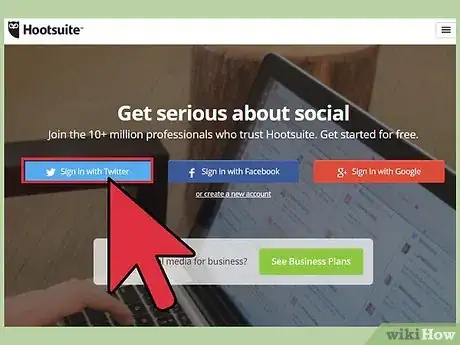
1Create your account. You can create an account using your Twitter, Facebook, or Google account, or you can create an account using a separate email address. Making a personal account on HootSuite is free.
-
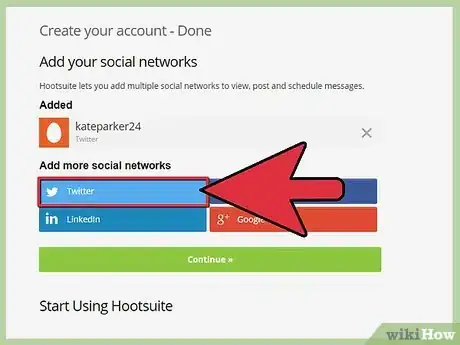
2Add your networks. HootSuite allows you to add all of your social networks to one account, letting you easily see all of your updates and feeds in one window. In order to do so, you will need to log in with each of the networks that you want to connect. Connections are made through each company's respective login system; HootSuite does not receive or store your passwords.
- When you first create your account, you will be asked which social networks you would like to add. You can add and remove other networks later by clicking the "+Add Social Network" button on your HootSuite dashboard.
- HootSuite has built-in support for Twitter, Facebook, Google+ Pages, LinkedIn, foursquare, WordPress, and Mixi. You can add in support for other networks through apps.
- If you have multiple accounts on one service, you can add them all to one HootSuite account.
Advertisement -
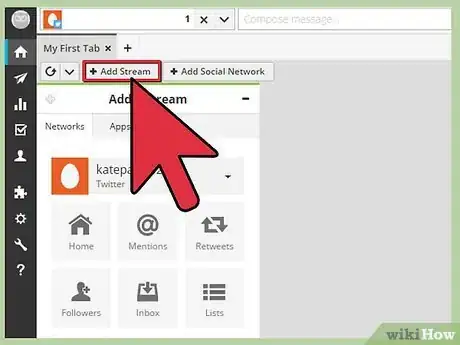
3Add streams. You can either click the "+Add Stream" button at the top of the dashboard, or use the "Add a stream" tool that opens to the right of your current streams.
- Select the social network and then add the feed that you want to monitor. This may be the News Feed from Facebook, someone your follow on Twitter, or just about any other aspect of your Social Networks that you want to track.
-
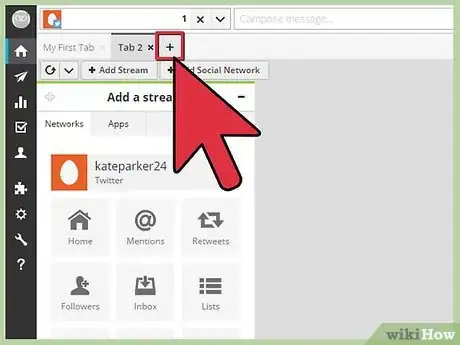
4Create multiple tabs. Click the "+" button at the top of your dashboard next to your existing tabs. These tabs allow you to organize and collect related streams in one place. You can have a "Work" tab, a "Personal" tab, and even a "Kardashian" tab. It's all up to you and how you want to organize your information.[1]
- Each tab can have streams from any of your connected networks.
-
5Post messages. The top bar of the HootSuite dashboard is your message tools. Use the drop-down menu on the left to select the social networks that you want to post to. You can post to as many of your networks as you'd like in one post.
-
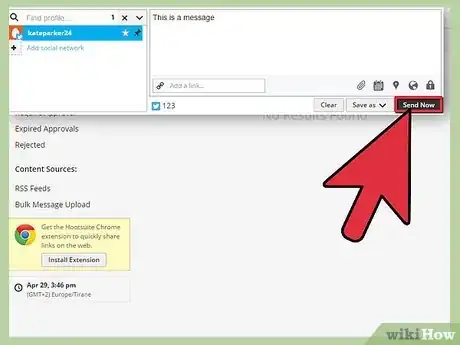
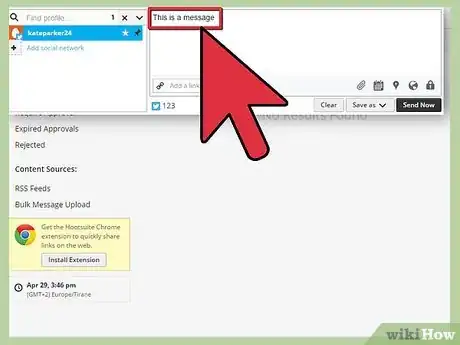
6Write your message in the "Compose" box. You an post whatever you'd like and even include links, images, and location tagging. When your message is ready, click the "Send Now" button to post it to all of your selected networks.
- Keep in mind that Twitter has a character limit of 140.
- You can schedule your post for a later date by clicking the calendar icon.
Using Hootsuite to Enhance Business Marketing
-
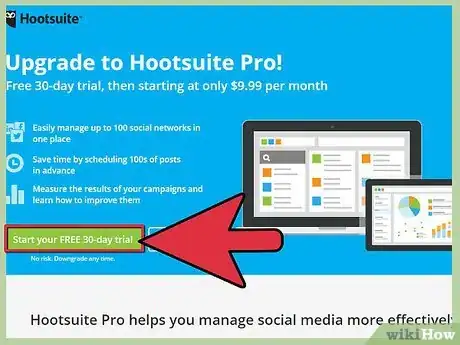
1Sign up for a professional or enterprise account. To gain access to the more powerful marketing tools available, your company will need to sign up for the Pro or Enterprise packages. Most small businesses should be fine with Pro; Enterprise is for large corporations with huge social media divisions.
-
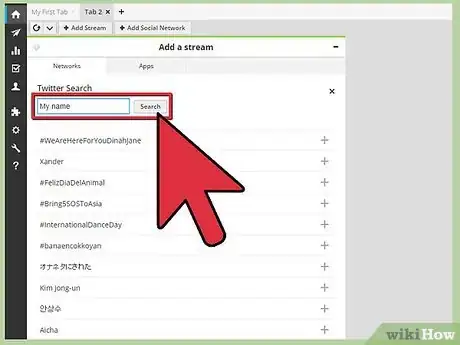
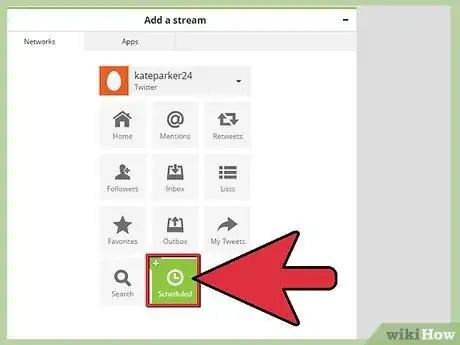
2Track your name in Searches. When you add a stream, you can create a Search stream. You input a search term, and HootSuite will show you all of the most recent returns for that Search. This allows you to track your product or brand and see what people are saying about it.[2]
- You can search through Facebook, Twitter, and Google+. Make sure to utilize all of these to see how your brand is tracking across all the major social networks.
-
3Schedule a post. One of the most powerful tools in HootSuite is the ability to schedule and send messages across some or all of your social networks at once. You can send the same message to your Facebook timeline, your Twitter account, and your Google+ page, all with one click.
- Try to make regular, consistent posts so you can keep your audience engaged.
- You can set a message to be sent at a later date by clicking the calendar button in the Compose window. This will let you set when you want the messages to be posted. This tool is especially useful for making posts in timezones when you may not have employees active, or for automating marketing campaigns.
-
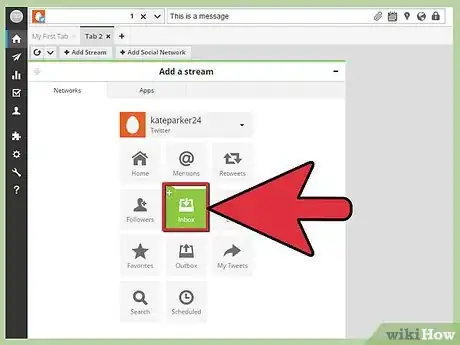
4Communicate directly with your customers. You can create feeds dedicated to your private messages for your Facebook Pages and Google+ Pages, as well as track your Twitter DMs. Use these streams to stay on top of customer inquiries.
-
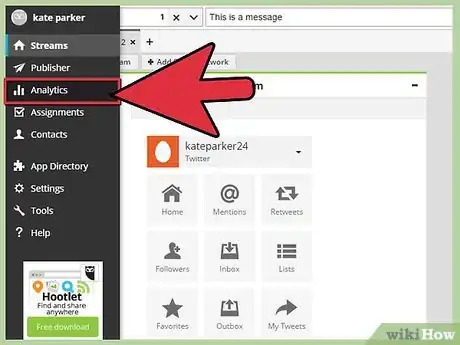
5Track your campaigns with the analytics tool. HootSuite provides several reporting tools that allow your company to track its performance in social networks. You can track Likes, mentions, changes in traffic, link activity, and much more. Click the Analytics button in the left menu to get started with report creation.
- There are several premade templates you can choose from, or you can create a custom report.
- When creating a custom report, you will be able to choose from a list of modules. Some of these are free for everyone, some require at least a Pro account, and some are locked to Enterprise-level only.
- To track link activity, you must use the Ow.ly URL shortener. This allows HootSuite to track how many people are clicking it.
-
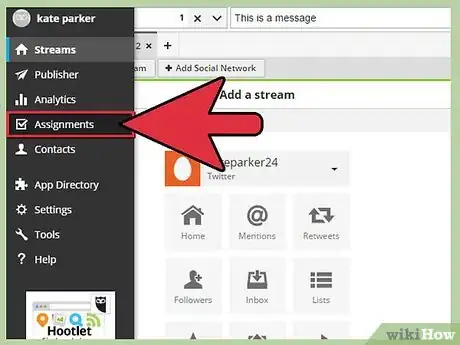
6Manage your social media team. HootSuite contains tools that allow you to assign team members to specific streams and tasks within the program. You can have someone dedicated to your Twitter feed, or you can assign specific messages to specific people on the team for a personal response. Managing your team can lead to a much more efficient social media campaign.[3]
-
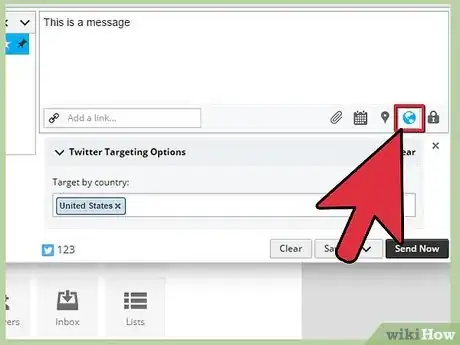
7Target your messages with the Geo-targeting tool. If you are using an Enterprise HootSuite account, you can target specific regions and languages for your posts. This allows you to customize your marketing for the customers that need that message.
Expert Interview
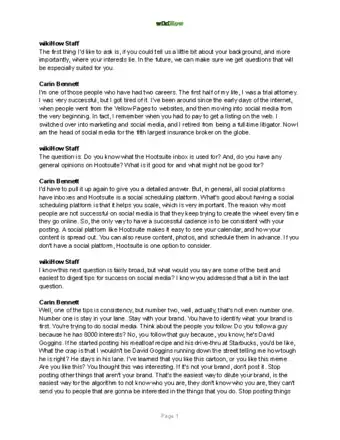
Thanks for reading our article! If you'd like to learn more about Hootsuite, check out our in-depth interview with Carin Bennett.
References
About This Article
To use HootSuite to manage your personal social media accounts, start by creating a free account on HootSuite's website. Next, add all of your social networks and streams to your HootSuite account by clicking the "+Add Social Network" button on your dashboard. Then, use the drop-down menu on the top left of the HootSuite dashboard to select the social networks that you want to post to. Finally, write your message in the "Compose" box and click "Send Now" to post your message to all of your selected networks. For tips on using HootSuite for business marketing, read on!
