X
This article was co-authored by wikiHow staff writer, Jack Lloyd. Jack Lloyd is a Technology Writer and Editor for wikiHow. He has over two years of experience writing and editing technology-related articles. He is technology enthusiast and an English teacher.
The wikiHow Tech Team also followed the article's instructions and verified that they work.
This article has been viewed 307,533 times.
Learn more...
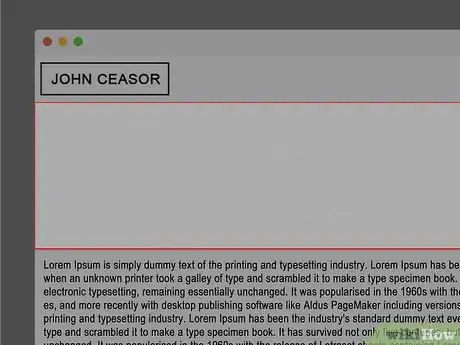
This wikiHow teaches you how to create a webpage using HTML. Some elements of your webpage can include text, links, and images.
Steps
Part 1
Part 1 of 7:
Preparing to Write
-
1
-
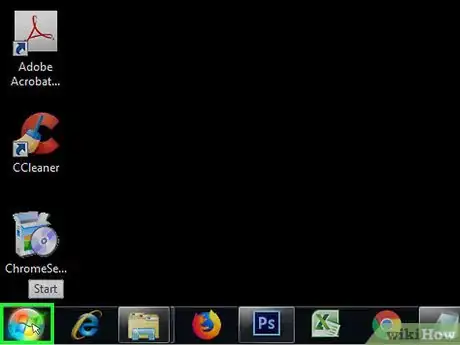
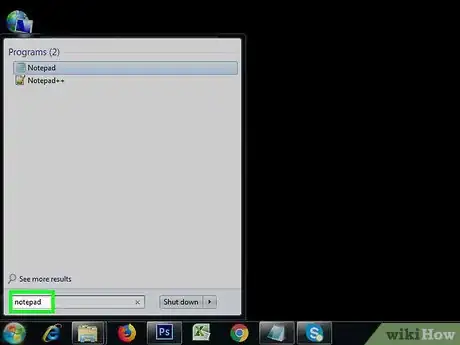
2Understand HTML tags. When writing in HTML, different elements of the page are indicated by open tags (<>) and closed tags (</>), with the text for an element fitting in between the tags.
- For example, a paragraph is created by typing the open paragraph tag (<p>), entering the text that you want to use, and then entering a closed paragraph tag </p>.
- Each line of code must go on its own line, so you'll normally press ↵ Enter after writing a line of code.
Advertisement -
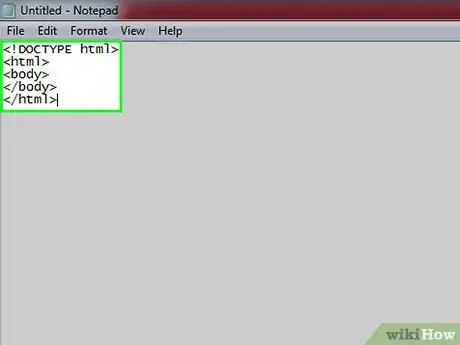
3Review the basic HTML format. For any HTML document that you create, you'll start the document with a "document type" tag (<!DOCTYPE html>), an HTML tag (<html>), and a BODY tag (<body>). You'll also end the document with a closed BODY tag and then a closed HTML tag. For example:
<!DOCTYPE html><html><body></body></html>
-
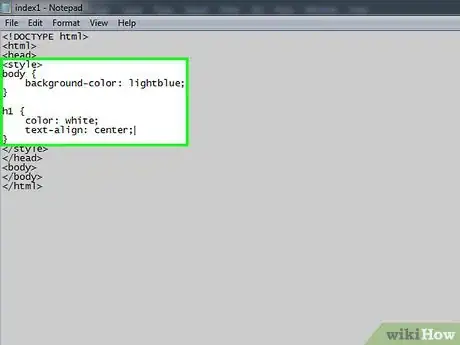
4Consider learning about CSS. CSS is a language that acts as a complement to HTML; it covers page formatting (e.g., colors, centered text, etc.) and other visual aspects of the webpage.
Advertisement
Part 2
Part 2 of 7:
Creating a Text Page
-
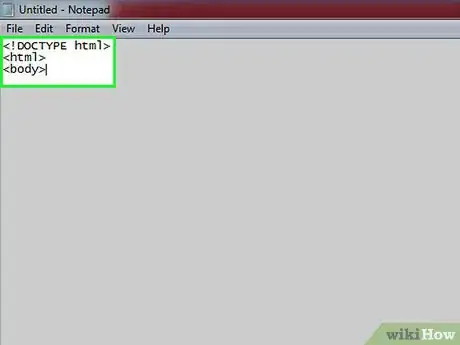
1Set up the document. Add your document's initial HTML text:
<!DOCTYPE html><html><body>
-
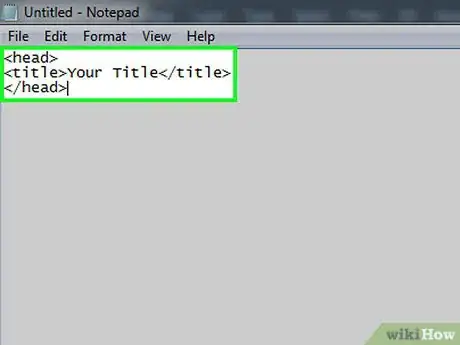
2Create your webpage's title. This is also known as the "head", and it defines the text that appears on the browser's tab. Add the following text to your document to do so, making sure to replace "Your Title" with your preferred text:
<head><title>Your Title</title></head>
-
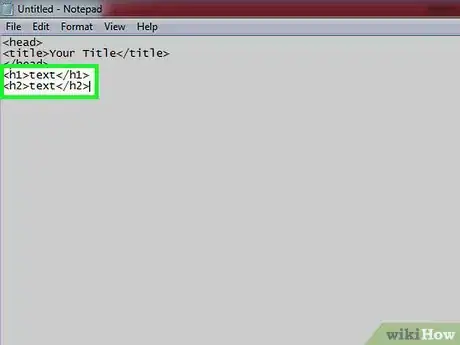
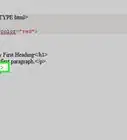
3Add a header. Type in <h1>Text</h1> and press ↵ Enter. You can place any text that you want to use between the
<h1>and</h1>tags.- Headers can be stacked throughout the page. For each header you use after the first one, just increase the number (e.g., for the second header, use
<h2></h2>).
- Headers can be stacked throughout the page. For each header you use after the first one, just increase the number (e.g., for the second header, use
-
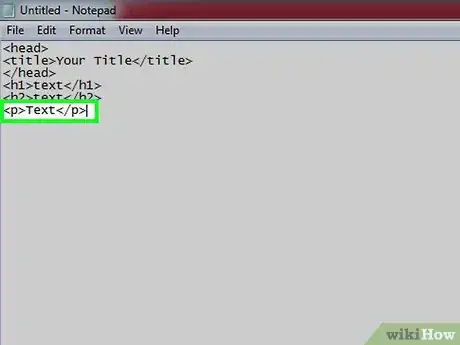
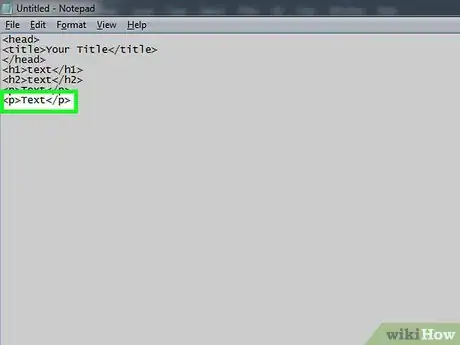
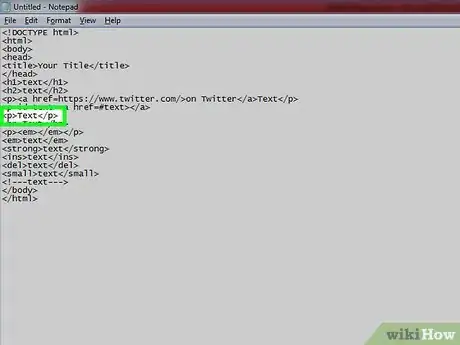
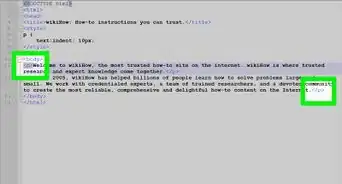
4Create a paragraph. Type in <p>Text</p> and press ↵ Enter, making sure to replace "Text" with your paragraph's text.
- You can place each line of text on a new line by repeating the
<p></p>tags for each line of text.
- You can place each line of text on a new line by repeating the
-
5Repeat the header and paragraph process. You can add as many headers and paragraphs to your webpage as you like.
-
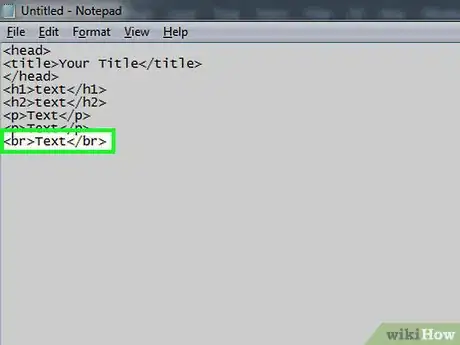
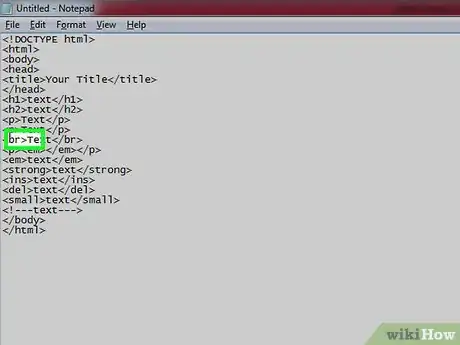
6Add breaks in your page. Type in <br>Text</br> and press ↵ Enter. This will create page gaps between your paragraphs if you want to space different parts out.
-
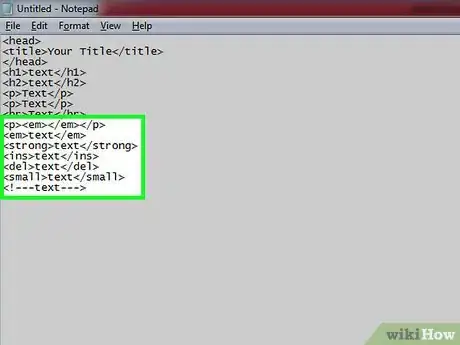
7Format your paragraphs' text. You can use different tags inside of the
<p></p>tags (for example,<p><em></em></p>) to indicate formatting:-
<em>text</em>- Creates italic text. -
<strong>text</strong>- Creates bold text. -
<ins>text</ins>- Creates underlined text. -
<del>text</del>- Creates text with a line through it. -
<small>text</small>- Creates small text. -
<!---text--->- Creates invisible text. Used for adding notes to your webpage.
-
-
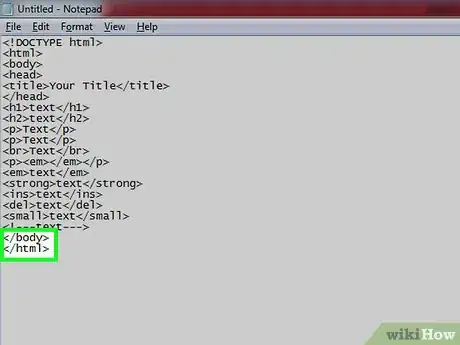
8Close your document's BODY and HTML tags. When you're finished adding text, type in </body> and press ↵ Enter, then type in </html> to close out the document. Now that your text page is technically complete, you can add other things like links, bullet points, and images to it.
Advertisement
Part 3
Part 3 of 7:
Adding Links
-
1Find a place in your webpage to add a link. If you want to add a link to a webpage in the middle of a paragraph, for example, you'd go to that paragraph and find the word or phrase that you want to use as the link.
-
2Copy the website's URL. Go to the website to which you want to link, then select its address in the bar near the top of the window and press Ctrl+C (Windows) or ⌘ Command+C (Mac).
-
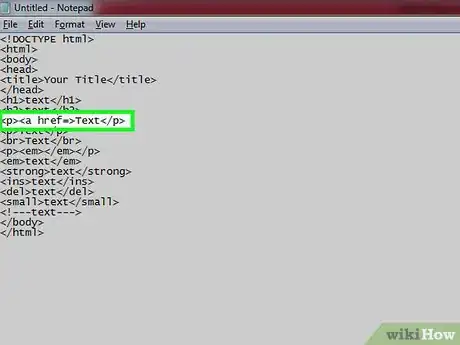
3Enter an open link tag. Type <a href=> into the space directly before the word or phrase that you want to use as a link.
-
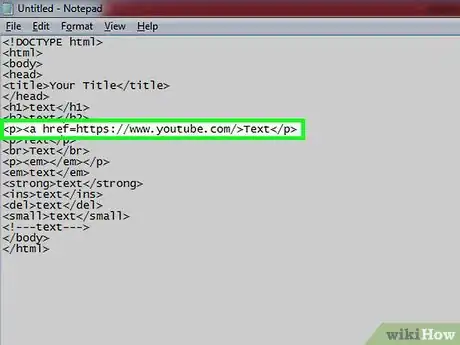
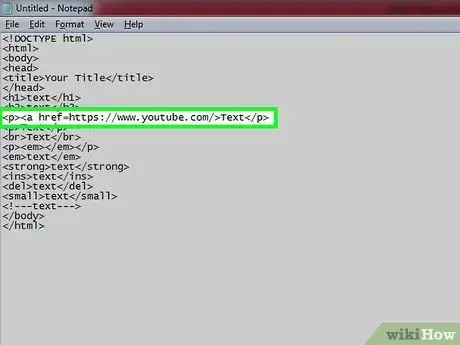
4Paste in the website's URL. Click between the
href=and the>and then press Ctrl+V (Windows) or ⌘ Command+V (Mac). You should see the link appear to the right of thehref=text.- For example, if you're linking to YouTube, you'd see
<a href=https://www.youtube.com/>here.
- For example, if you're linking to YouTube, you'd see
-
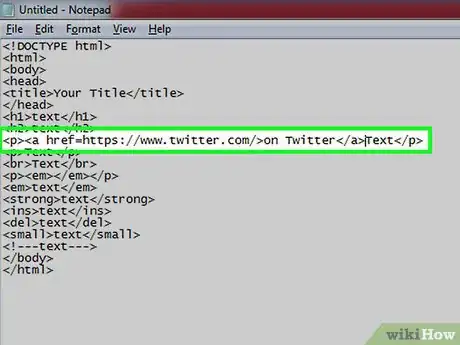
5Add the closed link tag. On the other side of the text that you want to use as a link, type in </a>. For example, in a line that says "Follow me on Twitter" where you're linking to Twitter and using "on Twitter" as the link, your code would resemble the following:
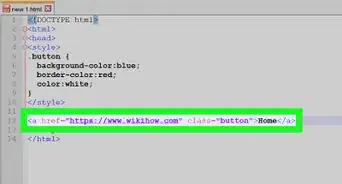
<a href=https://www.twitter.com/>on Twitter</a>
-
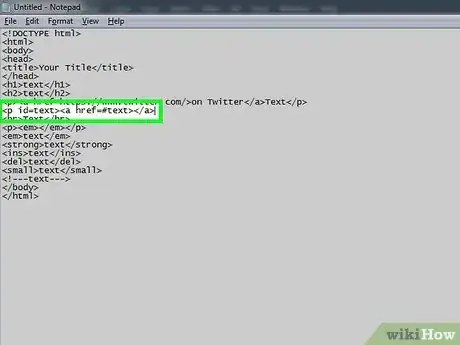
6Add an ID tag. ID tags allow you to link one piece of text to another section in a different paragraph on the same page. To do so:
- Replace the
<p>tag with <p id=text> - Find the text that you want to use as a link.
- Type <a href=#text> before the text. Make sure that the text after "#" matches the text after "id=" here.
- Type </a> after the text.
- Replace the
Advertisement
Part 4
Part 4 of 7:
Adding Bullet Points
-
1Find a place in which to add bullet points. Bullet points are best-suited for listing information or creating organized steps. Once you've found a paragraph beneath which you want to add bullet points, proceed.
-
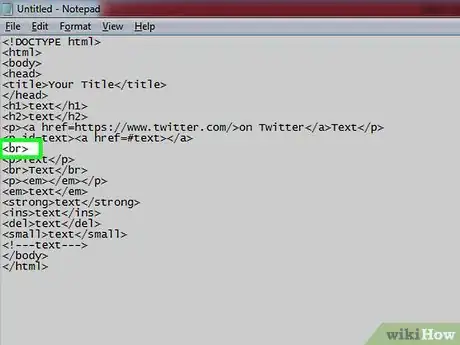
2Add a page break. Above the place where you want to put your bulleted list, type in <br> and press ↵ Enter.
-
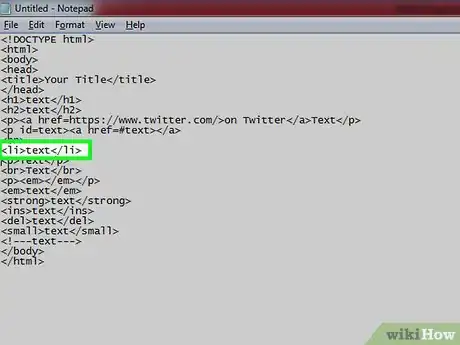
3Create the first bullet point. Type in <li>text</li> and press ↵ Enter, making sure to replace "text" with your bullet point's text.
-
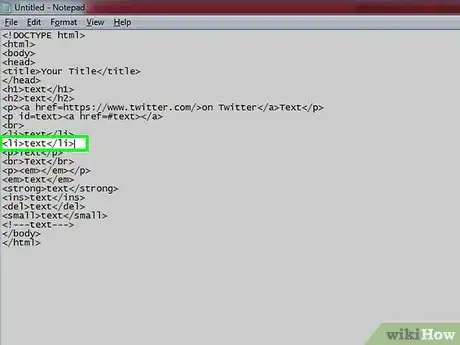
4Add more bullet points. As long as you're using the
<li></li>tags around lines of text, the text between the tags will be formatted as a bullet point. -
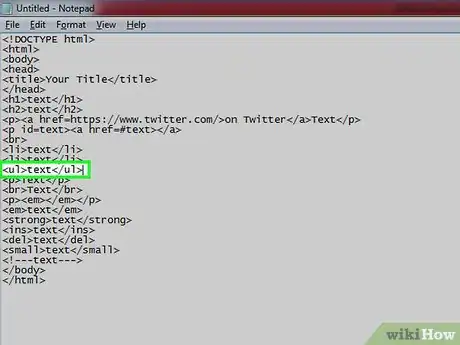
5Create a sub-point. Type in <ul>text</ul> and press ↵ Enter. Your text will appear indented below the previous bullet point.
- Text with the
<ul></ul>tags won't have a bullet before it.
- Text with the
-
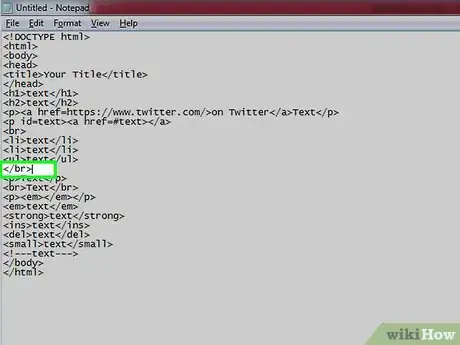
6Close your page break. If you chose to use a page break earlier, type in </br> and press ↵ Enter. Your bulleted list will stand alone on the page.
Advertisement
Part 5
Part 5 of 7:
Adding Images
-
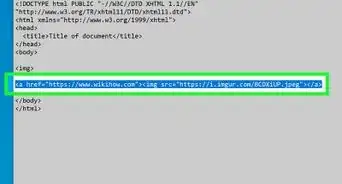
1Find a place to insert an image. The image will appear on the webpage wherever you insert the code for the image.
-
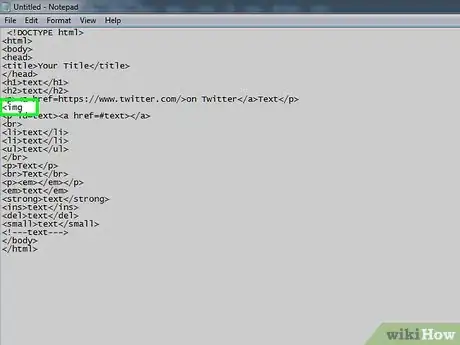
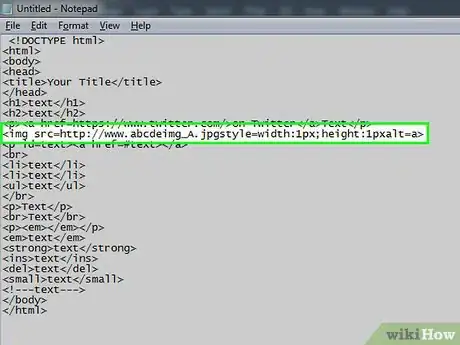
2Create the image tag. To do so, type in
<imgbut don't press ↵ Enter. Since the "image" tag is a complete tag in and of itself, it doesn't need a closing tag. -
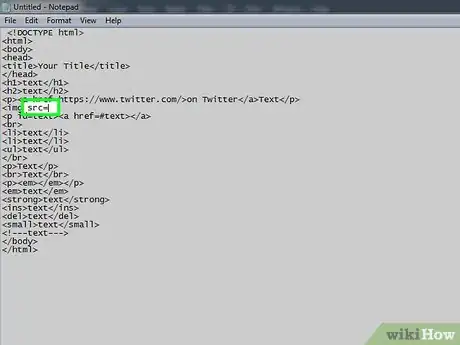
3Add the "source" tag. Type in src= after the
<imgtag, making sure to place a space between "img" and "src". -
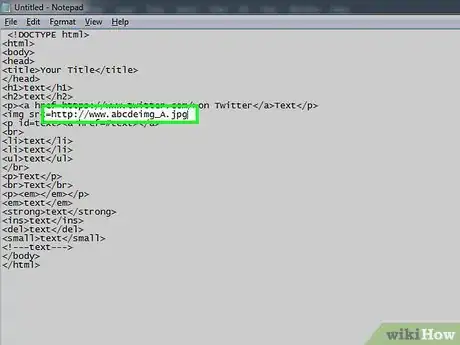
4Enter an image's address. Copy the URL for the image that you want to add, then paste it to the right of the source tag.
-
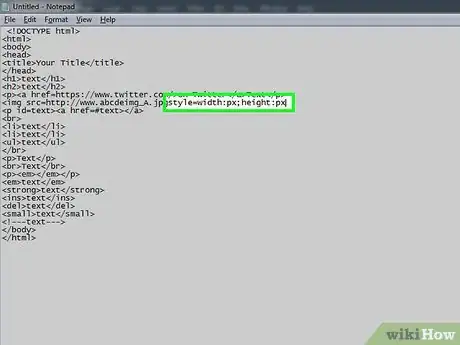
5Add the "style" tag. Type in style=, then type in width:px;height:px.
-
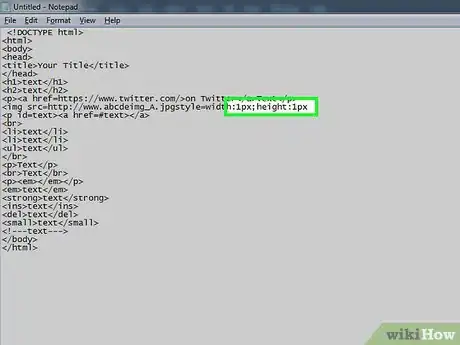
6Enter the image's dimensions. Type in the image's width in pixels after "width:", then type in the image's height in pixels after "height:".
-
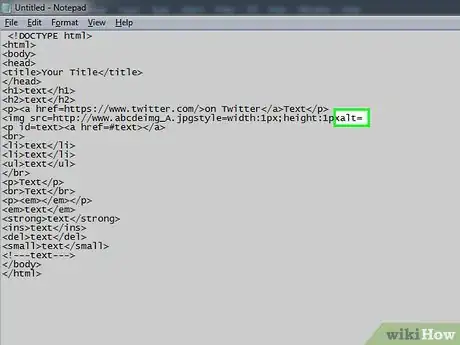
7Enter the alternate description. This is the text that displays if the image fails to load. To do so, type in alt= and then type in the description.
-
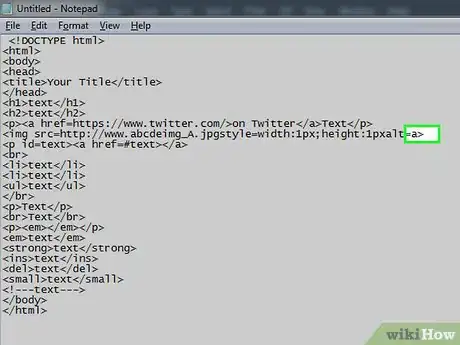
8Close the image tag. Place a > bracket after the last character in the alternate description to do so.
-
9Review your image's code. It should resemble the following:
<img src=https://www.w3schools.com/w3css/img_fjords.jpg style=width:600px;height:400px alt=Fjord>
Advertisement
Part 6
Part 6 of 7:
Saving the Document on Windows
-
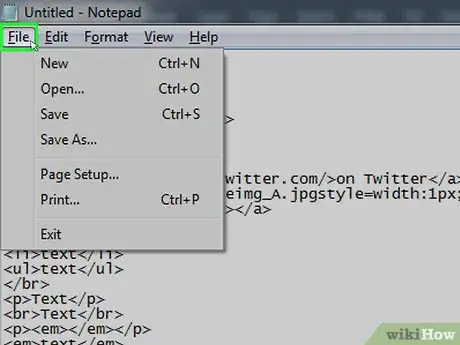
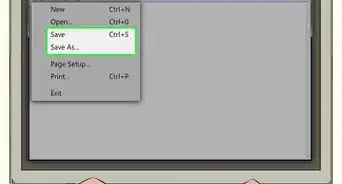
1Click File. It's in the top-left side of the Notepad window. A drop-down menu will appear.
-
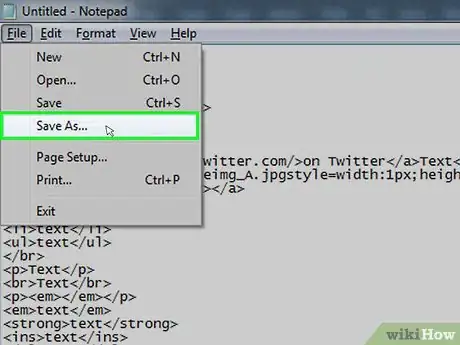
2Click Save As…. You'll find this near the top of the File drop-down menu.
-
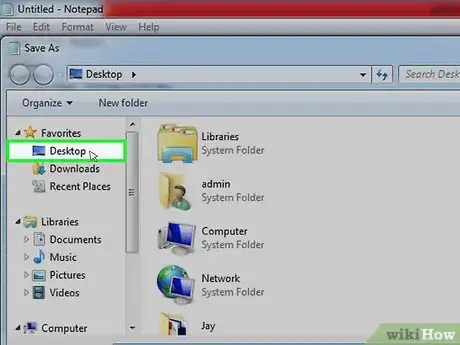
3Select a save location. Click a folder on the left side of the window (e.g., Desktop).
-
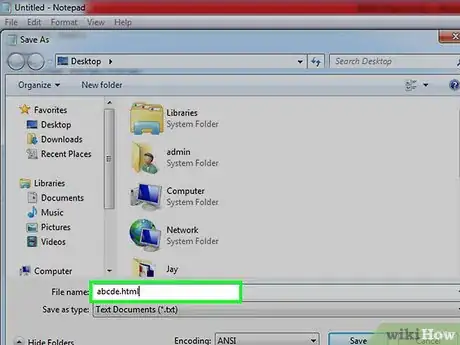
4Enter an HTML name for your file. Type whatever name you want to use for the file followed by .html into the "File name" text field.
- For a file named "meow", for example, you'd enter meow.html here.
-
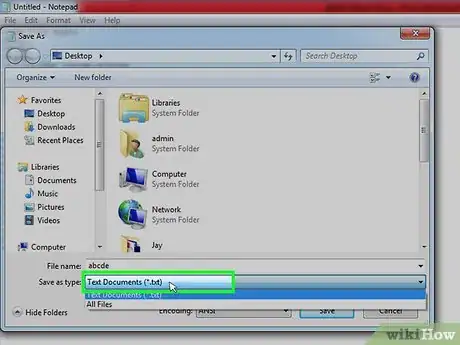
5Click the "Save as type" drop-down box. A drop-down menu will appear.
-
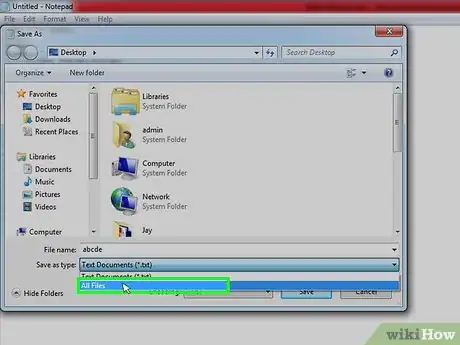
6Click All Files. It's in the drop-down menu.
-
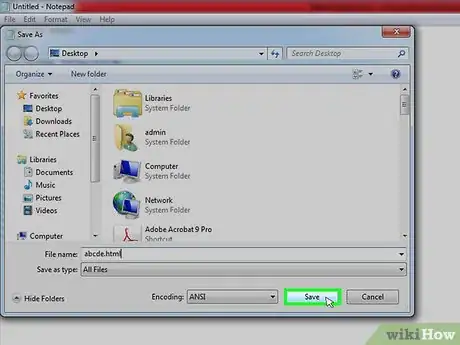
7Click Save. You'll see this in the bottom-right corner of the window. Doing so saves your text file as an HTML page.
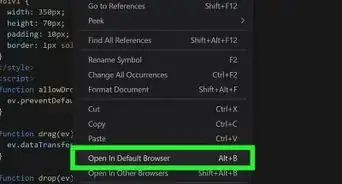
- You can open the HTML page file in most browsers by clicking and dragging the file onto an open browser window.
Advertisement
Part 7
Part 7 of 7:
Saving the Document on Mac
-
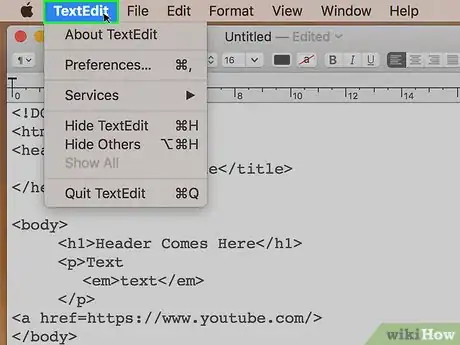
1Click TextEdit. It's in the upper-left side of the screen. A drop-down menu will appear.
-
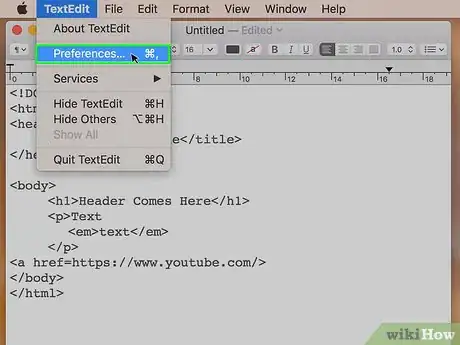
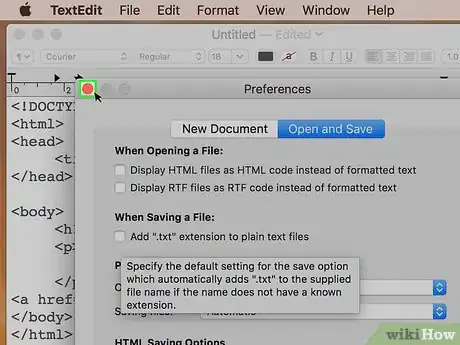
2Click Preferences…. You'll find this near the top of the drop-down menu. The Preferences window will open.
-
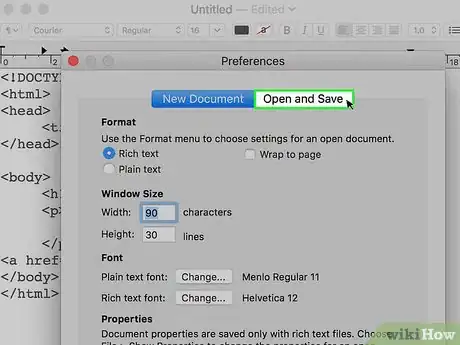
3Click the Open and Save tab. It's at the top of the page.
-
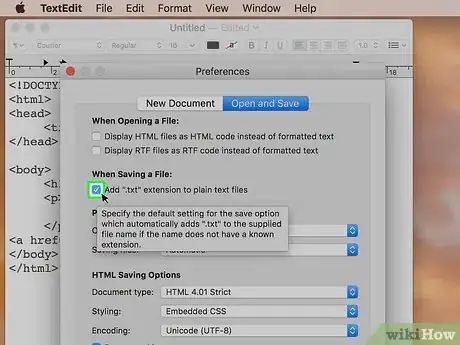
4Uncheck the "Add ".txt" extension to plain text files" box. This is below the "When Saving a File" heading.
-
5Close the Preferences window. Click the red circle in the top-left corner of the window to do so.
-
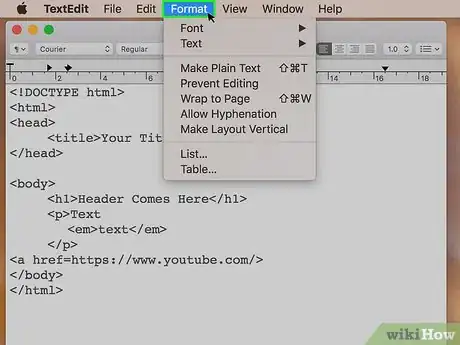
6Click Format. It's a menu item at the top of the screen.
-
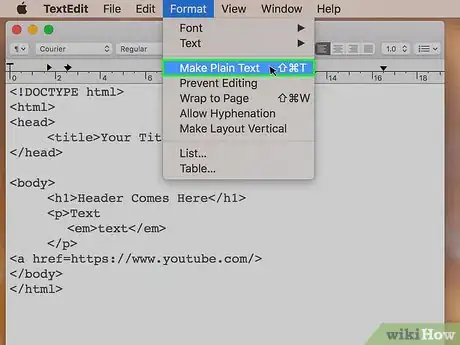
7Click Make Plain Text. This option is in the drop-down menu.
-
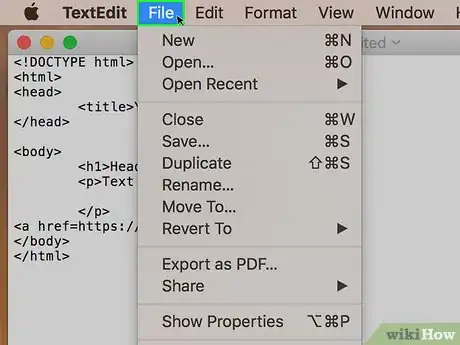
8Click File. It's in the upper-left side of the screen.
-
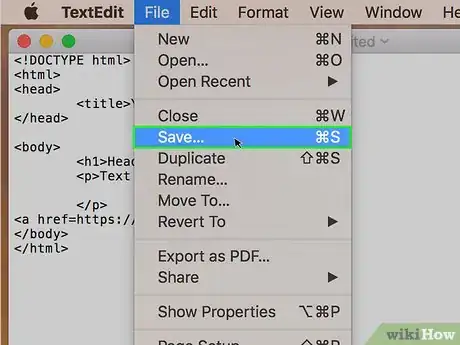
9Click Save. This is near the top of the drop-down menu.
-
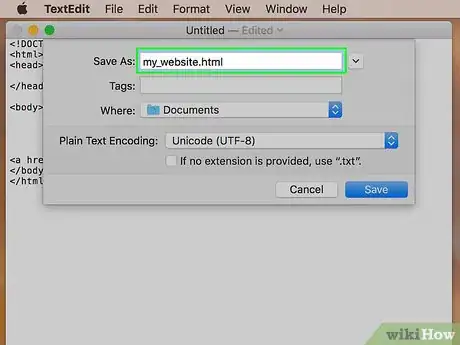
10Enter an HTML name for your file. Replace the name in the "Save As" text field with whatever name you want followed by .html.
- For example, for a document named "my_website", you'd enter my_website.html here.
-
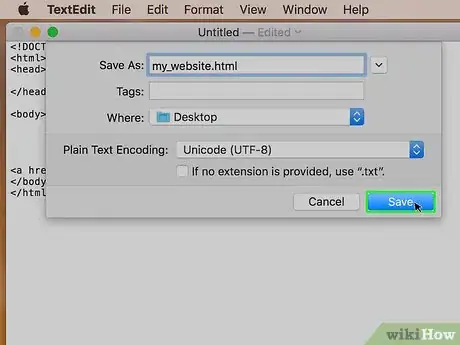
11Click Save. Your HTML document will be saved in your default save location (e.g., Desktop).
- You can open the HTML page file in most browsers by clicking and dragging the file onto an open browser window.
Advertisement
Community Q&A
-
QuestionHow can I write HTML Tags in HTML?
 Ronav PuriCommunity AnswerYou can write HTML tags between angle brackets and in capital letters. If you want to write an ending HTML tag, put a forward slash between the angle brackets and write the tag after that.
 -
Questionare there two methods of writing HTML?
 Nicole FutoryanskyCommunity AnswerThere is only one method, unfortunately. You might be thinking about CSS, but that is a different language, and not HTML.
 -
QuestionHow can I use tag background color or text color?
 Nicole FutoryanskyCommunity AnswerYou can't do it with HTML. You need to use CSS, a language that you can find many tutorials for on this website.
Advertisement
Warnings
- Always double-check your code before uploading it to a live site.⧼thumbs_response⧽
Advertisement
About This Article
Advertisement
