This article was co-authored by wikiHow staff writer, Darlene Antonelli, MA. Darlene Antonelli is a Technology Writer and Editor for wikiHow. Darlene has experience teaching college courses, writing technology-related articles, and working hands-on in the technology field. She earned an MA in Writing from Rowan University in 2012 and wrote her thesis on online communities and the personalities curated in such communities.
This article has been viewed 42,752 times.
Learn more...
This wikiHow will teach you how to activate the camera app in Windows 10 as well as how to give other apps permission to use your camera. Many Windows 10 computers come with built-in webcams, such as all-in-one desktops and laptops. If you need to buy a webcam for a PC without a built-in webcam, you can refer to How to Buy a Webcam and How to Set up a Webcam.
Steps
Using the Camera Application
Allowing Apps to Access Camera
-
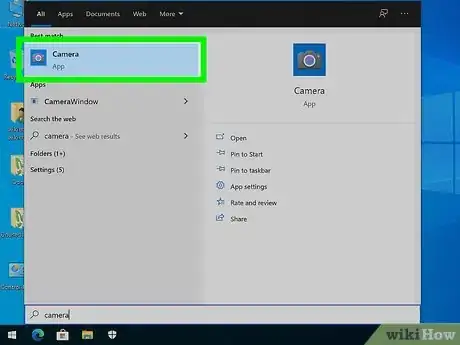
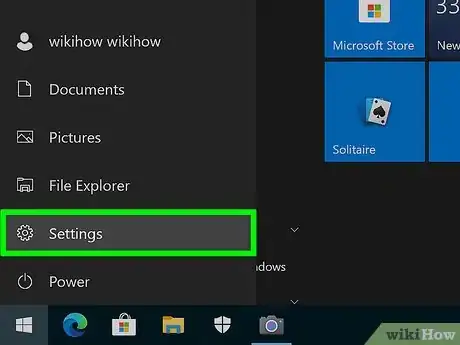
1Press ⊞ Win. You can press this key with the Windows logo to open the Start menu, but you can also click the Windows logo in your Start menu.
-
2
-
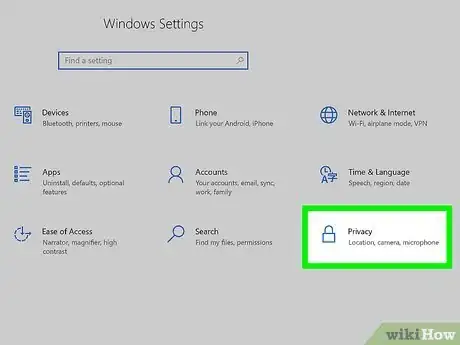
3Click Privacy. It's at the bottom of the menu next to an icon of a padlock.
-
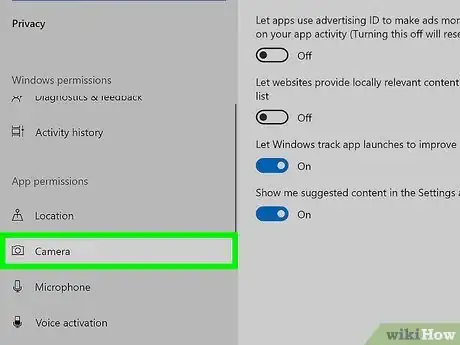
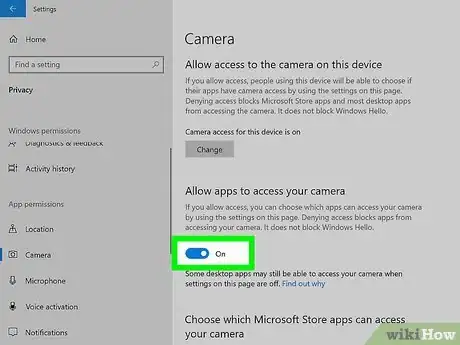
4Click Camera. You'll find this menu option in the menu on the left side of the window under the header "App permissions."
-
5Click the toggle on under "Allow apps to access your camera." This setting will allow any apps you install access to your camera.[1]
About This Article
1. Press the Windows key.
2. Click Camera.
3. Click the Video Camera icon to change the settings and take a video instead of a picture.





-Step-17.webp)


-Step-17.webp)


