wikiHow is a “wiki,” similar to Wikipedia, which means that many of our articles are co-written by multiple authors. To create this article, volunteer authors worked to edit and improve it over time.
The wikiHow Tech Team also followed the article's instructions and verified that they work.
This article has been viewed 75,667 times.
Learn more...
Computer art has grown more sophisticated as the technology and graphic abilities of computer software has escalated. Photoshop has long been the program used most widely by graphic designers to create sophisticated effects. Having the ability to change and add realistic details to photographs is an important skill for graphic designers. Today, luckily, a motivated designer can even add realistic hair to photographs by following these steps for how to add hair on Photoshop.
Steps
-
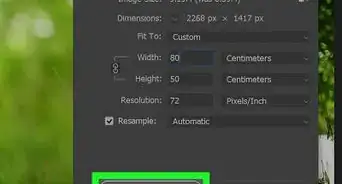
1Buy a copy of Photoshop 7, either online or in a computer store. This program provides one of the best formats for adding hair to photos using computer graphics. Install Photoshop 7 on your computer.
- Unlike older graphic design programs, Photoshop 7 gives the designer the ability to add hair strand by strand to create truly dynamic and realistic effects.
-
2Create a brush with a new tip in Photoshop. To do this, create a new document and choose a transparent (non-colored) background and then choose dark gray for the color.Advertisement
-
3Switch to the Brush tool in Photoshop and choose a preset brush size from the menu. For example, "Hard round 5 pixels."
- Draw curly overlapping lines. Vary the pressure on your pen to get differing line widths. Play with lines a bit, making sure one line is long and that all the lines are curly.
-
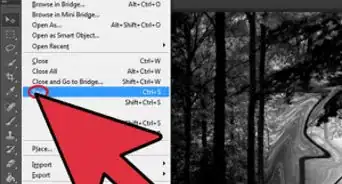
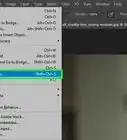
4Go to Edit and choose "Define brush." Name the paintbrush. It will now be stored in the Brushes palette. You can view it by opening it and selecting the new brush.
-
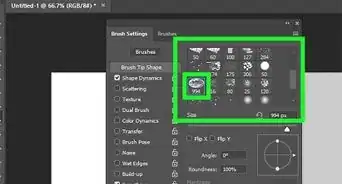
5Refine the brush and make it workable for creating a good image by going to the Brushes palette and choose Shape Dynamics. Turn the Size control to "off" and turn up the Angle Jitter to 20 percent or more.
-
6Begin working with the hair color by going to the "Brush Tip Shape" menu and checking "Color Dynamics." From here, you can now turn up (by percentages) the color dynamics by changing the levels of the Hue Jitter, Brightness Jitter and Saturation Jitter.
- This feature allows the graphic designer to create hair that has a more realistic look, avoiding a 1-tone hair color.
-
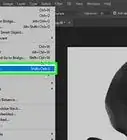
7Go to "Other Dynamics" under Brush Presets. Choose "Pen Pressure" under Opacity Control.
-
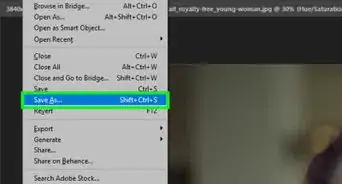
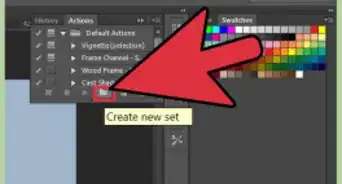
8Save your paintbrush permanently by going to the top right section of the Brushes palette. Select "New Brush" from the options and give it a name.
-
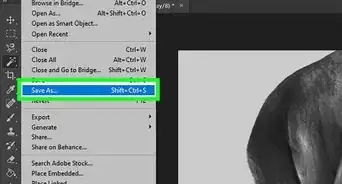
9Begin painting hair. The process involves creating 2 layers. Select black (for this example) and begin painting black hair on the image you are working on.
-
10Choose another color (for example, brown) from the Swatches palette, and add another layer of hair over the black base color.
-
11Choose a lighter color (like light brown) from the Swatches palette, and add more color detail.
- Highlights can be added by choosing gray or a lighter color from the Swatches palette to create more realistic color.
-
12Refine the hair by switching back to a darker color to add back in some details.
-
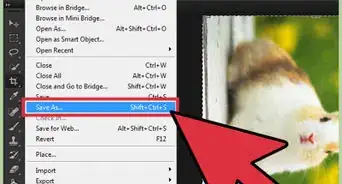
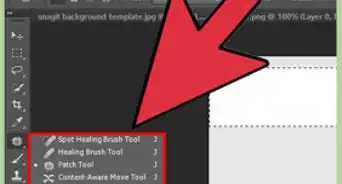
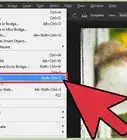
13Choose the Eraser tool and choose your new brush. Use the brush to take out any extraneous hairs or mistakes.
-
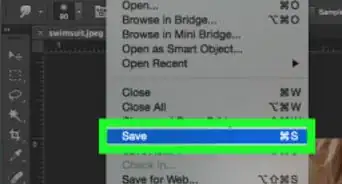
14Go back to using the Brush tool and go to the Layers palette. Choose the Color Dodge feature for blending colors.
- Select a lighter color, light brown in this example, and create highlights around the edge of the hair by drawing around the image's edge.
-
15Do a final cleanup of any other details and admire your finished, utterly realistic looking hair image. By following this tutorial you will be an expert in how to add hair on Photoshop.