This article was co-authored by wikiHow staff writer, Travis Boylls. Travis Boylls is a Technology Writer and Editor for wikiHow. Travis has experience writing technology-related articles, providing software customer service, and in graphic design. He specializes in Windows, macOS, Android, iOS, and Linux platforms. He studied graphic design at Pikes Peak Community College.
The wikiHow Tech Team also followed the article's instructions and verified that they work.
This article has been viewed 415,363 times.
Learn more...
This wikiHow teaches you how to add an image to an Adobe Illustrator file on Windows or Mac. This can be done easily in the "File" menu. You can also add images in Adobe Illustrator Draw, which is a mobile app.
Steps
On Desktop
-
1Open an Adobe Illustrator file. To do so, open Illustrator, click File in the menu bar, then Open, and select the file to which you want to add an image.
- To create a new file, click File in the menu bar, then New....
-
2Click File in the menu bar. It's at the top of the screen.Advertisement
-
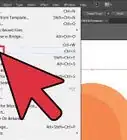
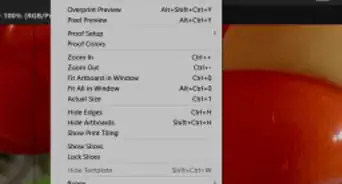
3Click Place…. It's about halfway down the "File" menu.
-
4Select the image you want to add. Use the file browser to browse to the file you want to add. Click it to select it.
-
5Click Place. It's in the lower-right corner of the file browser. This places the image within the document.
-
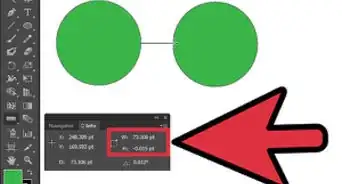
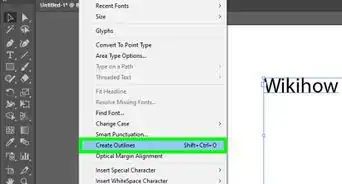
6Position the image in the document. Simply click and drag to position the image inside the document.
- Click on a corner and drag the button inward or outward to resize the image.
-
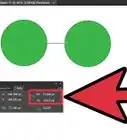
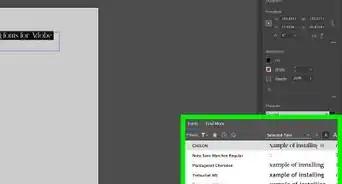
7Click Embed. It's in the toolbar at the top of the window. This permanently embeds the image into the document.
-
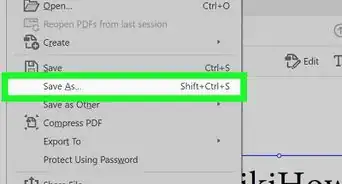
8Click File menu and select Save. This saves the document with the image inserted.


On Mobile
-
1Open the Adobe Illustrator Draw app. It's a black app with an orange fountain pen nib icon.
- Adobe Illustrator Draw is a free app available from the Apple App Store (iPhone/iPad) or the Google Play Store (Android).
- Log in to your Adobe account if you're not signed in automatically. Tap Sign Up if you don't have an account. You can also sign up or sign in with your Google account or Facebook account.
-
2Tap a project. Choose the project to which you want to add an image.
- Create a new project by tapping the white "+" in the orange circle in the lower-right corner of the screen.
-
3Tap a board. Choose a board from the thumbnails on the right side of the screen.
-
4Tap the orange +. It's in a white circle on the right side of the screen.
-
5Tap Image Layer. It's at the bottom of the screen.
-
6Select a source for the image. There are 4 sources you can choose from. They are as follows:
- Tap On my [device] to select a photo from your gallery.
- Tap Take a Photo to take a new picture with your device's camera.
- Tap My Files to use an image stored in Adobe Creative Cloud.
- Tap From Market or Adobe Stock to purchase and/or download someone else's image.
- If prompted, give Adobe Illustrator Draw permission to access the photos or camera on your device.
-
7Tap or take the image you want to add. Either tap an image you want to use within your Illustrator document or use the Camera on your phone to take a photo.
-
8Position the image. Simply tap and drag the image to position it within the document.
- Tap on a corner and drag the button inward or outward to resize the image.
-
9


Community Q&A
-
QuestionHow do I place a scanned sketch on Adobe Illustrator?
 Community AnswerWith a simple drag-and-drop. Drag the file from its folder and drop it right into the Illustrator window, either inside a composition that's already open or on the dark grey background to open your image in a new tab.
 -
QuestionHow can I crop a photo in Photoshop?
 Community AnswerPlace a shape over the top of the image where you want it cropped, then select both objects and select Create Clipping Mask.


About This Article

1. Open an Adobe Illustrator file.
2. Click File.
3. Click Place….
4. Select an image.
5. Click Place.
6. Position the image.
7. Click Embed.
8. Click File and Save.