wikiHow is a “wiki,” similar to Wikipedia, which means that many of our articles are co-written by multiple authors. To create this article, volunteer authors worked to edit and improve it over time.
This article has been viewed 216,213 times.
Learn more...
Adobe Illustrator is a program produced by Adobe Systems that allows you to create and edit vector objects. It is currently part of the Adobe Creative Suite, a package that includes other popular programs, such as InDesign, Acrobat and Photoshop. Illustrator is popular with graphic design firms because it allows you to create 3D images and work with typography. Illustrator also allows you to use tools to change, distort and warp Illustrator objects and text. The way you change or warp objects and text differs from 1 version of Illustrator to another. They are also commonly called "envelope distortions." Creative Suite 5 (CS5) uses the Effects Menu to choose different warp distortions for an object. Read more to find out how to warp an object in Adobe Illustrator.
Steps
-
1Open an existing or new document in Adobe Illustrator. Use the "Place" option under the File Menu to import an object, or create an object using the Shape Builder Tool or the Rectangle Tool.
-
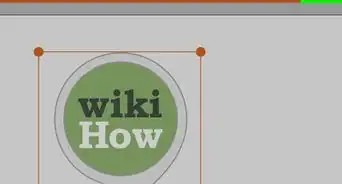
2Make changes to the color, border, size or style using the tools in the Tool Panel. Click on the object you have created. Ensure you have selected the right layer in the Layer Panel before you start to warp your object.Advertisement
-
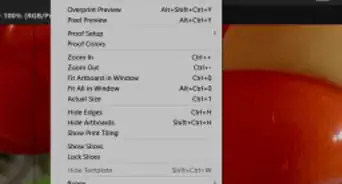
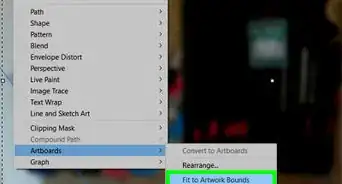
3Drag your cursor to the Effect Menu on the top horizontal toolbar. Find the word "Warp" under "Illustrator Effects." Drag your cursor to the word and hover until the option drops down on the right hand side.
-
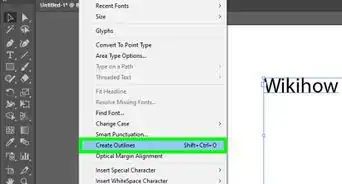
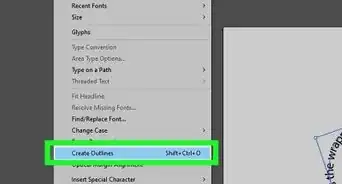
4Decide which effect you would prefer. For example, you can warp your object into a wave, fisheye, arch, or a number of other options. Select the Illustrator warp effect of your choice.
-
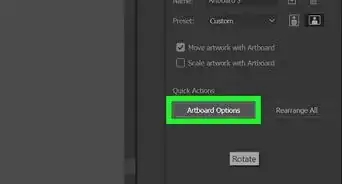
5Go to the Window Menu on the top horizontal toolbar. Scroll down and click on the word "Appearance." The Appearance Panel will appear on the right and lists the warp effect that you just produced.
-
6Select other warp effects. They will appear on the Appearance panel. You can delete a warp by clicking on it in the Appearance Panel and clicking on the small trash can on the bottom right of the panel.
-
7Change your warp effect by double clicking on the effect as listed on the Appearance Panel. You should see a dialogue box that lists your warp options. Change the warp and click "Preview" to ensure you have done what you wanted to do.
-
8Save your document immediately after you have found the right Illustrator warp effects for your object. You can still change it using the Appearance Panel.


Things You'll Need
- Illustrator application
- Object
- Mouse
- Keyboard