This article was co-authored by wikiHow staff writer, Rain Kengly. Rain Kengly is a wikiHow Technology Writer. As a storytelling enthusiast with a penchant for technology, they hope to create long-lasting connections with readers from all around the globe. Rain graduated from San Francisco State University with a BA in Cinema.
This article has been viewed 145,427 times.
Learn more...
Do you want to wrap text around a shape in Adobe Illustrator? Text wrapping will format your text in a way that surrounds an object or image. This is often used in graphic design to create integrated, professional-looking images that stand out, such as in magazines. You can also wrap text around a shape, such as a circle, to create abstract images or logos. This wikiHow will show you how to wrap text around objects, shapes, and images in Adobe Illustrator on your Windows or Mac computer.
Things You Should Know
- Text Wrap allows you to wrap your text around a shape, photo, or imported object.
- To create a text wrap, select "Object", "Text Wrap", then "Make".
- To wrap text around a circle, select the Type on a Path Tool and click the circle's path.
Steps
Wrapping Text Around an Object
-
1Open a project in Adobe Illustrator. This can be a new or existing project.[1]
-
2Prepare your text and object. You will need your text and object (such as an image) ready in the project.
- You'll need to input and move your text.
- You'll also need to add an image as your object.
- It's best to use an image with a transparent background.
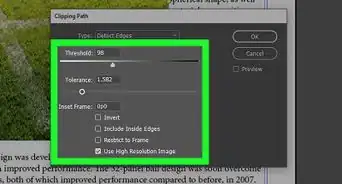
- If you need to cut out part of the image, you can use the Lasso Tool.
Advertisement -
3Select the wrap object. You can do this using the Selection Tool, Magic Wand Tool, or the Layers Panel. The wrap object is what you want the text to wrap around.
- If you have an image, this will be your wrap object.
-
4Ensure the wrap object is on top. If your wrap object is not on top, it will be covered by the text.
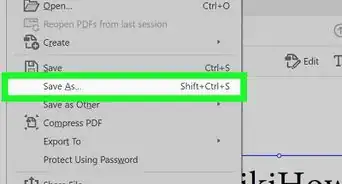
- To do this, click Object → Arrange → Bring to Front.
- If you have your object and text on separate layers, make sure the object is on the top layer.
-
5In the top toolbar, click Object. This will open a drop-down menu.
-
6Click Text Wrap, then Make. A new window will open.
- You may need to confirm the pop-up window that states: Text will wrap around all objects in the current selection, including type objects. Select OK.
- Your Text Wrap will be created and automatically adjust to the object's location.
-
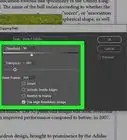
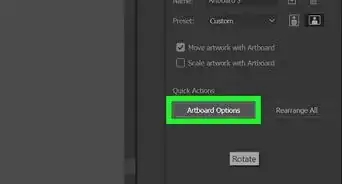
7Edit the Text Wrap settings. To find the settings, click Object → Text Wrap → Text Wrap Options….
- Check Preview to show your changes as you make them.
- Offset refers to the distance between the text and your object. The larger the number, the more space will appear between the text and the object. Use a negative (-) number to make the text overlap the object.
- To decrease or increase the offset, click the arrows beside Offset or manually input the value.
- Click Invert Wrap to invert the Text Wrap.
-
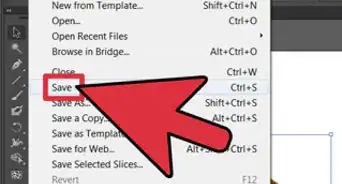
8Click OK to save your changes.
- If you want to undo Text Wrapping, go to Object → Text Wrap → Release.


Wrapping Text Around a Circle
-
1Open a project in Adobe Illustrator. This can be a new or existing project.[2]
- This method involves creating text on a path.
- You will be able to curve your text around a circle.
- You can use this method to create a text logo.
-
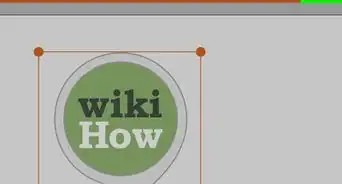
2Create the circle using the Ellipse Tool. This will act as the wrap object for your text.
- As you click and drag to create the shape, hold Shift + Alt to create a perfect circle.
-
3Click and hold the Type Tool. This will open more Tool options.
-
4Select Type on a Path Tool.
-
5Click the circle. This will place default text on the path.
-
6Edit the text. Input the text you'd like to wrap around the circle.
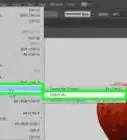
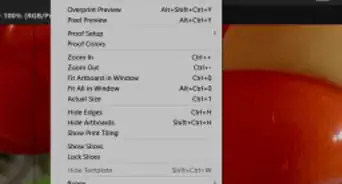
- To change the font, select from the drop-down menu on the top toolbar. This will be beside Character:.
- Adjust the font size using the up and down arrows or input the value manually.
- Your changes should take effect as you make them.
-
7Select your text. You can triple-click or click and drag over the text.
-
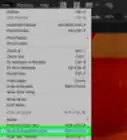
8On the top toolbar, click Type. This will open a drop-down menu.
-
9Hover over Type on a Path and select Type on a Path Options…. A new window will open.
- Be sure to click Preview to view your changes as you make them.
-
10Select Center. This will be next to Align to Path.
- If you don't see Center, click to expand the drop-down menu.
- This is also where you can Flip the text.
-
11Click OK.
-
12Finalize the text appearance.
- Use the Direct Selection Tool to rotate the text to your desired placement.
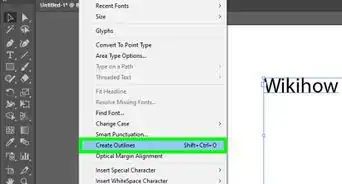
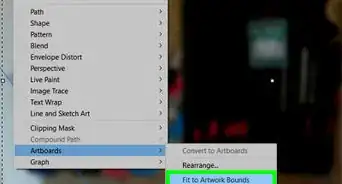
- To finalize the text, go to Type → Create Outlines. This will turn your text from an object into a vector.


References
About This Article