This article was co-authored by wikiHow staff writer, Darlene Antonelli, MA. Darlene Antonelli is a Technology Writer and Editor for wikiHow. Darlene has experience teaching college courses, writing technology-related articles, and working hands-on in the technology field. She earned an MA in Writing from Rowan University in 2012 and wrote her thesis on online communities and the personalities curated in such communities.
This article has been viewed 7,126 times.
Learn more...
Have you decided that you don't like the location of that text? This wikiHow will teach you how to move text in Illustrator by using the Selection tool.
Steps
-
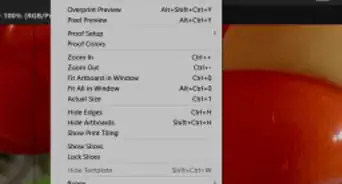
1Open your project in Illustrator. You can find this program in your Start menu in Windows or the Applications folder of Finder for Mac.
-
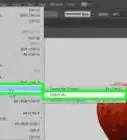
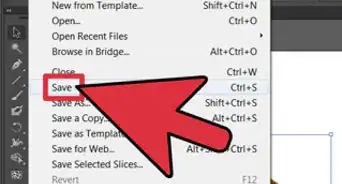
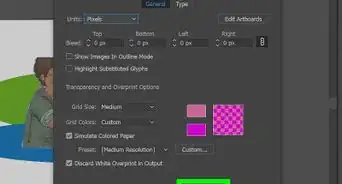
2Add text. Click the Type tool in the tool panel (it looks like a "T" icon) and click an empty space on your project canvas to add text.Advertisement
-
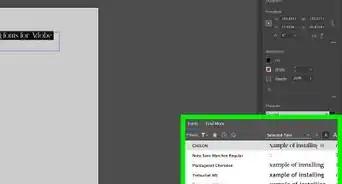
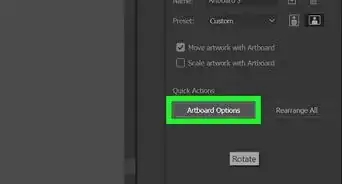
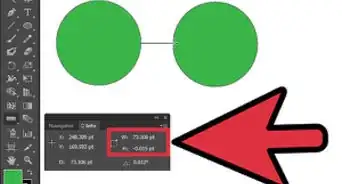
3Click the Selection tool. It looks like an arrow-head icon that you'll find at the top of the tools panel.
-
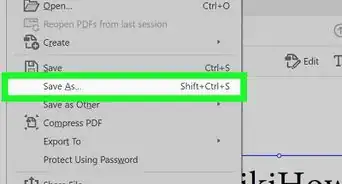
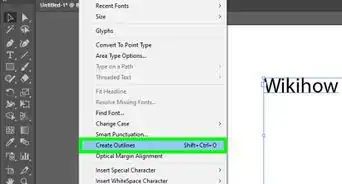
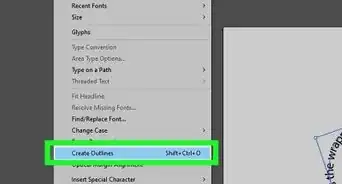
4Drag and drop your text. Click your text when the cursor shows a 3x3 grid, as this indicates that you're grabbing the box. If the text instead scales as you drag, you'll need to undo that font change (Cmd/Ctrl + Z) and move your cursor over the text box in a different way so you see the grid.[1]


About This Article

1. Open your project in Illustrator.
2. Add text.
3. Click the Selection tool.
4. Drag and drop your text.