X
wikiHow is a “wiki,” similar to Wikipedia, which means that many of our articles are co-written by multiple authors. To create this article, volunteer authors worked to edit and improve it over time.
This article has been viewed 130,026 times.
Learn more...
Do you want to add a subtle gloss effect to an object in Adobe Illustrator? If you have a graphic that needs to be improved, you can use Illustrator's tools to create the illusion of shine and add more dimension to your object. This wikiHow will show you how to add gloss or shine to an object using Adobe Illustrator.
Steps
-
1Open your Adobe Illustrator application.
-
2Open an existing document or create a new print or web document in the dialogue box that appears.Advertisement
-
3Select the object to which you want to add a glossy shine.
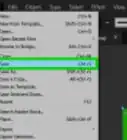
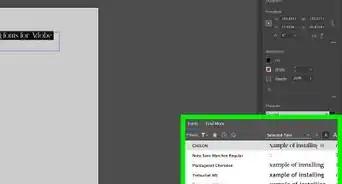
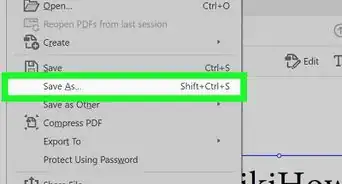
- If your object needs to be imported into your document, click "File" in the top horizontal Adobe toolbar and select "Place." Choose the file in the browser window. Embed it or rasterize it in order to make it part of your Illustrator document.
-
4Copy the object by selecting it with your cursor, clicking the "Edit" menu in the horizontal toolbar and then selecting "Copy."
-
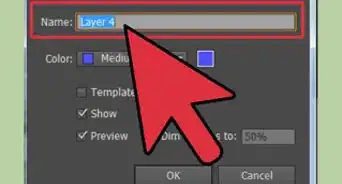
5Create a new layer in your document above the top layer of the object. You can do this by clicking the "Add New Layer" icon at the bottom of the "Layers" box. If you don't see the Layers box, click the "Window" menu and select "Layers." Click on the new layer.
-
6Add a shape around your object in the new layer.
- Select the rectangle tool on your left vertical toolbar if the object you want to add gloss to is rectangular. Draw a rectangle in the upper half of your object.
- Select the pen tool on the toolbar, if the object you want to make glossy is a curved object. Click on the bottom left side of the object, and then click on the upper right side of the object. Now, move your cursor to curve the line. Once you have your inner line curved, click outside of the object to the top and left, to create a full shape. It does not need to be a clean shape outside of the object's barriers because you will be making it transparent.
-
7Scroll over to the right vertical toolbar, click the "Gradient" box and select the "Transparency" tab to the right of the gradients, or go to the Window menu and click "Transparency."
-
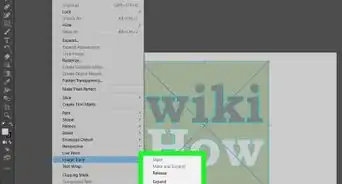
8Double click in the empty gray square to the right of the white box. A black thumbnail square will appear. While selecting the black thumbnail, click the Edit menu and select "Paste in Front."
-
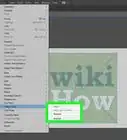
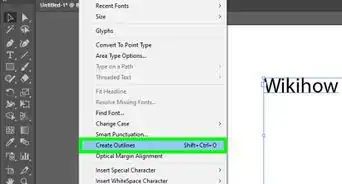
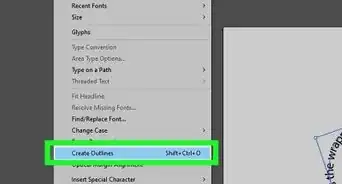
9Select the text again. Change the opacity in the Transparency box to about 40 percent, or adjust the amount of brightness to your liking.
-
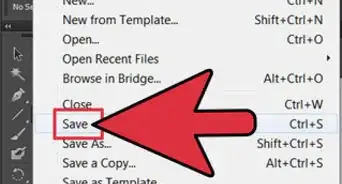
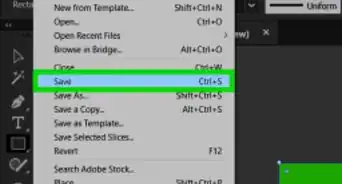
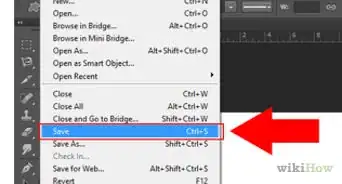
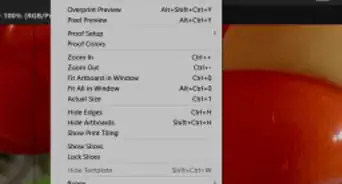
10Save your document to record the glossy finish you just added.


Advertisement

References
About This Article
Advertisement