wikiHow is a “wiki,” similar to Wikipedia, which means that many of our articles are co-written by multiple authors. To create this article, 13 people, some anonymous, worked to edit and improve it over time.
This article has been viewed 216,541 times.
Learn more...
Adobe Systems' Illustrator software allows users to create 3D logos, complicated typography and rich documents. Illustrator is a vector-graphics software that layers images, text, patterns and more to create a visually pleasing document, web page or published work. Illustrator vector graphics are mathematically-generated graphics, while raster graphics use dots or pixels. Adobe Illustrator also has the ability to turn vector graphics into raster graphics, which are often used to print documents or store them in bitmap files. This article will tell you how to rasterize in Illustrator.
Steps
-
1Open your Adobe Illustrator application.
-
2Choose to open an existing document in the dialogue box that appears. You want to choose a document that already contains vector images that you want to rasterize.Advertisement
-
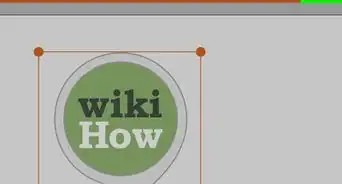
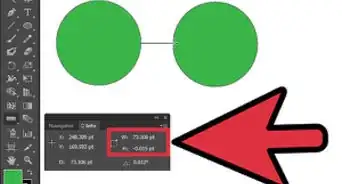
3Select the object you want to rasterize. If you want to rasterize more than 1 object, press the "Control" button as you click on objects that you want to select.
-
4Choose whether you would like to permanently rasterize the object or if you want to create an appearance of a pixel-based image. The latter is called "Raster Effects." You will use 2 separate methods to accomplish these options.
-
5Click the Object menu in the top horizontal toolbar after you have selected your objects.
-
6Select "Rasterize."
-
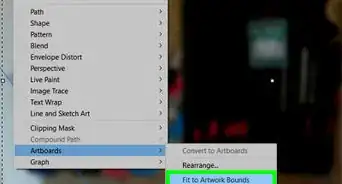
7Choose the following rasterization options.
- Select the Color Mode that you would like to use. Choose RGB or CMYK. This may depend upon your printer or display preference. This specifies which wavelengths of light will be reflected. CMYK (Cyan, Magenta, Yellow, Black) inks are very common in digital art and printing, where RGB (Red, Green, Blue) are commonly used in files received from scanners.
- If you are printing a document and you do not know what Color Mode your printer prefers, it is best to check with them before rasterizing your images or document.
- Choose the resolution. The resolution determines the number of pixels per inch. Choose "Use Document Raster Effects Resolution to use global resolution settings."
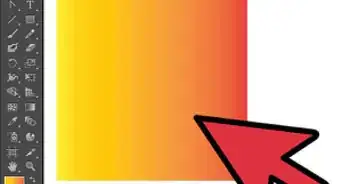
- Choose your background. Select a white background if you would like Illustrator to fill in the background on the object. Choose "transparent" if you do not want the vector image to be on a background.
- Deselect the "Anti-Alias" option. This will keep the crisp lines of your object instead of blurring them when they are rasterized.
-
8Select "Ok" to permanently rasterize your vector object.


Illustrator Raster Effects
-
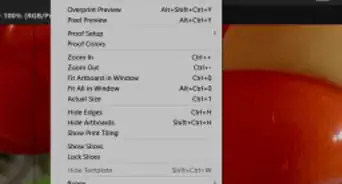
1Click the Effects menu in the top horizontal toolbar, after you have selected your objects.
-
2Select "Rasterize" from the Effects options.
-
3Select the Rasterization options, exactly as you would if you were permanently rasterizing an object.
-
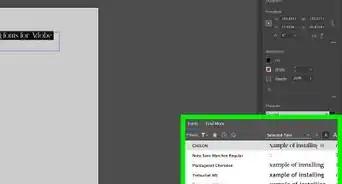
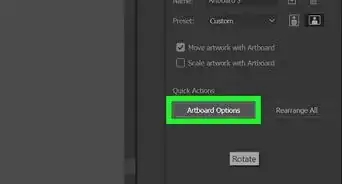
4Go to the Appearance panel to modify or delete the effect. Find where the raster effect is listed and double click it to make alterations. You can also click on the effect and click the delete button.
-
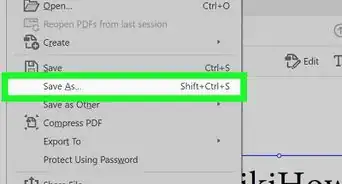
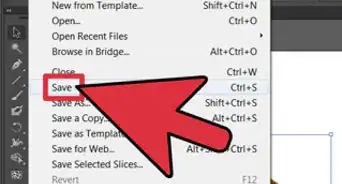
5Save your changes to record the Illustrator rasterization or raster effect.


Community Q&A
-
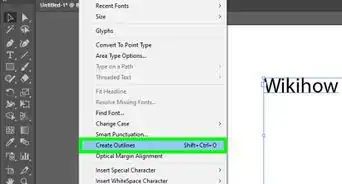
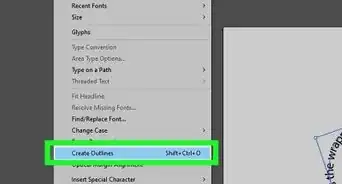
QuestionWhat are the advantages of rasterizing in illustrator? Does it break down text so that I can select letters individually?
 Community AnswerYou'd want to create outlines for that. Rasterization just makes vector graphics into pixel graphics.