X
wikiHow is a “wiki,” similar to Wikipedia, which means that many of our articles are co-written by multiple authors. To create this article, volunteer authors worked to edit and improve it over time.
This article has been viewed 37,438 times.
Learn more...
Kerning refers to the space between individual characters. You can add or subtract space to improve the look and readability of your document. Knowing how to adjust kerning in InDesign, a desktop publishing program that allows you to develop print documents in a number of formats and sizes, will allow you to customize your document's text in a manner that maximizes its impact.
Steps
-
1Purchase Adobe InDesign if you do not already own it. Follow the on-screen instructions for installing InDesign on your computer and restart your computer if necessary.
-
2Familiarize yourself with InDesign's workspace and available user resources.Advertisement
-
3Open Adobe InDesign.
-
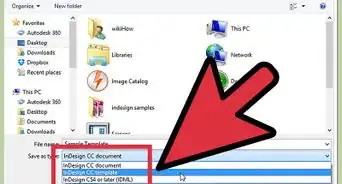
4Open the InDesign document you want to work in by selecting File>Open from the Control panel at the top of your workspace.
- If you do not have an existing InDesign document to work in, create a new document by selecting File>New>Document and specifying the settings for your new document.
-
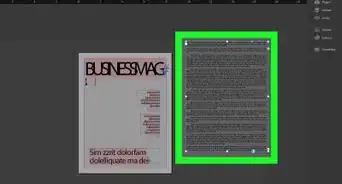
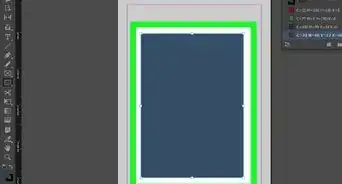
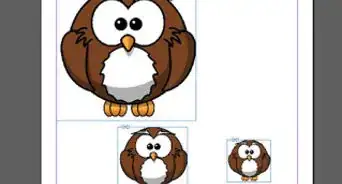
5Type or import text if your document does not already contain it.
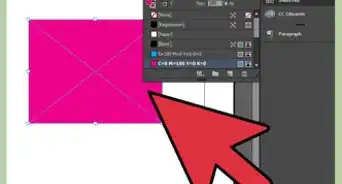
- Type text directly into your document by first creating a text frame with your Text tool, which is located in your Tools palette. With your Text tool still selected, click within the text frame and begin typing your text.
- If your text already exists in a word processing document, select File>Place, navigate to the file you wish to import and double click the file name. A loaded cursor will appear. Move your mouse to the location where you want your text to appear and click to place the text.
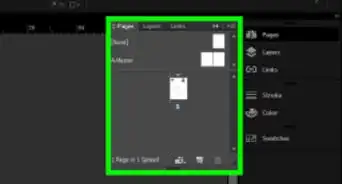
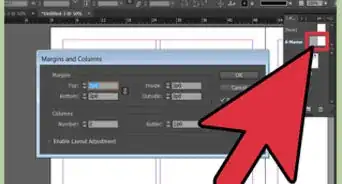
- If you are importing a large amount of text, you may need to thread it across multiple text frames. Do this by clicking the red plus sign in the bottom right-hand corner of your text frame, navigating to the new page or column where you want to place your text and clicking your mouse. Repeat this step until all your text is placed.
-
6Use your Text tool to insert your cursor where you want to adjust your kerning. If you want to adjust the kerning of a larger portion of text, highlight it using your Text tool.
-
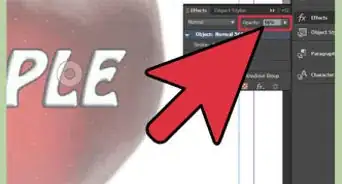
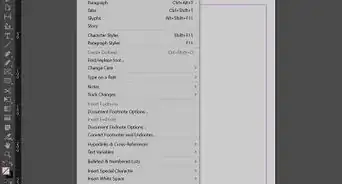
7Select your Character panel, which is located at the right-hand side of your workspace.
-
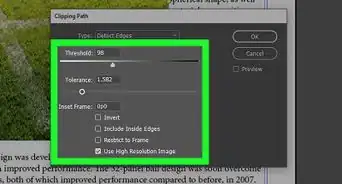
8Adjust your kerning.
- To use metrics kerning, select Metrics in the Character panel's Kerning menu. To use optical kerning, select Optical in the Character panel's Kerning menu. To adjust kerning manually, select a numeric value for your kerning in the Character panel's Kerning menu.


Advertisement
Things You'll Need
- Computer

References
- http://help.adobe.com/en_US/InDesign/6.0/WSa285fff53dea4f8617383751001ea8cb3f-715aa.html
- http://help.adobe.com/en_US/InDesign/6.0/WSa285fff53dea4f8617383751001ea8cb3f-6fada.html
- http://help.adobe.com/en_US/InDesign/6.0/WS714a382cdf7d304e7e07d0100196cbc5f-6199a.html
- http://help.adobe.com/en_US/InDesign/6.0/WSa285fff53dea4f8617383751001ea8cb3f-6e14a.html
About This Article
Advertisement