X
wikiHow is a “wiki,” similar to Wikipedia, which means that many of our articles are co-written by multiple authors. To create this article, volunteer authors worked to edit and improve it over time.
The wikiHow Tech Team also followed the article's instructions and verified that they work.
This article has been viewed 49,486 times.
Learn more...
This tutorial will show how to align objects in Adobe Illustrator. This can be useful for making neater images or for changing the way that the image appears. Note that the version used to demonstrate this feature is Adobe Illustrator CC, but the process will also work for earlier versions.
Steps
-
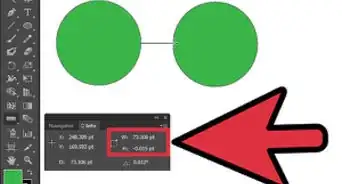
1Select the objects to be aligned. Select two or more objects.
-
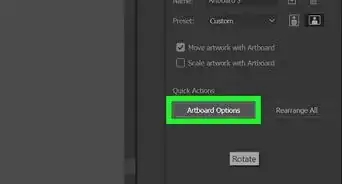
2Open the Align dialog box. To do this, click Window > Align (or press Shift + F7).Advertisement
-
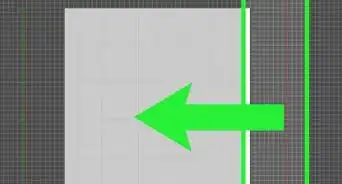
3Use the Align Objects tool to start aligning the objects as follows:
- Click Horizontal Align Left to align objects with the leftmost object.
- Click Horizontal Align Center to align objects to the center.
- Click Horizontal Align Right to align objects with the rightmost object.
-
4Align objects vertically. You can also align objects vertically. Repeat steps 1 and step 2, then choose one of the following: Vertical Align Top, Vertical Align Center, or Vertical Align Bottom.
-
5Done. The objects should now be aligned in the manner you want them to be. If not, make adjustments until you're satisfied with the outcome.


Advertisement
Things You'll Need
- Adobe Illustrator CC


About This Article
Advertisement