X
wikiHow is a “wiki,” similar to Wikipedia, which means that many of our articles are co-written by multiple authors. To create this article, 9 people, some anonymous, worked to edit and improve it over time.
This article has been viewed 31,376 times.
Learn more...
While applying a wall sticker isn’t exactly rocket science, it is probably not going to work out very well if there’s no thought applied to it, before it goes to the wall. Here is a step-by-step instruction list on how to go about it, every step of it broken down to a dummy level, complete with the do's and don'ts.
Steps
-
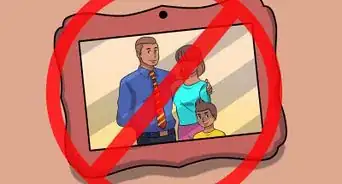
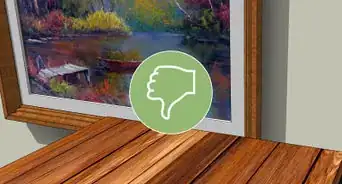
1Prepare your wall. First up, you need to make sure your wall’s ready for that wall sticker. Applying a wall sticker onto a freshly painted wall is a big NO. Make sure the wall sticker goes onto a wall with the paint coating over it in fairly cured and strong form.[1]
- One other thing is that getting a wall sticker onto a coarse textured wall surface is going to be tricky. The vinyl of the wall sticker wouldn’t properly adhere to the wall surface. A proper bonding is always obtained on a smooth surface.
- Now that those are considered, and you’ve finalized on your wall and you’re bent on the transformation, keep in mind that a dust covered wall isn’t one of those things you’d want when you get a wall sticker on. The dust reduces the sticker adhesion.
-
2Wipe the wall with a damp sponge or cloth evenly, and then remove any traces of moisture with a dry cloth afterwards. Now your wall’s all ready to get that sticker slapped on.[2]Advertisement
-
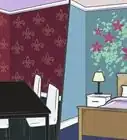
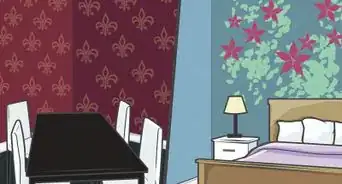
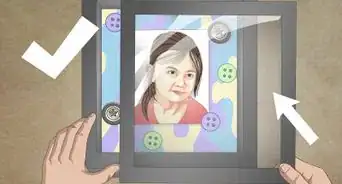
3Get the layout sorted. The next thing to do now after your wall has been sorted out for the sticker is to get your stickers arranged, and to figure which goes where, especially if the wall sticker you’ve chosen is a jigsaw of stickers.[3]
- Just lay it on the ground and do a rough layout quickly, and then afterwards, while you’ve got it all figured out, get a roll of tape and stick the top parts of the stickers onto the wall and in position with the tape.
- Make sure the stickers aren’t cluttered, and if you’re confused still, make demarcations with a charcoal piece or a paper to sort it out. You're getting somewhere now.
-
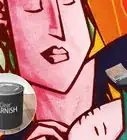
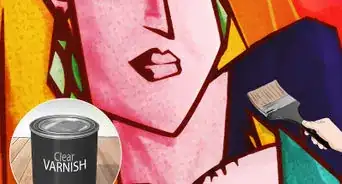
4Apply the sticker. Before we get down and sticky with things, keep in mind there are three things on the wall sticker cutting you’ve received- the die cut vinyl which is your actual wall sticker, the wax paper which is the thick layer behind the vinyl and the application tape, which is used to place the vinyl in position before adhesion onto the wall, which is the top layer of the cutting you’ve received. #*Making sure the sticker is in tune to the demarcation lines, remove the wax paper backing and pulling the sticker towards you and making sure it is sufficiently taut, bring the bottom towards the wall and firmly press it onto the wall. Now, use a slightly blunt edged object such as a credit card to squeegee out all the air bubbles stuck between the wall and the application tape.[4]
- Make sure you go over and over again as you smoothen out the application tape with the squeegee, removing as much air bubbles as you can. Now you’re all ready for the last move.
-
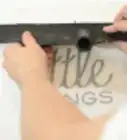
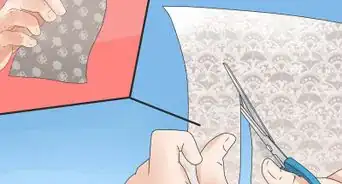
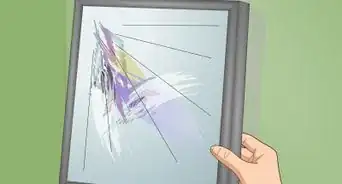
5Remove the masking. Now, this here is a little tricky. Pry out one corner of the application masking from the wall and slowly tug along the topside, along an edge, till you’ve got one edge of it freed from the wall.[5]
- Now, tug the application masking downwards, at about 180 degrees to the wall surface, firmly. No hurry now, no evil genius is going to end the world in a minute with some evil contraption, so take all the time you want to get the masking off.
-
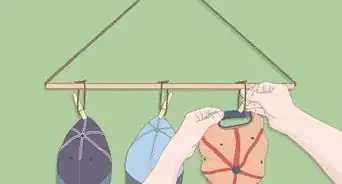
6Make sure that the vinyl bits of your wall sticker visible now have stuck firmly to the wall. If you see any bits of the vinyl sticking to the applicator as you tug it down, don’t cuss at the sticker, instead just trace the application masking back to how it was and then using the squeegee, smoothen it out and then tug again, it should be in place now. Keep pulling till you’ve completely freed the application masking from the vinyl.


Advertisement
Things You'll Need
- Squeegee, such as a credit card, flat edged comb,etc
- Dry cloth

References
- ↑ https://roommatesdecor.com/blog/how-to-easily-apply-giant-wall-decals/
- ↑ https://roommatesdecor.com/blog/how-to-easily-apply-giant-wall-decals/
- ↑ https://www.madeofsundays.com/blogs/news/how-to-install-a-wall-decal-pattern
- ↑ https://www.wayfair.com/sca/ideas-and-advice/guides/how-to-apply-wall-decals-T1265
- ↑ https://www.wayfair.com/sca/ideas-and-advice/guides/how-to-apply-wall-decals-T1265
About This Article
Advertisement