wikiHow is a “wiki,” similar to Wikipedia, which means that many of our articles are co-written by multiple authors. To create this article, 22 people, some anonymous, worked to edit and improve it over time.
This article has been viewed 387,267 times.
Learn more...
Making your own decals is a great way to produce the exact image that you want and use it to decorate walls, models, or any item. There are several ways to make your own decals; which method to use depends on how much time and money you want to spend on the project and how skilled you are with photo editing or graphic software. Simple drawings on contact paper make wall decals that add color and style to a room on a large scale, without spending a lot of money. For hobbyists or commercial decal designers, it may be worth investing in the equipment needed to design and produce decals digitally.
Steps
Making Decals With Hand Drawings
-
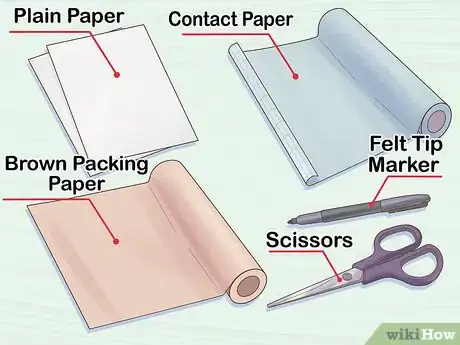
1Gather your materials. You will need plain paper, contact paper, brown packing paper or newsprint, a felt tip marker and scissors.
- Making decals from contact paper is more inexpensive than using a computer and requires fewer materials.
- This method is better for simpler designs which don't require a detailed rendering.
-
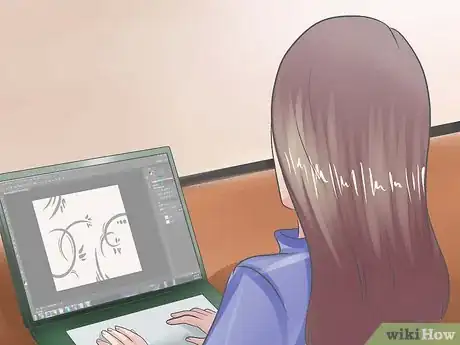
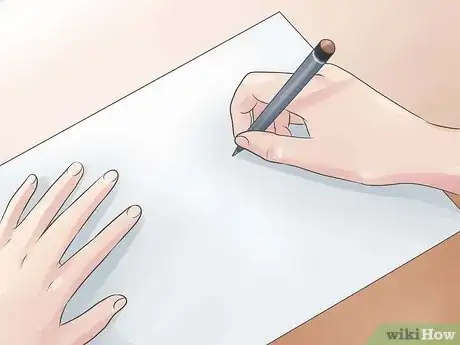
2Sketch out the design on plain paper. You can also work on it using photo editing software.
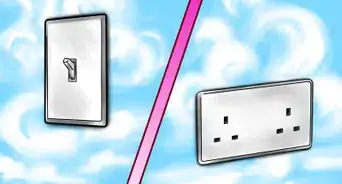
- For wall decals, create a sketch of the room where you plan to put the design.
- Make sure it's somewhat to scale and includes furniture.
- If you are using software like Photoshop, scan in a picture of the room and add the design to the photo digitally.
Advertisement -
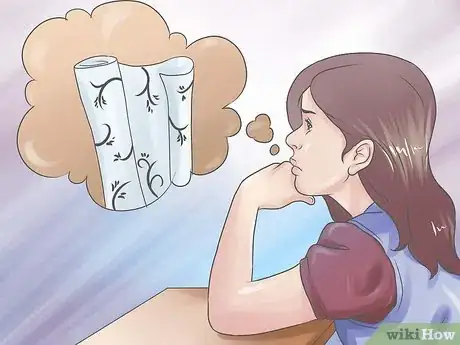
3Figure out how much contact paper you will need. Do this based on your drawing and the scale of the room or item where you are putting it.
- Contact paper is available in various roll sizes and colors from online stores and home improvement stores.
- Make sure you buy enough for your project and allocate for mistakes and waste.
- If you are working on a large area, it's a good idea to buy in bulk to save money.
-
4Draw out the design on inexpensive paper to scale. Paper like brown packing paper or newsprint will work best for this mock-up.
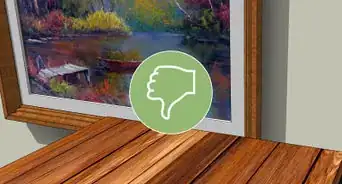
- Tape the design to the walls to make sure you are happy with the scale and shape.
- Pay special attention to corners, making sure that the shape looks good in the location and that its at the correct angle.
- Make adjustments as needed until you are satisfied with the look.
-
5Remove the paper from the wall. This is what you will use to trace the image onto contact paper.
- Make sure your design from newsprint doesn't become torn or damaged by the tape that temporarily holds it onto the wall.
- Double check your design to make sure it looks correct.
- Make any adjustments as necessary.
-
6Spread out the contact paper on a flat surface. The back of the paper should be facing up. [1]
- Use weights in the corners if it's a large piece that slips.
- Place the paper design on top of the contact paper.
- Trace the design onto the back of the contact paper with a felt tip marker.
-
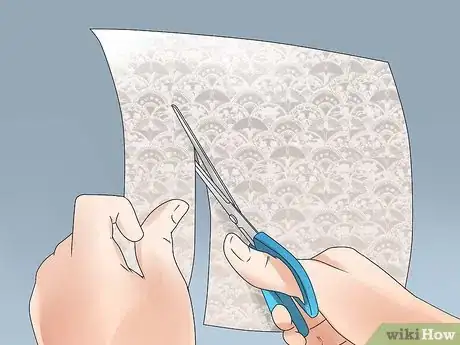
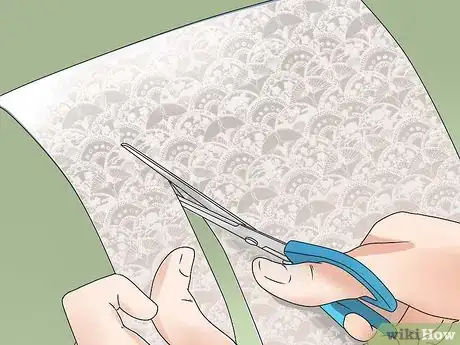
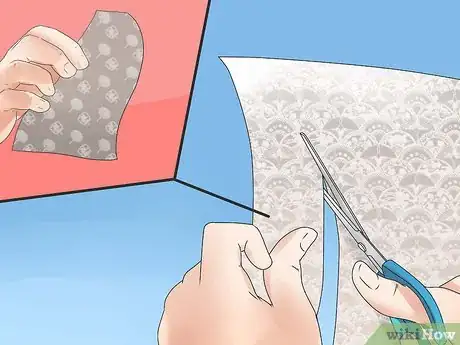
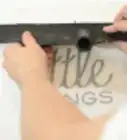
7Cut out your design carefully with sharp scissors. If your design is detailed with lots of negative space, it might be easier to use an X-acto knife. [2]
- If using an X-acto knife, be sure to use a mat underneath to avoid scratching your work surface.
- X-acto knives are very sharp and can slip from your hand easily. Be careful!
- Children should be supervised while doing this step.
-
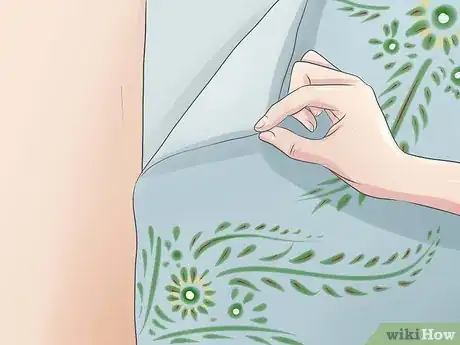
8Transfer the contact paper to the wall. Do this by starting at the bottom of your design, working upwards.[3]
- Peel off the backing paper as you go.
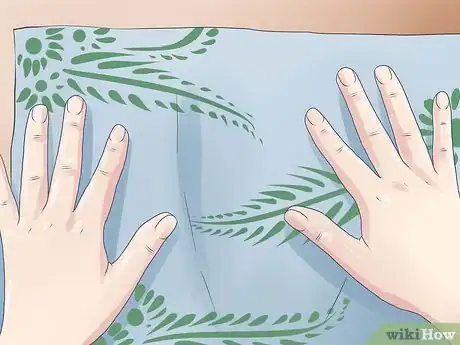
- Go slowly to avoid wrinkles and bubbles in your design as you press it onto the wall.
- Press firmly to make sure the sticky surface of the contact paper adheres to the wall.
Making Decals With a Computer and Printer
-
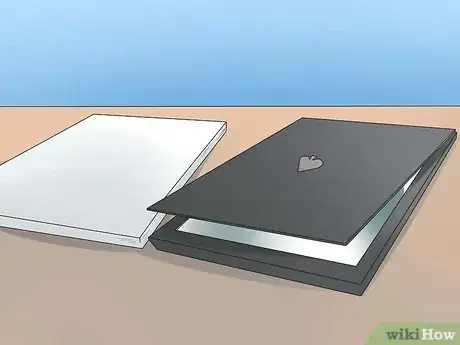
1Gather your materials. You will need a computer or graphics tablet, scanner, photo editing software, a printer, vinyl sheet paper, laminate sheets, a laminator, scissors and/or an X-acto knife.
- You don't necessarily need to use a graphics tablet, but editing images can be simpler on these devices as you use your finger or a stylus to make changes rather than a mouse.
- An optional thing to use is a Pantone color guide. This can standardize colors.
- You can use this color guide to select a color and then use the Pantone color settings on your photo editing software to get the right color when you print your design.
-
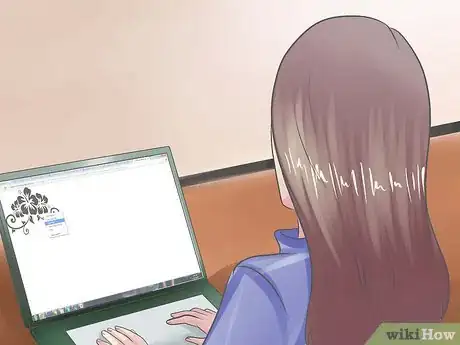
2Scan the image you want to produce into your computer. If you are skilled at digital design, another option is to draw the image in Photoshop or another graphic design or photo editing software program.
- Make sure you scan in the highest quality possible to make sure your image does not get distorted.
- It is recommended that you scan your decal into your computer at 600dpi resolution and no lower than 300dpi resolution.
- You can also obtain images on the internet to edit or use.
-
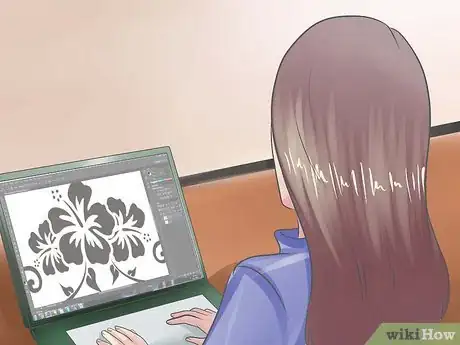
3Edit the decal using computer software. You can use popular software such as Photoshop or GIMP to do this.
- Make adjustments as needed to colors and shapes.
- Resize the image so that it fits the space you want to cover.
-
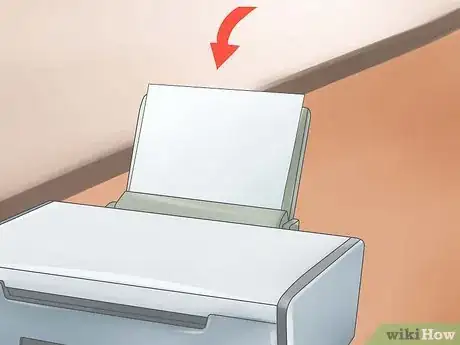
4Insert the white vinyl paper into the printer. Make sure it's facing the right way since printing on the wrong side may make the paper unusable.
- If you aren't sure whether the paper should be placed face down or face up, use a plain white piece of paper to test.
- Make a mark on one side, and then print to see which side is printed.
-
5Make a decal sheet. This way you can fit as many decals onto one sheet of paper as possible.
- Make sure the designs don't overlap as you'll need to cut these out later.
- This is a good way to prevent wasting vinyl paper, as it can be costly.
- You can create these using photo-editing software.
- Print your decal sheet. Make sure you print this on the white vinyl paper.
-
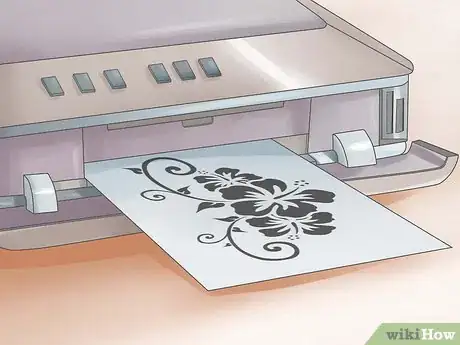
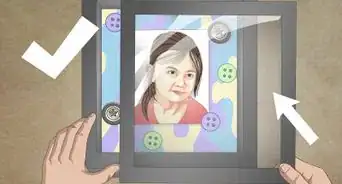
6Print out the decal sheet on plain white paper. Check the color, brightness and contrast to make sure the printed version has the results you want.
- Sometimes colors and shapes don't look the same on screen vs. on paper, so it is a good idea to do this step to check your design.
- Make any adjustments to your design and print it again to double check it.
- Hold the mock-up next to the wall or object you intend to put the decal on to make sure it looks correct.
-
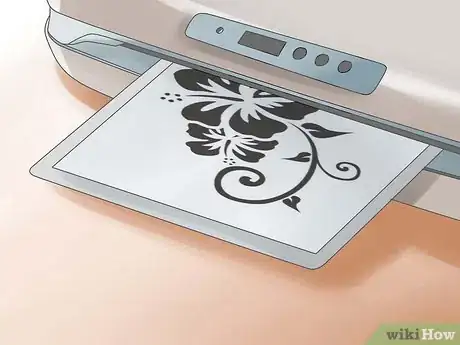
7Print your decal sheet onto the vinyl paper. Make sure it's facing the right way since printing on the wrong side may make the paper unusable.
- If you aren't sure whether the paper should be placed face down or face up, use a plain white piece of paper to test.
- Make a mark on one side, and then print to see which side is printed.
- If the printer ink won't stick to the vinyl paper, you have printed on the wrong side of the paper.
-
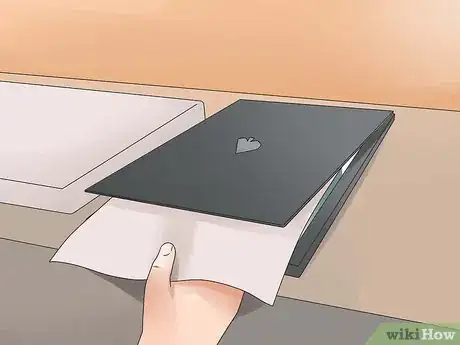
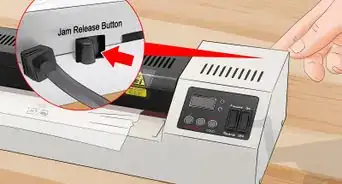
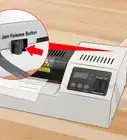
8Laminate the page with a cold press laminator. Follow the instructions for the laminator to feed the image correctly.
- The laminator will protect the design and keep the colors from fading.
- Press the laminate sheet down onto the decal sheet, sticky side down. The backing sheet from the laminate should be folded back several inches.
- Feed the laminate sheet through the cold press laminator. As you do this the backing sheet from the laminate will separate.
- Trim the excess laminate from your decal sheet before sending it through the laminator for best results.
-
9Cut out the decal and apply it to your object. You can do this using sharp scissors.
- Cut the decals out carefully, making sure to stay close to the outline of the decal.
- You can trim any excess decal after it was been applied with an X-acto knife.
- Peel off the backing from the vinyl sheet and stick the decal to your object.
Community Q&A
-
QuestionHow do I decorate the top of my skateboard deck without doing anything permanent, like painting or removing grip tape?
 Community AnswerYou can try using stickers or decals, but they won't last long due to wear-and-tear. If you want something that lasts longer, you'll have to use paint.
 -
QuestionHow do I make a decal with a photo I've taken?
 Community AnswerFirst, make sure the photo is on your computer; this may require transferring it to your computer from a device. Once the photo is on the computer, you can follow the steps in method 2 to make it into a decal.
 -
QuestionHow do I make one to put on my computer?
 Community AnswerFollow the steps in the article above and you will be able to make decal stickers to stick anywhere!
Things You'll Need
- Pencils
- Plain white paper
- Photo editing software
- Contact paper or printable vinyl paper
- Newspapers or packaging paper
- Marker
- Laser or inkjet printer
- Laminator
- Laminating sheets
References
- ↑ http://interior-design.wonderhowto.com/how-to/make-your-own-diy-wall-decal-with-contact-paper-370596/
- ↑ http://interior-design.wonderhowto.com/how-to/make-your-own-diy-wall-decal-with-contact-paper-370596/
- ↑ http://interior-design.wonderhowto.com/how-to/make-your-own-diy-wall-decal-with-contact-paper-370596/
About This Article
To make decals, start by drawing images in Photoshop, scanning images into your computer, or picking images from the internet. You can then use Photoshop or GIMP to adjust colors, shapes, or sizes as you create a decal sheet. Try printing your decal sheet on plain white paper to be sure you’ve got everything the way you want it. When you’re happy with your design, print the decal sheet on white vinyl paper. Then, laminate the sheet with a cold press laminator to keep your designs from fading. Finally, cut out your decals and stick them everywhere! To learn how to draw decals by hand and cut them out on contact paper, scroll down!
