This article was co-authored by wikiHow Staff. Our trained team of editors and researchers validate articles for accuracy and comprehensiveness. wikiHow's Content Management Team carefully monitors the work from our editorial staff to ensure that each article is backed by trusted research and meets our high quality standards.
The wikiHow Tech Team also followed the article's instructions and verified that they work.
This article has been viewed 27,869 times.
Learn more...
This wikiHow teaches you how to remove a Wi-Fi network from your saved networks list, and prevent your iPhone or iPad from automatically connecting to this network whenever it's available.
Steps
-
1
-
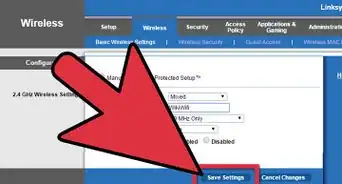
2Tap Wi-Fi on the Settings menu. You can find this option at the top of the menu. It will open a list of all the available Wi-Fi networks around you.Advertisement
-
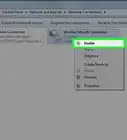
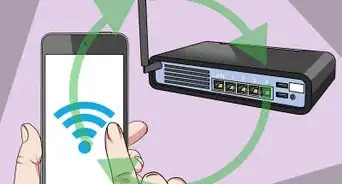
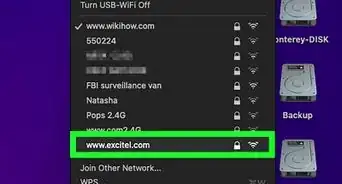
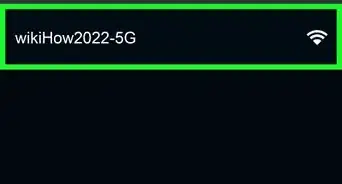
3Tap the blue ℹ︎ icon next to your Wi-Fi network. Find the Wi-Fi you're currently connected to, and tap the blue "Info" icon next to its name on the right-hand side.
- The Info button looks like a blue "ℹ︎" in a circle.
- This will open the selected Wi-Fi's details on a new page.
-
4
-
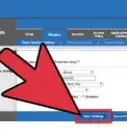
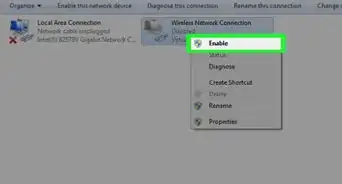
5Tap Forget This Network at the top. This option is written in blue letters at the top of the Info page.
- You will have to confirm your action in a pop-up window.
-
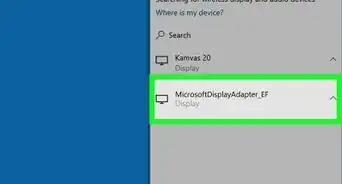
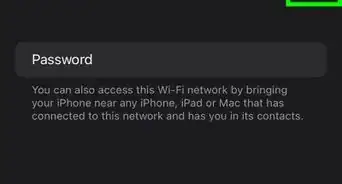
6Tap Forget in the confirmation pop-up. This will disconnect from the selected Wi-Fi, and remove its settings and password from your iPhone or iPad.
- If you want to reconnect to this Wi-Fi, you'll have to enter its password.


About This Article

1. Open Settings.
2. Tap Wi-Fi.
3. Tap the "i" icon next to a Wi-Fi.
4. Slide Auto-Join switch to Off.
5. Tap Forget This Network.
6. Tap Forget to confirm.