This article was co-authored by Scott St Gelais and by wikiHow staff writer, Ellie Salyers. Scott St Gelais is an IT Consultant and the Owner of Geeks in Phoenix, Arizona. With over two decades of experience, Scott specializes in computer service and repair, development, computer graphics, and website authoring. Scott received his Technical Associates Degree from High Tech Institute and completed the IT Support Professional Certificate by Google. Geeks in Phoenix is a member of the Microsoft Partner Network and an Intel Technology Provider Gold Partner.
This article has been viewed 45,225 times.
Do you want to adjust the saturation on your Windows 10 device? Saturation determines how vivid the colors appear on your screen. An easy way to adjust it is by installing the Intel® Graphics Command Center. This wikiHow article will teach you how to change saturation on Windows 10.
Steps
Installing Intel® Graphics Command Center
-
1Go to the Microsoft Store website. In order to manipulate the graphics and display of Windows 10, you must use the Intel® Graphics Command Center software. To install it, go to the Microsoft Store Page for Intel® Graphics Command Center.[1]
-
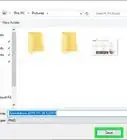
2Click the blue button, “Get.” Once you are redirected to the Microsoft Store application, click “Get” again.Advertisement
-
3Click "Install." After you click on the "Get" button, it changes to "Install." Click this and wait for the application to download.


Changing the Saturation
-
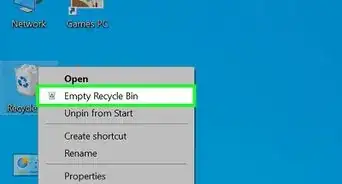
1Open Intel® Graphics Command Center. Click the “Start” button with the Windows icon in the lower left corner of your screen. Scroll through the left menu until you find “Intel® Graphics Command Center.” Click to open.[2]
- This is ordered alphabetically so scroll down to the “I” category to locate it faster.
-
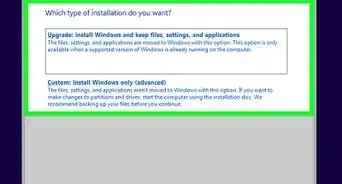
2Click “Display” within the left menu. Then click on the “Color” tab. Click on the “Custom” button with the plus sign icon.[3]
-
3Adjust the “Saturation” slider. Scroll down and locate the “Saturation” slider. Click, hold, and drag the white rectangle on the slider to adjust it. Dragging it to the left will decrease saturation, while dragging it to the right will increase saturation.
-
4Adjust the "Contrast" slider (optional). Contrast, which changes the ratio of lights and darks, may also help you achieve the display you want. The Contrast slider is located directly above the Saturation slider. Dragging it left will decrease contrast, while dragging it right will increase contrast.
-
5Undo the change you made. If you created a change that you want to undo, simply click on the “Restore to Original Colors” button located underneath the “Color” tab.


-Step-17.webp)

References
- ↑ https://www.intel.com/content/www/us/en/support/articles/000055840/graphics.html
- ↑ https://support.microsoft.com/en-us/windows/find-all-your-apps-and-programs-cadb9c4b-459d-dfcb-2964-14aac1d7d964#WindowsVersion=Windows_10
- ↑ https://www.intel.com/content/www/us/en/support/articles/000058395/graphics.html
- ↑ https://support.microsoft.com/en-us/windows/change-desktop-background-and-colors-176702ca-8e24-393b-15f2-b15b38f69de6
- ↑ https://support.microsoft.com/en-us/windows/change-desktop-background-and-colors-176702ca-8e24-393b-15f2-b15b38f69de6
- ↑ https://support.microsoft.com/en-us/windows/make-windows-easier-to-see-c97c2b0d-cadb-93f0-5fd1-59ccfe19345d
About This Article


-Step-17.webp)