This article was co-authored by Ralph Childers. Ralph Childers is a master electrician based in the Portland, Oregon area with over 30 years of conducting and teaching electrical work. Ralph received his B.S. in Electrical Engineering from the University of Louisiana at Lafayette and holds an Oregon Journeyman Electrical License as well as electrician licenses in Louisiana and Texas.
There are 17 references cited in this article, which can be found at the bottom of the page.
This article has been viewed 52,403 times.
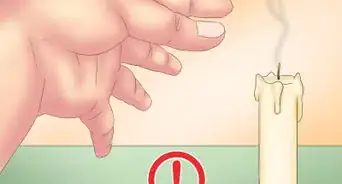
A good ceiling light revitalizes a room and even saves you money on electricity costs. Fortunately, you don’t need a professional to remove and replace an old light. Once you shut off the electrical supply, most lights are removable with nothing more than a ladder and a screwdriver. Then, all you need are a few simple tools and possibly a spare set of hands to wire the new light.
Steps
Turning off the Electricity
-
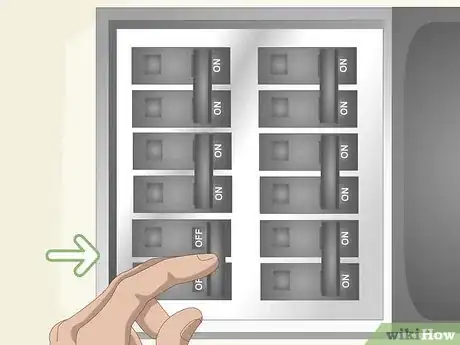
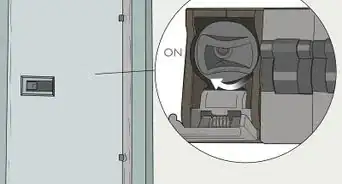
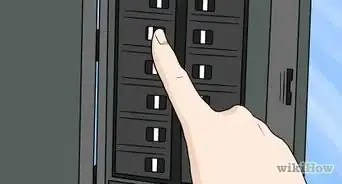
1Turn off the circuit breaker switch for the room with the light. Leave the ceiling light on as you search for the main switchboard in your home. The switchboard is usually at the front of a home, often in the kitchen or near the entrance. It may also be in the garage or basement. Look at the room labels on the switches, then flip the one that controls power to the ceiling light.[1]
- If you are unable to find the circuit, look outside to find the power meter. The switchboard is often close to it inside your home.
- When you flip the correct switch, the ceiling light will shut off. If the switches aren’t labeled, either turn off the big, main switch or test different switches until the light shuts off.
-
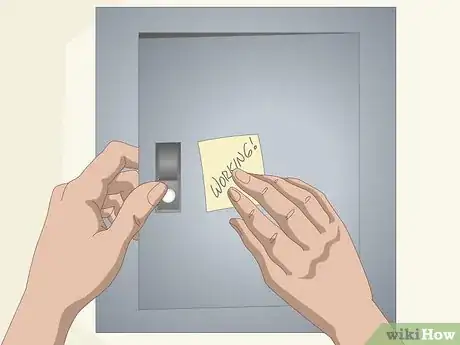
2Shut the circuit breaker door and tape a working notice to it. Close up the circuit breaker in case someone comes by. Taping over the circuit breaker switch also creates a visual warning not to mess with the electricity. Put up a sticky note with a reminder to not flip any switches until you’re done working. By taking these precautions, you reduce the risk of accidents.[2]
- Consider hooking a lock to the door, especially if small children are able to reach it.
- You can also get devices that attach to specific breakers to lock them in place so you can still access the rest of the circuit panel if you need to.
Advertisement -
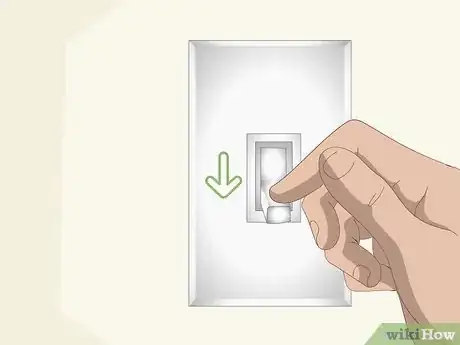
3Turn off the light switch powering the ceiling light. Go back to the room with the ceiling light. If you found the correct circuit breaker, the light will be off. Test it by flipping the switch as needed, then turn the switch down to the off position.[3]
- Safety is the most important part of changing a light. If you’re ever in doubt about handling wires, contact a registered domestic electrician.
Uninstalling the Old Ceiling Light
-
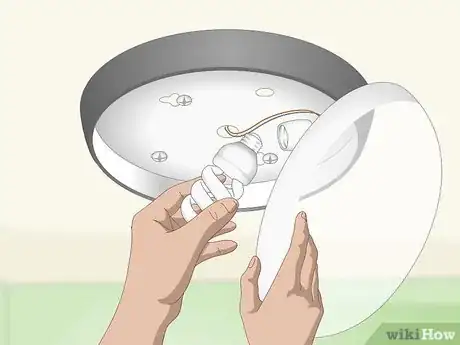
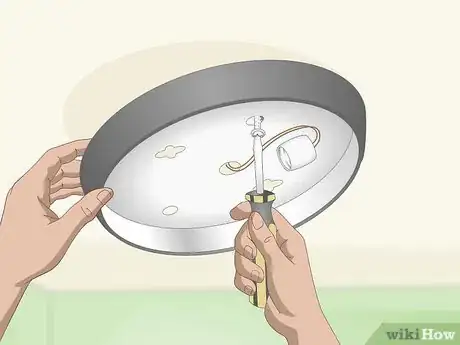
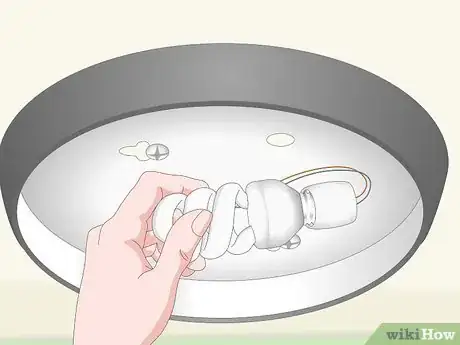
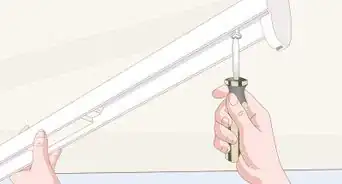
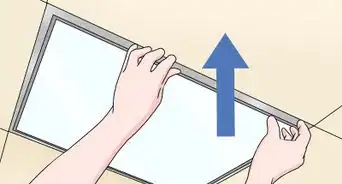
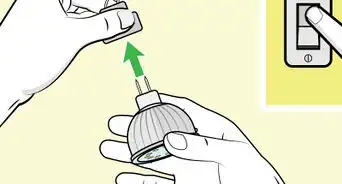
1Remove the shade and bulb using the fasteners on the base. Climb up a ladder and take a close look at the ceiling light’s shade to see what connects it to the base. Most shades are held in place by a couple of screws. Cup the shade, then use your free hand to turn the screws counterclockwise until the shade falls off the base. Then, turn the light bulbs counterclockwise until they pop out of the sockets.[4]
- Some ceiling lights are held in place by tabs, which you nudge to the side to detach the shade.
- Check the owner’s manual for your ceiling light if you have it. It will tell you exactly what you need to do to remove the shade. Alternatively, try searching for the make and model online for advice.
-
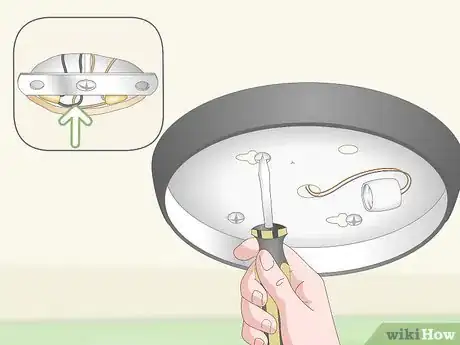
2Unscrew the base of the old light from the ceiling by hand. Locate the screws holding the old fixture in place. They will be around the center part of the fixture, underneath the lightbulbs. Light fixtures typically have 2 of them. Twist them counterclockwise by hand and be prepared for the old base to fall off once they are loosened.[5]
- Many bases are held in place by nuts on the screws. You twist the nuts counterclockwise by hand like you would with a bare screw. The base will slide off the screws as soon as the nuts are gone.
- Have a friend ready to assist you with the base so it doesn’t fall. If you’re working alone, try using painter’s tape to loosely secure the base to the ceiling. If the base starts falling, the tape will catch it and hold it in place while you work on the electrical wires.
-
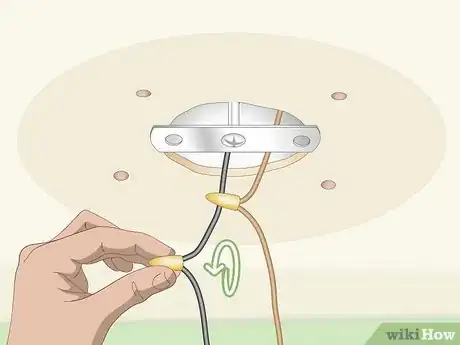
3Twist the wire caps off of the electrical wires. Underneath the base, you will see the electrical circuit tucked into a junction box. It may look like a mess, but it isn’t as complicated as it seems. The wires in the ceiling will be joined to the old ceiling light’s wires, connected by colorful wire connectors that resemble caps on felt-tipped markers. Twist the caps counterclockwise by hand until you are able to slide them off of the wires.[6]
- Before loosening the wires, consider taking a picture of them so you know exactly how you need to connect the new light.
-
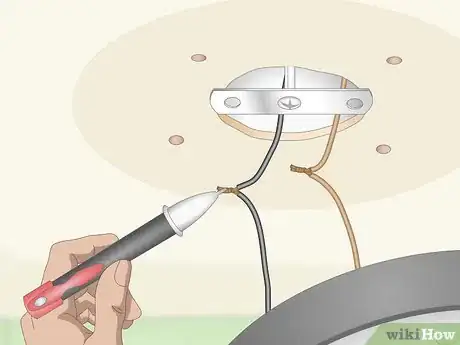
4Test the exposed wires by touching them with a voltage detector. A basic voltage detector looks like a pen. To use it, press the "On" button, then touch the pen’s tip to the exposed ends of the wires. If the pen lights up, the wires have an electrical current in them and are unsafe to touch.[7]
- Voltage detectors are available online or at many hardware stores.
- Test the voltage detector on a circuit you know is turned on to check if the detector is working correctly.
- The voltage detector is a precaution to make sure the electricity is completely deactivated before you touch the wires. If the wires are electrified, check the light switch and circuit breaker again to deactivate them.
-
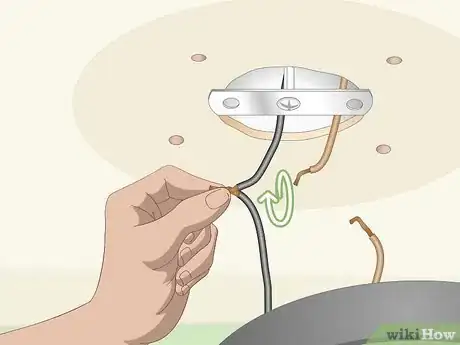
5Untwist the wires to disconnect the old light fixture. Hold the wires running towards the light while you untangle them from the protruding wires with your other hand. When you disconnect the wires, the light fixture will be completely detached from the ceiling, so be ready for it. Pass it off to a friend or carry it down the ladder yourself.[8]
Installing the New Ceiling Light
-
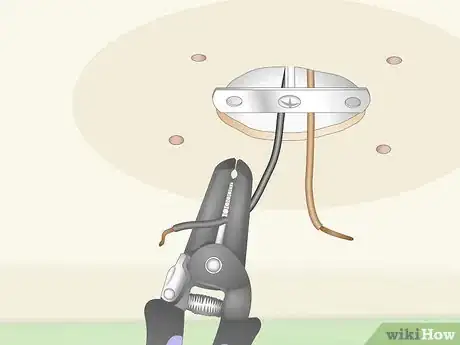
1Strip the existing wires if the ends look frayed or damaged. Examine the old wires before attempting to install the ceiling light. Damaged wires aren’t safe. To fix them, first cut off damaged portion. Then, measure 1⁄2 in (1.3 cm) from the cut end of the wire and clamp the spot with a pair of wire strippers. Slide the tool along the wire to pull off the insulation.[9]
- Always trim frayed wires to eliminate the risk of electrical fires.
-
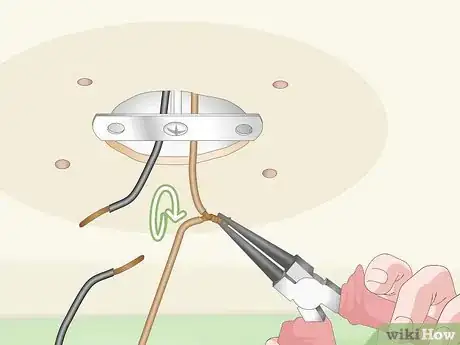
2Connect the same-colored wires by twisting them together. Both the ceiling wires and light fixture wires feature color-coded insulation. A traditional color scheme includes black, white, and green wires. All you have to do is color match the wires. To tie them together, hold the exposed ends side by side, then use your other hand or lineman's pliers to twist them around twice.[10]
- In a standard electrical coloring scheme, black and red wires are hot wires, white wires are neutral wires, and green or bare copper wires are ground wires.
- Consult the owner’s manual for specific instructions on how to connect the wires. Some fixtures have an extra red wire, for instance, and you may need to connect it to a black ceiling wire.
- Wire color schemes vary from place to place, so research the regulations in your area to find out what each wire color represents. Generally, as long as you match the colored wires together, you will be fine.
-
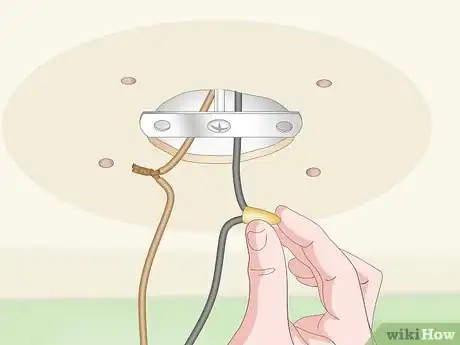
3Screw wire connectors back onto the ends of the wires. You will need a single connector for each wire pair. Pick up the paired wires again and position the connector over the stripped ends. Twist it clockwise until it holds the wires tightly in place. Repeat this for the remaining wire pairs.[11]
- Some ceiling lights use box-shaped connectors with holes on opposite sides. Simply plug the stripped ends of the wires into the holes to connect them.[12]
-
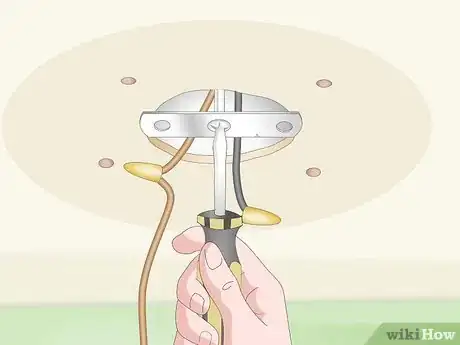
4Tighten the mounting screws hanging from the junction box. Your junction box will have at least 1 of these screws hanging from the mounting bracket inside the box. Test the screws to make sure they are secure against the bracket. Make sure the bracket firmly in place and unable to move.[13]
- If you need to replace the screws, twist them counterclockwise by hand. This allows you to remove the mounting bracket. Place the new screws and twist them 3 or 4 times to secure them to the bracket.
-
5Fold the wires into the junction box and screw the base to the ceiling. Raise the ceiling light’s base, positioning it over the mounting screws. Place a metal nut on the end of each screw, twisting them clockwise by hand until they are tight and hold the base in place.[14]
- Some fixtures use mounting brackets. If yours uses a mounting bracket, connect the bracket to the junction box using the included small screws. Then, hang the base over the mounting screws as you normally would.
- Some light fixtures have screw holes shaped like keyholes. Adjust the base so the screws are in the smaller grooves at the end of the keyholes. Then, use a screwdriver to tighten the screws.
-
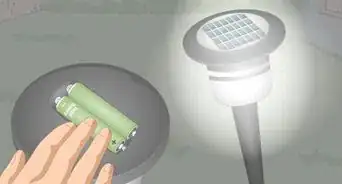
6Install bulbs with the correct wattage in the sockets. Check the fixture’s packaging or owner’s manual for the recommended maximum bulb wattage. Avoid using bulbs with higher than the recommended wattage. Set the bulbs in the sockets, then turn them clockwise to secure them in place.[15]
- Using higher-watt bulbs causes the ceiling light to overheat, increasing the risk of a fire. Lower-watt bulbs are safe to use, so err on the side of caution. Light fixtures generally handle incandescent bulbs up to 60 watts.
- For an eco-friendly choice, switch to CFL or LED bulbs. They have a lower wattage than incandescent bulbs despite giving off the same amount of light. These bulbs prevent overheating and save you money in the long run!
-
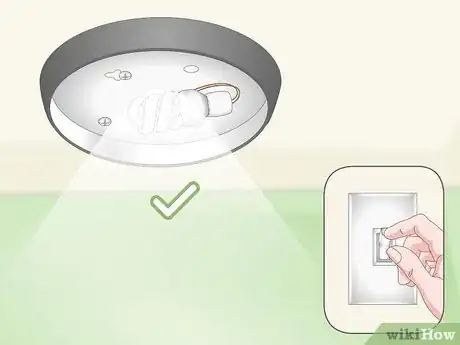
7Turn the electrical current back on to test the bulbs. Go to the circuit breaker in your home and flip the switch for the room you were working in. Then, turn on the room switch responsible for the ceiling light. Watch for the new ceiling light to shine as brightly as the old one.[16]
- If the lights don’t turn on, are flickering, or appear dim, chances are the wiring isn’t correct. Turn off the power supply again, then unscrew the light fixture. Examine the wiring for loose connections and other mistakes.
-
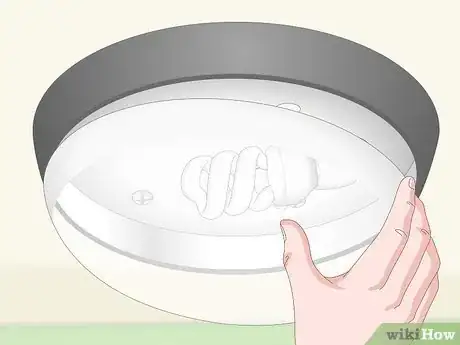
8Attach the ceiling light shade and trim to the base. Flip the light switch in the room to turn off the bulbs. Climb back up the ladder, bringing the shade up to the base. Fit it over the base and attach it by twisting the connecting screws or pieces clockwise until they are tight and secure.[17]
- Every light has different connecting components. Some lights have end pieces that fit over the shade, for instance, and you need to twist them clockwise until it is snug against the shade.
Warnings
- Poor electrical work leads to fires. Make sure all wires are well connected before turning on a light. Also, use bulbs with the correct wattage to avoid overheating light fixtures.⧼thumbs_response⧽
- Working with ceiling lights is potentially dangerous. Avoid electrical shocks by shutting off the electricity before touching wires.⧼thumbs_response⧽
Things You’ll Need
- Ceiling light
- Ladder
- Wire cutters
- Wire strippers
- Screwdriver
- Painter’s tape if you’re working alone
- Voltage detector
- Wirenuts
References
- ↑ https://www.bhg.com/home-improvement/electrical/how-to-turn-off-power/
- ↑ https://www.youtube.com/watch?v=uqKiXtL5REs&feature=youtu.be&t=53
- ↑ https://www.youtube.com/watch?v=ns_qOZCg0Oo&feature=youtu.be&t=87
- ↑ https://www.youtube.com/watch?v=fKI5wOwHc2Y&feature=youtu.be&t=38
- ↑ https://www.youtube.com/watch?v=fKI5wOwHc2Y&feature=youtu.be&t=91
- ↑ https://www.youtube.com/watch?v=fKI5wOwHc2Y&feature=youtu.be&t=165
- ↑ https://www.youtube.com/watch?v=MlPn1K32E8Q&feature=youtu.be&t=85
- ↑ https://www.youtube.com/watch?v=ns_qOZCg0Oo&feature=youtu.be&t=392
- ↑ https://www.youtube.com/watch?v=o-xf6KooHl0&feature=youtu.be&t=24
- ↑ https://www.youtube.com/watch?v=o-xf6KooHl0&feature=youtu.be&t=40
- ↑ https://www.youtube.com/watch?v=fKI5wOwHc2Y&feature=youtu.be&t=428
- ↑ https://www.youtube.com/watch?v=uqKiXtL5REs&feature=youtu.be&t=194
- ↑ https://www.youtube.com/watch?v=fKI5wOwHc2Y&feature=youtu.be&t=242
- ↑ https://www.youtube.com/watch?v=XN_7LC8j2-s&feature=youtu.be&t=64
- ↑ https://smarterhouse.org/content/choosing-right-bulb
- ↑ https://www.youtube.com/watch?v=ns_qOZCg0Oo&feature=youtu.be&t=604
- ↑ https://www.youtube.com/watch?v=fKI5wOwHc2Y&feature=youtu.be&t=545
About This Article
To change a ceiling light, start by turning off the room’s circuit breaker switch and light switch to prevent an electric shock. Once you’ve disconnected the power, climb a ladder and remove the lightshade and bulb from the ceiling. Then, unscrew the base of the light fitting and untwist the connecting wires. If the wires in the ceiling are frayed, strip them to ensure the connection is secure. Next, connect your new light fixture to the ceiling by twisting the same-colored wires together. Finally, screw the base to the ceiling and insert a bulb. For more tips, including how to test a ceiling light’s wires with a voltage detector, read on!
