X
This article was co-authored by wikiHow staff writer, Jack Lloyd. Jack Lloyd is a Technology Writer and Editor for wikiHow. He has over two years of experience writing and editing technology-related articles. He is technology enthusiast and an English teacher.
This article has been viewed 223,703 times.
Learn more...
This wikiHow teaches you how to connect a DISH network receiver to the Internet. While you can use an Ethernet cable to connect any DISH receiver to your router, each DISH receiver also has a Wi-Fi menu you can use to keep your Internet connection wireless.
Steps
Method 1
Method 1 of 4:
Using Ethernet on All Receivers
-
1Determine the distance between your router and your DISH receiver. Ethernet cables can transmit a signal for over 100 meters, but if your DISH receiver is in a different room than your Internet router, you may need to buy an extra-long cable and run it along the floor (or the ceiling), or thread it through the walls.
-
2Obtain an Ethernet cable. You can buy Ethernet cables at most stores which include tech or electrical departments, though it may be cheaper to buy an Ethernet cable online in an environment such as Amazon.
- If you have an option, opting for an Ethernet cable with PVC shielding will prevent the cable from tearing or breaking if you accidentally trip over it.
Advertisement -
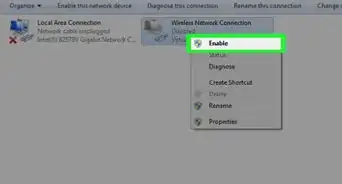
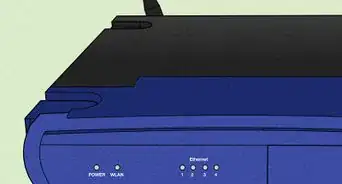
3Connect the Ethernet cable to your router. Plug one end of the Ethernet cable into one of the free "Internet" ports on the back of your router.
-
4Plug the other end of the Ethernet cable into your receiver. It should plug directly into the Ethernet port on the back of the receiver. As long as your router is on and both ends of the Ethernet cable are securely connected, you should now have hard-wired Internet on your DISH TV.


Advertisement
Method 2
Method 2 of 4:
Using a Hopper or Wally Receiver
-
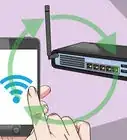
1Purchase and connect a wireless adapter. Currently, Netgear model WNDA3100v2 is the only Wi-Fi adapter supported for use by Dish Network. You can buy this adapter from the DISH online store; it should plug into the USB port on the back of your receiver.
- This is unnecessary on a Hopper 3 or Hopper with Sling receiver.[1]
-
2
-
3Bring up the DISH menu. Depending on your remote, you'll either press the MENU button once or press the HOME button twice.
-
4Select Settings. You'll find it near the top of the screen. To select it, use your remote's arrows to move the selection to cover it, then press OK or ENTER.
-
5Select Internet. This option is near the top of the Settings page.
-
6Select Wireless Setup. It's in the lower-right corner of the screen. Doing so brings up a list of wireless options.
-
7Select WI-FI SETUP WIZARD. This option is near the top of the screen.
-
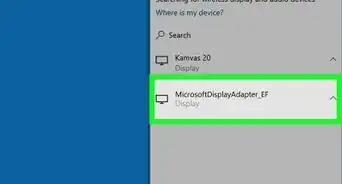
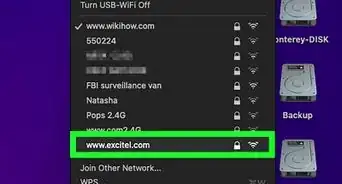
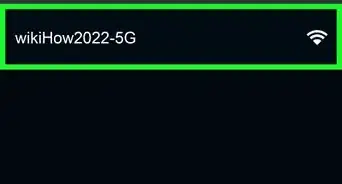
8Select a network. In the list of available networks, select the name of the one that you want to use.
-
9Select Next. It's on the right side of the page.
-
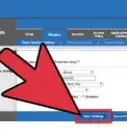
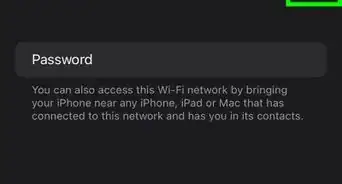
10Enter your password. Using the on-screen keyboard, type in your wireless network's password.
-
11Select Save. Doing so will save your network settings and connect your receiver to the Internet.[2]


Advertisement
Method 3
Method 3 of 4:
Using a Joey Receiver
-
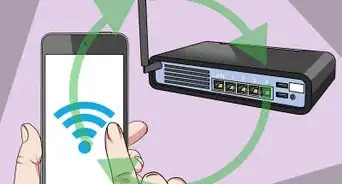
1Understand that Joey receivers connect automatically. Unless you haven't finished setting up your Joey receiver or it's disconnected from the Hopper, it should currently be connected to the Internet. The only exception to this rule is if the receiver's "Bridging" feature is disabled; if so, you can re-enable Bridging from your receiver's settings.[3]
-
2
-
3Bring up the DISH menu. Depending on your remote, you'll either press the MENU button once or press the HOME button twice.
-
4Select Settings. It's at the top of the screen.
-
5Select Internet. You'll find this option near the top of the Settings page.
-
6Select Advanced. Doing so opens the Advanced Settings menu.
-
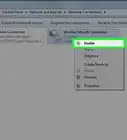
7Select Bridging and switch it to "On". It's in the middle of the page. Once you've selected it, using the left or right arrows on your remote should scroll through the available options, allowing you to turn on Bridging.
-
8Select OK when prompted. This will ensure that Bridging Internet from your Hopper to your Joey is enabled, meaning that your Joey should now be able to connect wirelessly to the Internet.


Advertisement
Method 4
Method 4 of 4:
Using a ViP Receiver
-
1Buy a wireless adapter. Currently, Netgear model WNDA3100v2 is the only Wi-Fi adapter supported for use by Dish Network. You can buy this adapter from the DISH online store.
-
2Connect your wireless adapter to your Dish Network receiver. The adapter must be plugged into the USB port located between the HDMI and Ethernet ports on the back of the receiver.
-
3
-
4Select Setup when prompted. Upon recognizing your wireless adapter, your ViP receiver will prompt you to select an option in a pop-up window; select Setup to do so.[4]
-
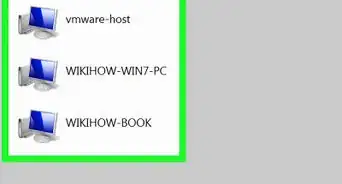
5Select a network. In the list of network names, find and select your network.
-
6Select Done. It's near the bottom of the list of network names.
-
7Enter your network's password. When prompted, use the on-screen keyboard to type in the password you use to connect to your network.
-
8Select Done. Doing so will prompt your receiver to connect to the Internet.
-
9Confirm your setup. Select Done when prompted, then select OK when prompted with the signal strength test.


Advertisement
Community Q&A
-
QuestionHow do I connect my computer to the internet?
 Community AnswerIt could vary, depending on what service provider you use. In most cases, there is an option to connect to the internet. it will give instructions for how to set up the hardware, and then you will see a list of options for internet. Connect and log into the one you are using.
 -
QuestionHow come I can't rent movies?
 Community AnswerIt might be because your internet is too slow or the satellite is messed up. Contact Dish and explain the problem you're having, they might be able to help you.
 -
QuestionHow can I hook up my dish receiver to my computer?
 Community AnswerYou could get a TV tuner card, which will fit into your computer's PCI port and allow you to connect the setup box.
Advertisement
Warnings
- Classic Hopper, Wally, ViP, and related models of DISH receiver cannot process wireless signals on their own, which is why you'll need to buy the wireless network adapter.⧼thumbs_response⧽
Advertisement


References
- ↑ https://www.mydish.com/support/getconnected#GC
- ↑ https://www.mydish.com/support/products/hopper/how-to/pair/receiver-to-internet
- ↑ https://www.mydish.com/support/products/hopper/how-to/pair/receiver-to-internet
- ↑ https://www.mydish.com/support/products/vip/how-to/pair/receiver-to-broadband#ethernet_VIP
About This Article
Jack Lloyd
wikiHow Technology Writer
This article was co-authored by wikiHow staff writer, Jack Lloyd. Jack Lloyd is a Technology Writer and Editor for wikiHow. He has over two years of experience writing and editing technology-related articles. He is technology enthusiast and an English teacher. This article has been viewed 223,703 times.
How helpful is this?
Co-authors: 3
Updated: February 23, 2023
Views: 223,703
Categories: Wi Fi
Article SummaryX
1. Connect one end of an Ethernet cable to the Dish.
2. Connect the other end to the router's "Internet" port.
Did this summary help you?
Advertisement