This article was co-authored by Shannon O'Brien, MA, EdM and by wikiHow staff writer, Jack Lloyd. Shannon O'Brien is the Founder and Principal Advisor of Whole U. (a career and life strategy consultancy based in Boston, MA). Through advising, workshops and e-learning Whole U. empowers people to pursue their life's work and live a balanced, purposeful life. Shannon has been ranked as the #1 Career Coach and #1 Life Coach in Boston, MA by Yelp reviewers. She has been featured on Boston.com, Boldfacers, and the UR Business Network. She received a Master's of Technology, Innovation, & Education from Harvard University.
wikiHow marks an article as reader-approved once it receives enough positive feedback. This article received 12 testimonials and 87% of readers who voted found it helpful, earning it our reader-approved status.
This article has been viewed 504,008 times.
Having a LinkedIn account and profile is a great way to build a business network so that you are able to find jobs and apply for them.[1] This wikiHow teaches you how to create a personal profile on LinkedIn.
Steps
Creating Your Account
-
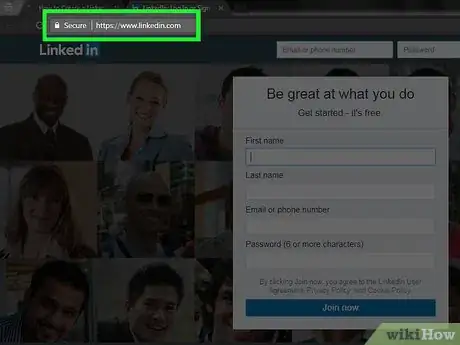
1Open the LinkedIn webpage. It will open to a page with several text fields in the middle of it.
-
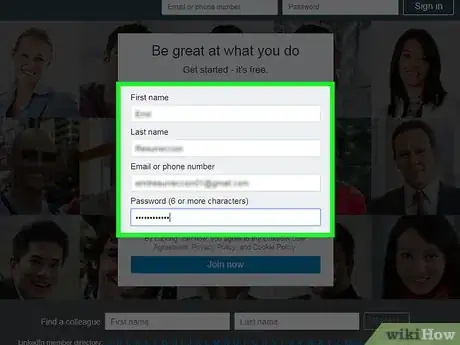
2Enter your personal information. You'll do this in the fields provided on the main page. LinkedIn needs the following information:
- First Name
- Last Name
- Email - Your preferred email address at which LinkedIn can contact you.
- Password - Your preferred password for your LinkedIn account.
Advertisement -
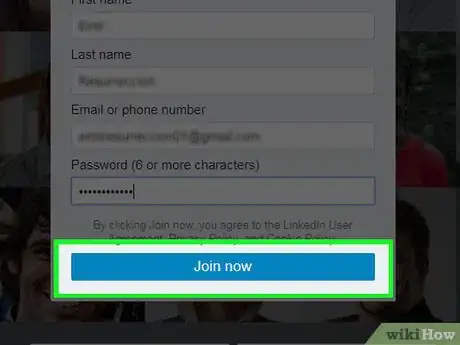
3Click Join Now. It's the yellow button below the information entry fields.
-
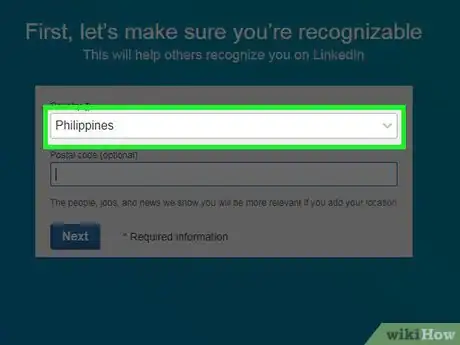
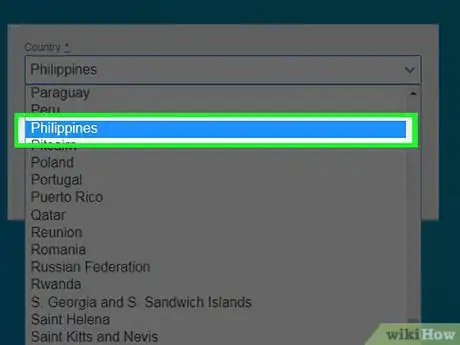
4Click the box below "Country". Doing so will prompt a drop-down menu of countries.
-
5Click on your current country of residence.
-
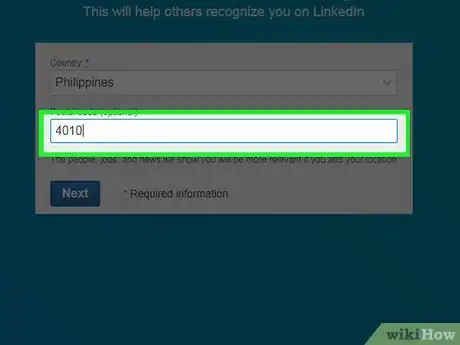
6Type in your current ZIP code. You'll do so in the "ZIP code" box below the "Country" box.
-
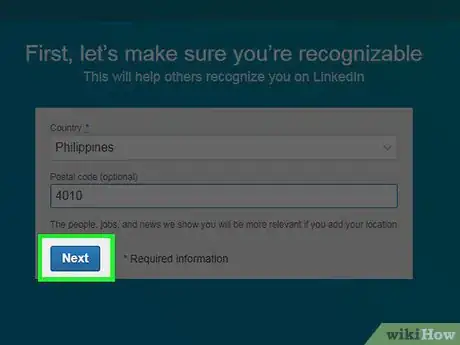
7Click Next. It's below the ZIP code box.
-
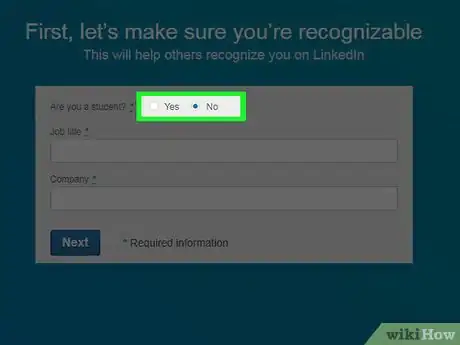
8Indicate whether or not you're a student. To do so, click the Yes or the No box at the top of this page.
-
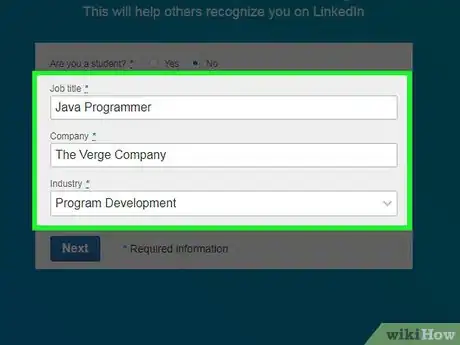
9Type in your job title and the company at which you work. You'll do so in the "Job title" and "Company" fields on this page.
- Depending on your place of employment, you may also have to select a field from an "Industry" box on this page.
- If you're a student, you'll type in your current school, the year at which you started school, and when you plan to graduate.
-
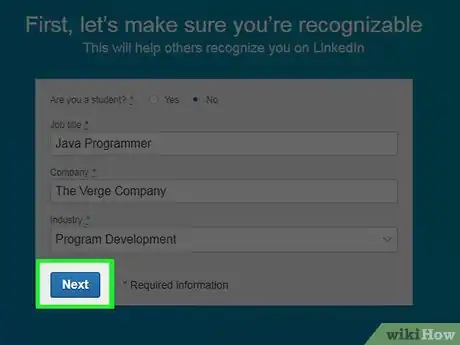
10Click Next. Now you'll need to customize the kind of content and connections you'll see in your LinkedIn Home page.
Personalizing Your LinkedIn Feed
-
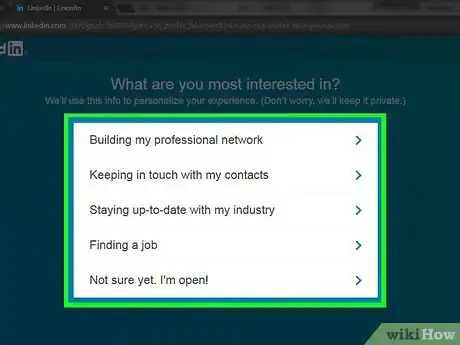
1Select an account personalization option. Once you do, you'll be prompted to verify your email address. These options control what type of information LinkedIn shows you in your Home page:
- Finding a job
- Building my professional network
- Staying up-to-date with my industry
- Keeping in touch with my contacts
- Not sure yet. I'm open!
-
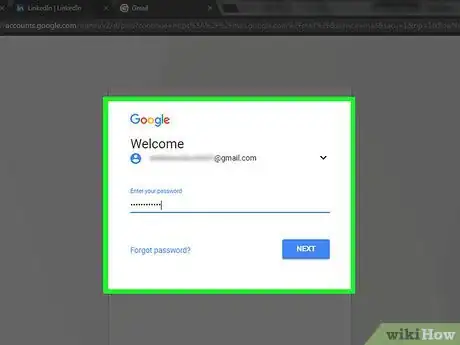
2Open your email address. This should be the account you used to sign up for LinkedIn.
- Make sure you don't close out of the LinkedIn page when you do this.
-
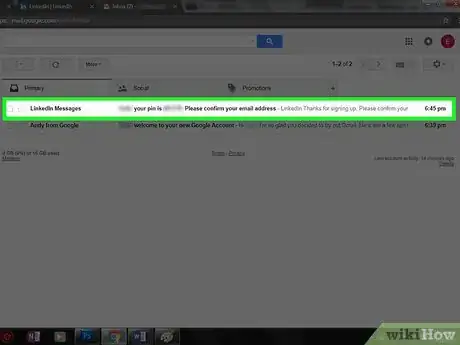
3Open the email from the "LinkedIn Messages" sender. Its subject will say "[Name], please confirm your email address."
- If you don't see this email in your inbox, check the Spam folder (and the Updates folder if you're using Gmail).
-
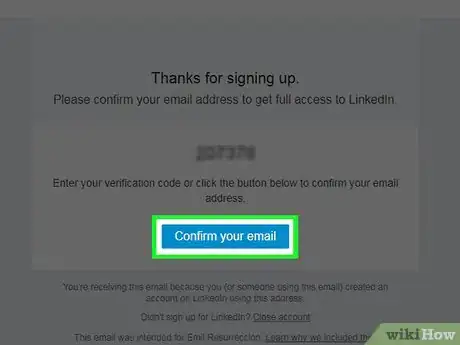
4Click Confirm your email. It's the blue button below the six-digit code in the email's body.
- You can also copy the code here and paste it into the code field on your LinkedIn page.
-
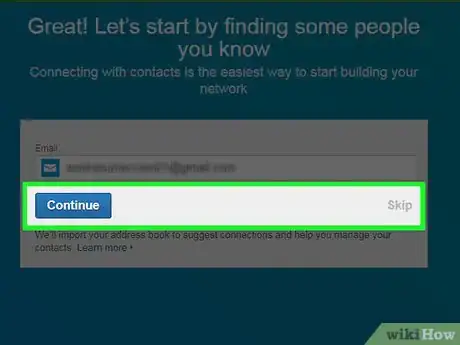
5Decide whether or not to import contacts. If you want to import contacts from your email address, click Continue. Otherwise, click Skip.
- Choosing to import contacts will prompt you to allow LinkedIn access to your email account, and you'll need to check each person you wish to add on LinkedIn.
- If you click Skip, you may need to click a pop-up Yes to confirm your decision.
-
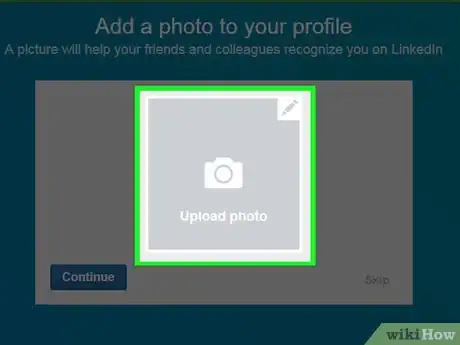
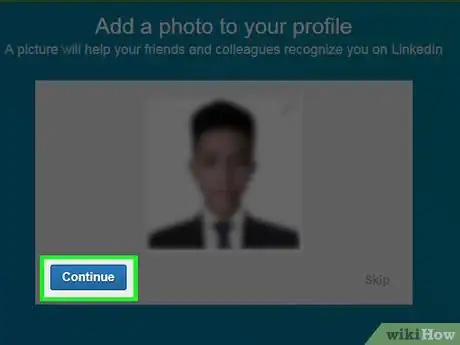
6Add a photo of yourself. Profiles with clear, professional photos are much more likely to be viewed by employers, which can lead to more job and networking opportunities.[2] To add a picture of yourself, click the Upload Photo box and select a photo from your computer.
- If you'd rather not do this right now, click Skip.
-
7Click Continue. Doing so will save your profile image.
-
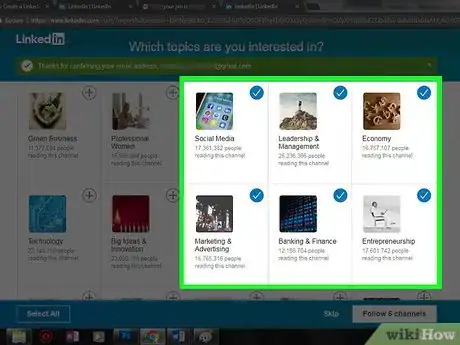
8Select channels to follow. The channels you decide to follow will determine the kind of information you see on your LinkedIn Home page.
-
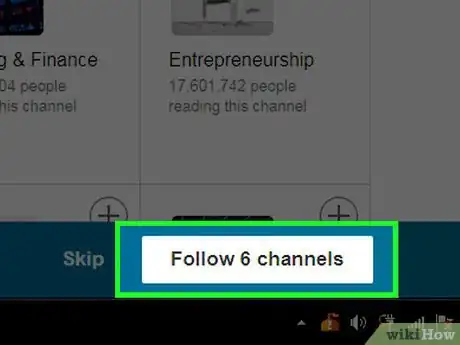
9Click Follow [number] channels. Doing so will cause your LinkedIn profile to follow your selected channels.
- You can also click Skip at the bottom of the page to skip this step.
-
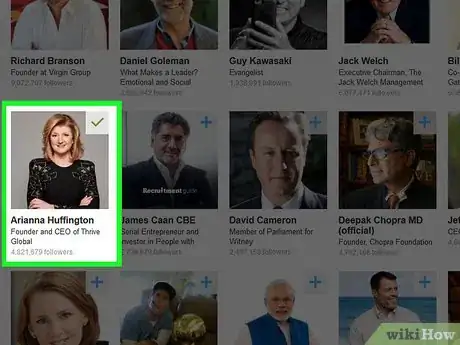
10Select influential LinkedIn profiles to follow. The information posted on these profiles will show up on your Home page.
- Following profiles does not mean the profiles in question are in your contacts or LinkedIn connections.
-
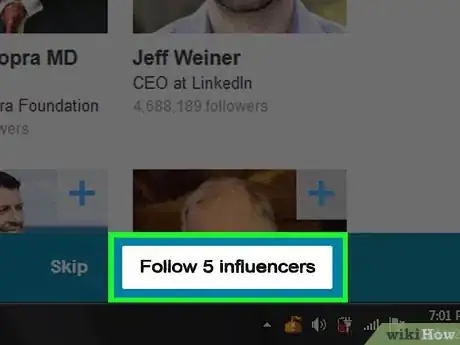
11Click Follow [number] influencers. Doing so will cause your LinkedIn profile to follow your selected accounts.
- You can also click Skip at the bottom of the page to skip this step.
-
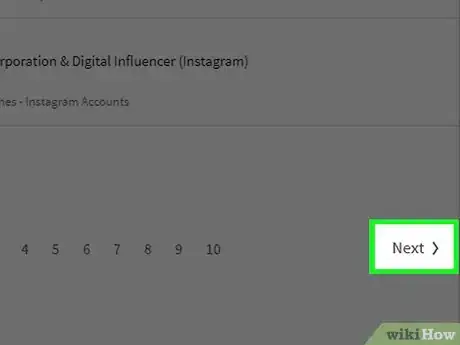
12Click Next. It's in the bottom right corner of the screen. Now that your LinkedIn profile is officially set up, you can add information about your skills to your account.
Editing Your Profile
-
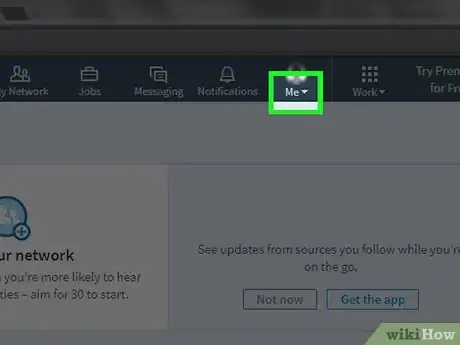
1Click the Me tab. It's in the top right corner of your profile, directly to the right of the Notifications icon.
-
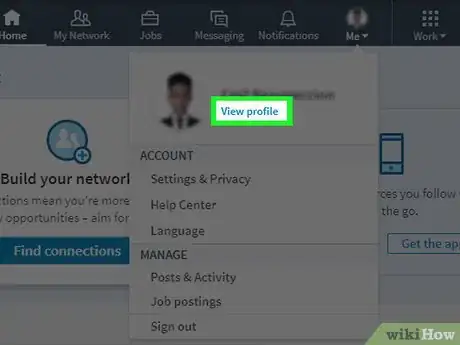
2Click View Profile. This option is at the top of the Me drop-down menu.
-
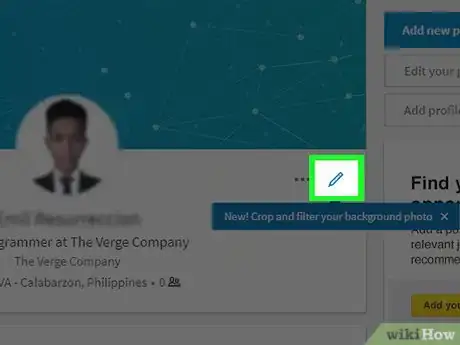
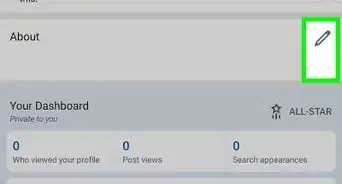
3Click the pencil icon. It's to the right of your profile image at the top of your profile page. Doing so will allow you to edit your intro, including the following things:
- First and Last Name
- Headline - A catchphrase or brief personal description.
- Current Position - Your position at your current company (for example, "Writer at Forbes").
- Location Information - This includes your current country, ZIP code, and city.
- Summary - A description of your goals, accomplishments, and/or mission statement.
- Add Education - This option allows you to add a school or university to your profile.
-
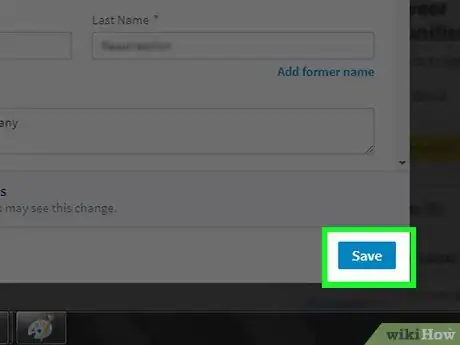
4Click Save. Doing so will save your changes to your LinkedIn intro.
- This is information that public LinkedIn users will be able to see.
-
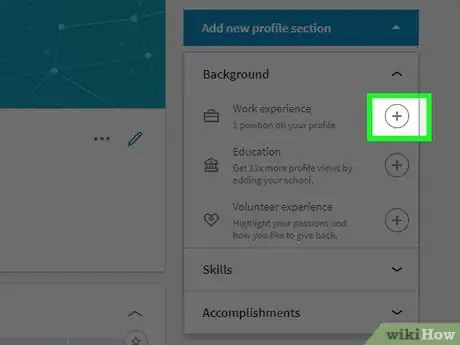
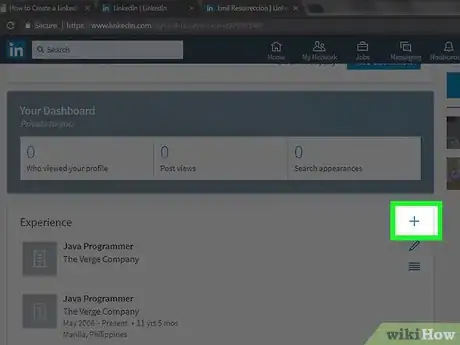
5Add professional experience by clicking +. It's to the right of the "Experience" section which is a bit below your profile image.
- When adding a professional experience, you'll enter information about the workplace (e.g., which company you worked at) as well as how long you worked there, what your title was, and a brief summary of your duties. This information is extremely helpful to have on your profile so potential employers can see what your skills are.[3]
-
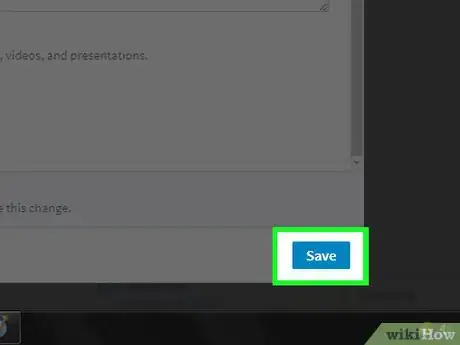
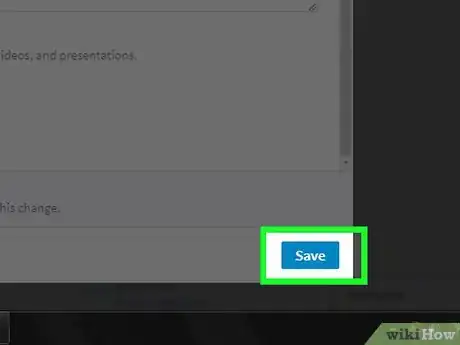
6Click Save. Doing so will add your new work experience to your LinkedIn profile.
-
7Edit a work experience by clicking the pencil icon. The pencil icon is to the right of an experience listed on your profile. You can edit anything listed here, from the business' name to the length of time for which you worked there.
-
8Click Save when you're done. It's at the bottom of the edit page. Your LinkedIn profile is now complete.
Community Q&A
-
QuestionIf my husband and I have the same email address, how do we both register on LinkedIn?
 Community AnswerYou can't. One of you will have to create a new email account.
 -
QuestionWhat do i do if my spouse and I share an email account?
 Community AnswerYou can create a personal email account for free. Common free email sites are Gmail, Hotmail, and Yahoo.
 -
QuestionDo I have to answer all of the questions when setting up my account?
 Community AnswerYes, you are required to answer the questions and also to read and agree to the terms and conditions.
References
About This Article
1. Go to Linkedin.com.
2. Fill out the form.
3. Click Join Now.
4. Follow the on-screen instructions.

